Free Shipping on Domestic Orders $75+

OLPC XO-4 Touch Keyboard Replacement

What you need

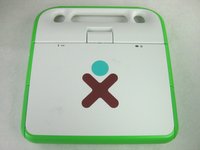
    1. OLPC XO-4 Touch Keyboard Replacement, Battery: step 1, image 1 of 1
      • Turn the laptop upside-down, with the handle facing away from you.

      Ask FixBot

      Add Comment

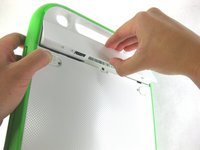
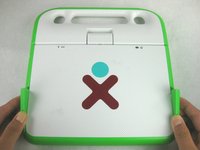
    2. OLPC XO-4 Touch Keyboard Replacement: step 2, image 1 of 2 OLPC XO-4 Touch Keyboard Replacement: step 2, image 2 of 2
      • Pull the lock tabs towards the green outer edges of the laptop.

      • Hold the left lock tab in the unlock position until the battery is completely removed in the next step.

      Ask FixBot

      Add Comment

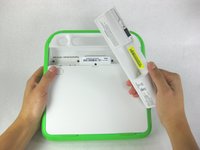
    3. OLPC XO-4 Touch Keyboard Replacement: step 3, image 1 of 2 OLPC XO-4 Touch Keyboard Replacement: step 3, image 2 of 2
      • Lift up on the middle of the battery to remove it from the device.

      Ask FixBot

      Add Comment

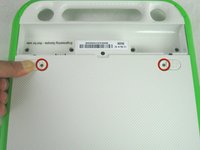
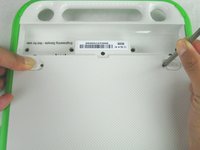
    1. OLPC XO-4 Touch Keyboard Replacement, Keyboard: step 4, image 1 of 2 OLPC XO-4 Touch Keyboard Replacement, Keyboard: step 4, image 2 of 2
      • Remove the two 2mm Phillips #1 screws from beneath the battery lock tabs.

      Ask FixBot

      Add Comment

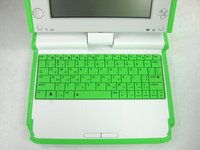
    2. OLPC XO-4 Touch Keyboard Replacement: step 5, image 1 of 3 OLPC XO-4 Touch Keyboard Replacement: step 5, image 2 of 3 OLPC XO-4 Touch Keyboard Replacement: step 5, image 3 of 3
      • Flip the laptop over to its normal position.

      • Lift the two antennas on both sides to unlock the screen.

      • Open the laptop.

      Ask FixBot

      Add Comment

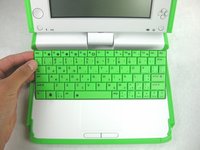
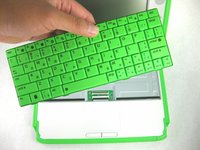
    3. OLPC XO-4 Touch Keyboard Replacement: step 6, image 1 of 2 OLPC XO-4 Touch Keyboard Replacement: step 6, image 2 of 2
      • Be careful not to pull the keyboard too far because there is still a ribbon cable attached to the bottom.

      • Gently lift up on the back of the keyboard.

      • Pull the keyboard up far enough to expose the ribbon cable.

      Ask FixBot

      Add Comment

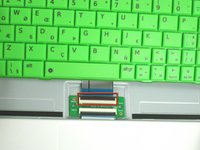
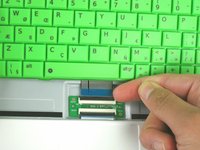
    4. OLPC XO-4 Touch Keyboard Replacement: step 7, image 1 of 2 OLPC XO-4 Touch Keyboard Replacement: step 7, image 2 of 2
      • Gently lift up on the black connector to release the ribbon cable.

      • Gently pull the blue plastic tab up and away from the black connector.

      • Remove the keyboard from the laptop.

      Ask FixBot

      Add Comment

Conclusion

To reassemble your device, follow these instructions in reverse order.

Cancel: I did not complete this guide.

2 other people completed this guide.

Michael Kellerman

Member since: 01/24/13

73 Reputation

3 Guides authored

Team

Cal Poly, Team 3-30, Amido Winter 2013 Member of Cal Poly, Team 3-30, Amido Winter 2013

CPSU-AMIDO-W13S3G30

3 Members

72 Guides authored

0 Guide Comments

Add Comment

View Statistics:

Past 24 Hours: 3

Past 7 Days: 11

Past 30 Days: 35

All Time: 1,409