Free Shipping on Domestic Orders $75+

Nvidia Shield TV 1st Generation Controller Battery Replacement

What you need

  1. Nvidia Shield TV 1st Generation Controller Battery Replacement, Controller Battery: step 1, image 1 of 2 Nvidia Shield TV 1st Generation Controller Battery Replacement, Controller Battery: step 1, image 2 of 2
    • Remove the indicated six screws using the T6 Torx screwdriver.

    Ask FixBot

    Add Comment

  2. Nvidia Shield TV 1st Generation Controller Battery Replacement: step 2, image 1 of 2 Nvidia Shield TV 1st Generation Controller Battery Replacement: step 2, image 2 of 2
    • Use the plastic opening tool to pry the face of the controller away from the body.

    • Make sure the controller is face down during this step as the buttons can easily fall out.

    Ask FixBot

    Add Comment

  3. Nvidia Shield TV 1st Generation Controller Battery Replacement: step 3, image 1 of 1
    • Carefully remove the indicated ribbon wires from the face of the controller.

    Ask FixBot

    Add Comment

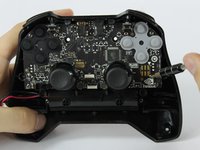
  4. Nvidia Shield TV 1st Generation Controller Battery Replacement: step 4, image 1 of 2 Nvidia Shield TV 1st Generation Controller Battery Replacement: step 4, image 2 of 2
    Tool used on this step:
    Tweezers
    $3.99
    Buy
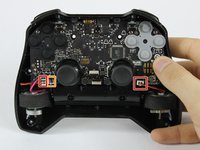
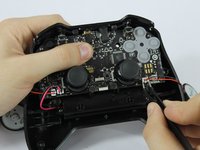
    • Use the angled tweezers to remove the vibration motor cable, moving it upward from its socket.

    • Lift the vibration motor out of the front case.

    • Repeat for the other side.

    • Use the angled tweezers to remove the battery cable, moving it upward from its socket.

    Ask FixBot

    Add Comment

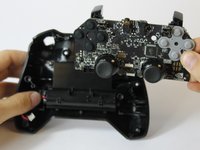
  5. Nvidia Shield TV 1st Generation Controller Battery Replacement: step 5, image 1 of 3 Nvidia Shield TV 1st Generation Controller Battery Replacement: step 5, image 2 of 3 Nvidia Shield TV 1st Generation Controller Battery Replacement: step 5, image 3 of 3
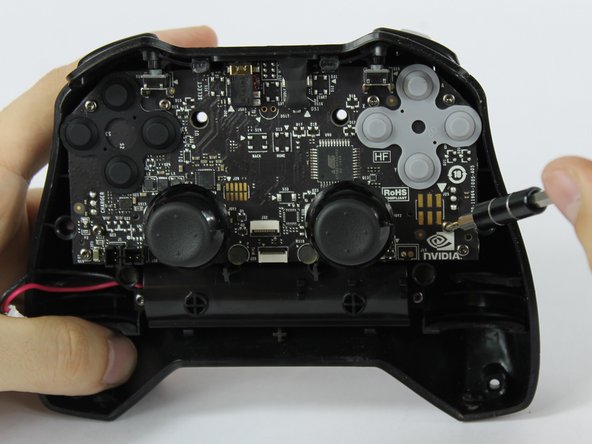
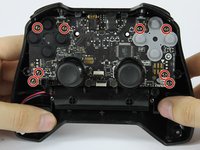
    • Using the T6 Torx screwdriver, remove the indicated eight screws from the logic board.

    • Lift the logic board away from the front case.

    Ask FixBot

    Add Comment

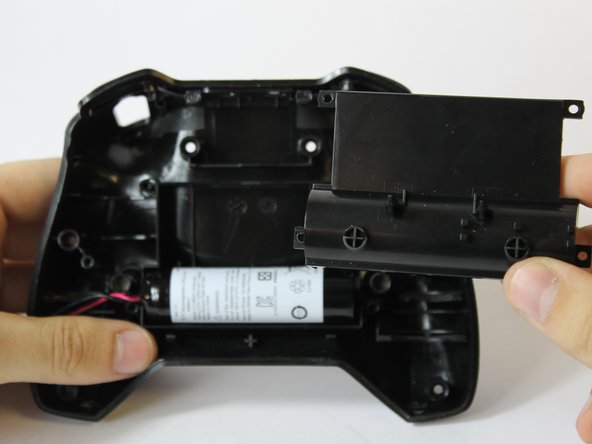
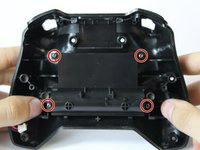
  6. Nvidia Shield TV 1st Generation Controller Battery Replacement: step 6, image 1 of 3 Nvidia Shield TV 1st Generation Controller Battery Replacement: step 6, image 2 of 3 Nvidia Shield TV 1st Generation Controller Battery Replacement: step 6, image 3 of 3
    • Using the T6 Torx screwdriver, remove the indicated four screws from the panel.

    • Remove the panel from the front case.

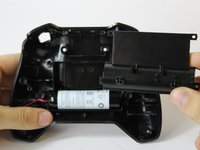
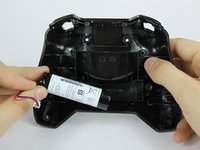
    • Lift the battery from the front case to remove it.

    Ask FixBot

    Add Comment

Conclusion

To reassemble your device, follow these instructions in reverse order.

Cancel: I did not complete this guide.

12 other people completed this guide.

Joshua Neally

Member since: 09/25/17

581 Reputation

4 Guides authored

Team

USF Tampa, Team S16-G6, Eyestone Fall 2017 Member of USF Tampa, Team S16-G6, Eyestone Fall 2017

USFT-EYESTONE-F17S16G6

3 Members

8 Guides authored

8 Guide Comments

Where can i buy the replacement Battery? What tags should i use to find it?

Rancid 3000a - Reply Share

LC18650 Remote Control accu

djcornelissen - Reply Share

Are battery packs available for the 2017 controller?

Andrew - Reply Share

Simply reconnecting the battery fixed my issues

Charles Keisler - Reply Share

Add Comment

View Statistics:

Past 24 Hours: 3

Past 7 Days: 12

Past 30 Days: 90

All Time: 21,646