
Nvidia Shield Fan Replacement

Marc Perez and 6 other contributors
Last updated on Dec 21, 2021
Views: 4.1K
View statistics:
- Past 24 Hours:
- 4
- Past 7 Days:
- 34
- Past 30 Days:
- 117
- All Time:
- 4,067
Comments: 1
1 comment on steps.
Completed: 4 5
4 people have marked this guide "completed." Will you be next?
5 people have marked this guide "completed." Including you — great job!
Favorites: 2 3
2 people have favorited (and subscribed to) this guide. Will you be next?
3 people have favorited (and subscribed to) this guide — including you!
Better Introduction
Improve this guide by completing or revising its introduction.
Introduction
Go to step 1 ↓The Nvidia Shield controller uses an internal fan to help cool its other internal components. Eventually, the fan could require replacement after normal use. Repairing the fan will help to avoid the controller’s internal components overheating, therefore prolonging the life of the device. This guide will explain how to replace the fan using easily found tools, with no special skills needed.
What you need
Tools
-
Spudger4.9
-


-
-
-
Remove the seven 6.4mm T5 Torx screws from the back panel.
-
Use the spudger to separate the front and back panels.
 Ask FixBot
-
-
-
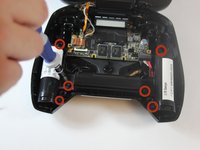
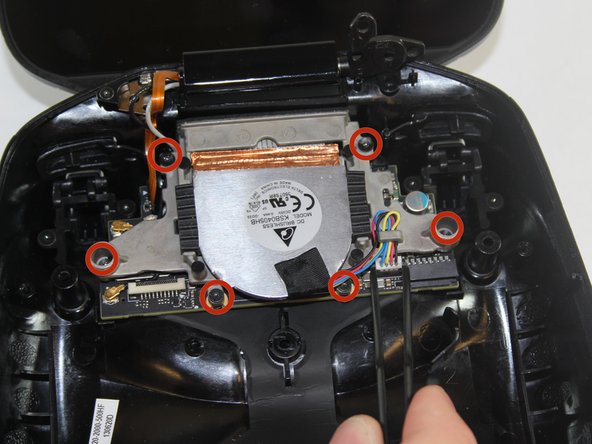
Remove the six 6.5mm T5 Torx screws.
-
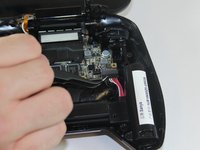
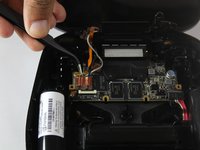
Disconnect the power wires.
-
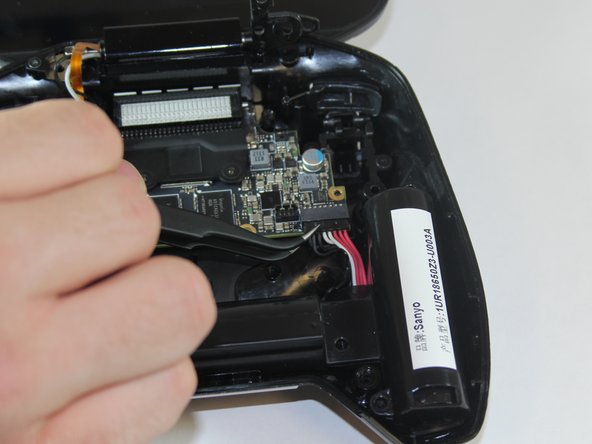
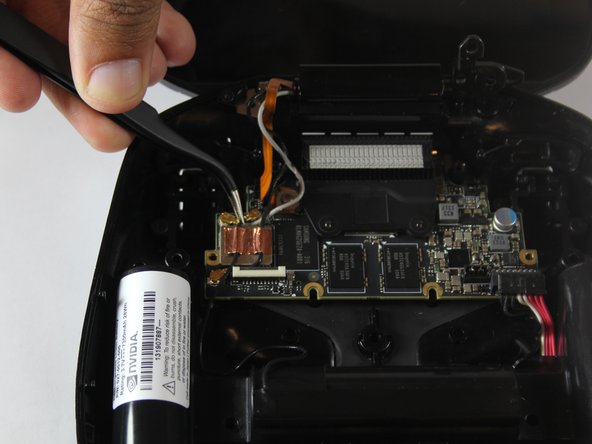
Peel back the copper tape and disconnect the black and white wires.
-
-
-
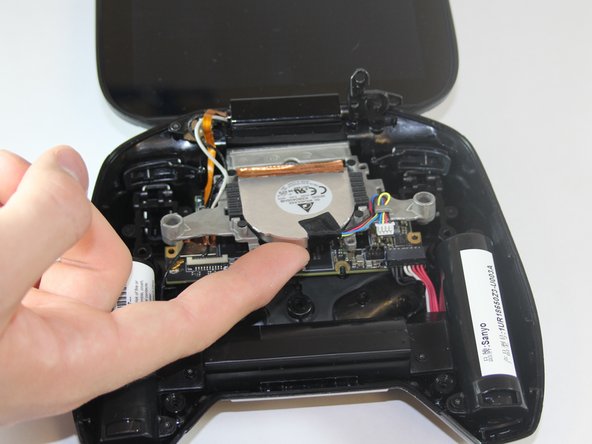
Pull the battery apparatus out once all cables are removed.
-
-
-
-
-
-
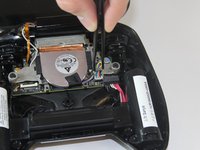
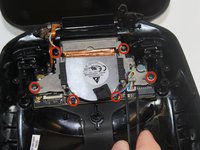
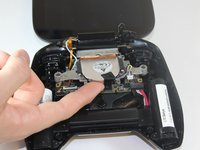
Remove the two 7.3mm and four 8.4mm T5 Torx screws and disconnect the power cable.
-
Lift the fan free after the screws and cable are removed.
-
-




To reassemble your device, follow these instructions in reverse order.
Cancel: I did not complete this guide.
4 other people completed this guide.

Team

USF Tampa, Team 1-1, Hickman Fall 2014 Member of USF Tampa, Team 1-1, Hickman Fall 2014
USFT-HICKMAN-F14S1G1
4 Members
72 Guides authored
