
Nvidia Shield Display Assembly Replacement

Noel Fletcher and 4 other contributors
Last updated on Nov 14, 2017
Views: 7.5K
View statistics:
- Past 24 Hours:
- 6
- Past 7 Days:
- 33
- Past 30 Days:
- 122
- All Time:
- 7,473
Comments: 4
3 comments on steps, 1 guide comment.
Go to guide commentsCompleted: 5 6
5 people have marked this guide "completed." Will you be next?
6 people have marked this guide "completed." Including you — great job!
Favorites: 3 4
3 people have favorited (and subscribed to) this guide. Will you be next?
4 people have favorited (and subscribed to) this guide — including you!
Better Introduction
Improve this guide by completing or revising its introduction.
What you need
Tools
-
Spudger4.9


-
-
-
Remove the seven 6.4mm T5 Torx screws from the back panel.
-
Use the spudger to separate the front and back panels.
 Ask FixBot
-
-
-
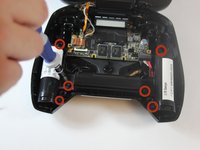
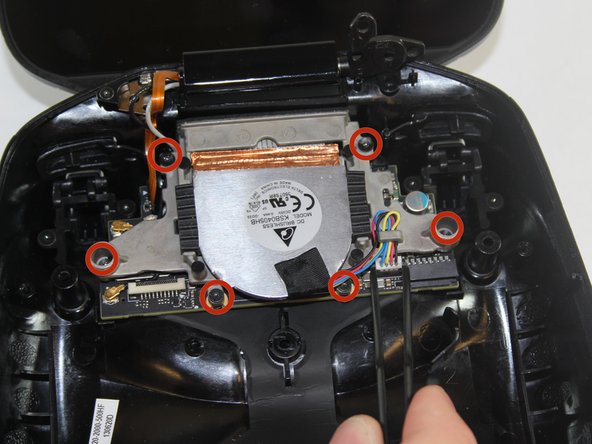
Remove the six 6.5mm T5 Torx screws.
-
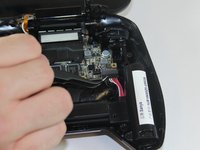
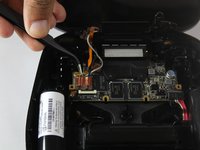
Disconnect the power wires.
-
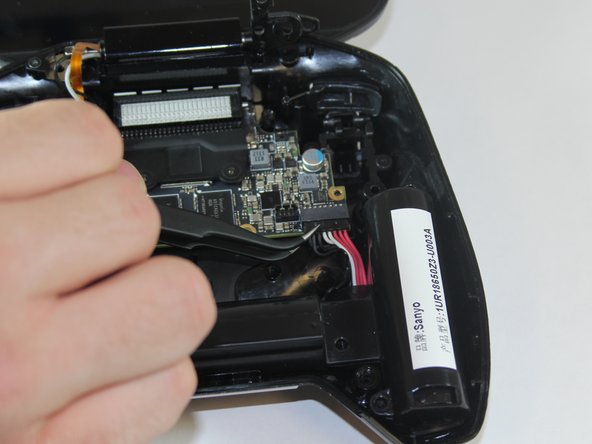
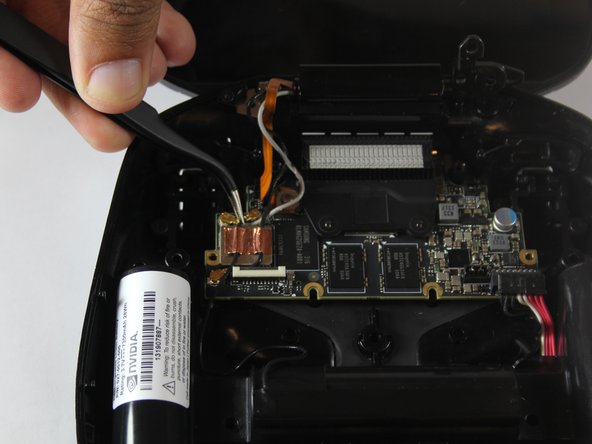
Peel back the copper tape and disconnect the black and white wires.
-
-
-
Pull the battery apparatus out once all cables are removed.
-
-
-
-
-
-
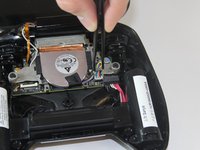
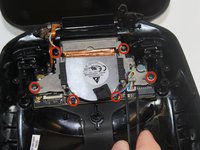
Remove the two 7.3mm and four 8.4mm T5 Torx screws and disconnect the power cable.
-
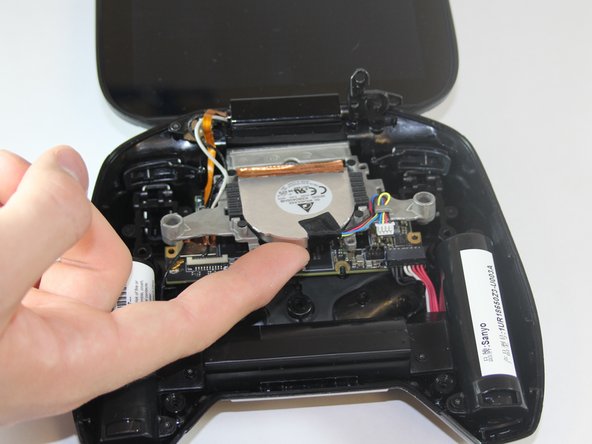
Lift the fan free after the screws and cable are removed.
-
-
-
-
-
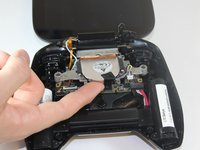
On the left side from where the display is attached to the back panel there is one 3.8mm T5 Torx screw that needs to be removed.
-
Once removed, the display should be able to be detached.
-
-





To reassemble your device, follow these instructions in reverse order.
Cancel: I did not complete this guide.
5 other people completed this guide.

Team

USF Tampa, Team 1-1, Hickman Fall 2014 Member of USF Tampa, Team 1-1, Hickman Fall 2014
USFT-HICKMAN-F14S1G1
4 Members
72 Guides authored
