
Nvidia Shield Controller Motherboard Replacement

Nate Hale and 5 other contributors
Last updated on May 7, 2024
Views: 3.3K
View statistics:
- Past 24 Hours:
- 1
- Past 7 Days:
- 14
- Past 30 Days:
- 74
- All Time:
- 3,267
Comments: 1
1 comment on steps.
Completed: 3 4
3 people have marked this guide "completed." Will you be next?
4 people have marked this guide "completed." Including you — great job!
Favorites: 0 1
No one has favorited (and subscribed to) this guide. Will you be the first?
1 person has favorited (and subscribed to) this guide — and that's you!
Better Introduction
Improve this guide by completing or revising its introduction.
Introduction
Go to step 1 ↓This repair guide shows how to replace the motherboard for a Nvidia Shield Controller Gen 2, manufactured by Nvidia, item model number: 945-12920-2500-000.
The motherboard is a circuit board which connects all the components within a device. If the motherboard is faulty, the controller may not turn on at all.
What you need
Tools


-
-
-
Use a Torx TR6 screwdriver to remove the six 7mm screws from the back of the controller.
 Ask FixBot
-
-
-
Use the Torx TR6 bit to remove the two 7mm screws behind the analog sticks.
-
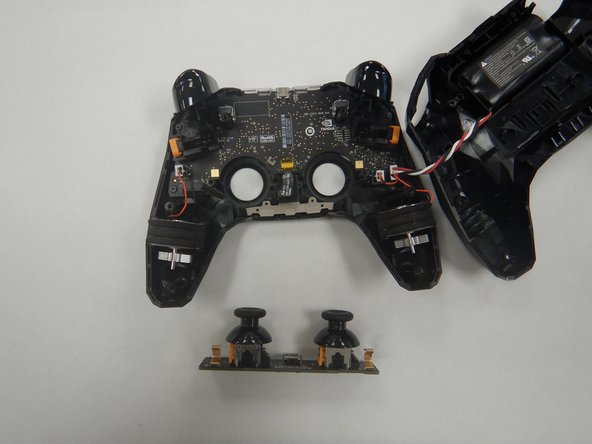
Unplug the power supply cable from the analog stick assembly.
-
-
Tool used on this step:Tweezers$4.99
-
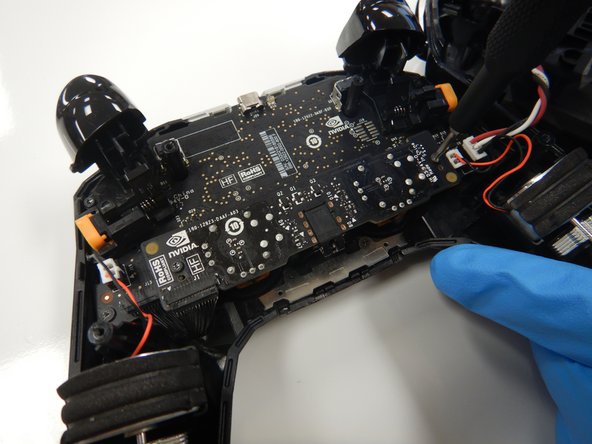
Use a pair of tweezers to unplug the rumble motors from the motherboard.
-
Use a pair of tweezers to unplug the battery cable from the motherboard.
-
-
-
-
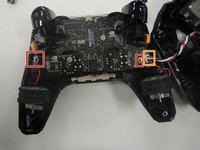
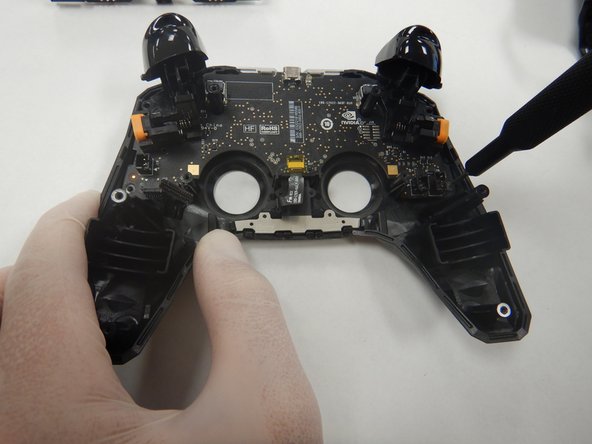
Use a Torx TR6 screwdriver to remove the two 7mm screws towards the top of the frame.
-
Use the Torx T5 screwdriver to remove the two 5mm screws in the bottom corners of the frame.
-
Lift out the motherboard from the case.
-
-






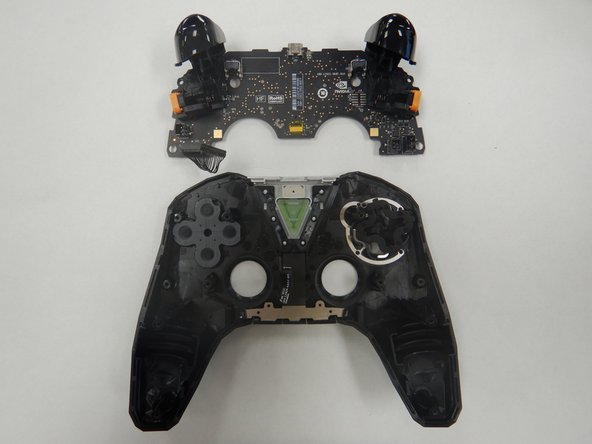


To reassemble your device, follow these instructions in reverse order.
Cancel: I did not complete this guide.
3 other people completed this guide.

Team

The Citadel Military College of South Carolina, Team S2-G10, Eggleston Fall 2020 Member of The Citadel Military College of South Carolina, Team S2-G10, Eggleston Fall 2020
CMCSC-EGGLESTON-F20S2G10
3 Members
24 Guides authored
