Free Shipping on Domestic Orders $75+

Nostalgia Electrics RHP-310 Replacing Fan Replacement

What you need

  1. Nostalgia Electrics RHP-310 Replacing Fan Replacement, Power Switch: step 1, image 1 of 1
    • Unplug the popper.

    • Lift the lid up to remove it.

    Ask FixBot
  2. Nostalgia Electrics RHP-310 Replacing Fan Replacement: step 2, image 1 of 1
    • Lay the popper on its side.

    • Remove the five 12mm Philips #2 screws around the perimeter of the base with the Phillips #2 screwdriver.

    • Remove the two 15mm Philips #2 screws in the center of the base with the Phillips #2 screwdriver.

    • Put the removed screws in a safe place, they will be needed later to reattach the housing to the base.

    Ask FixBot
  3. Nostalgia Electrics RHP-310 Replacing Fan Replacement: step 3, image 1 of 1
    • Flip the base over to view the interior of the base panel.

    • Unscrew the two 10 mm Philips #2 screws from the base panel.

    • Remove the base and set it aside.

    Ask FixBot
  4. Nostalgia Electrics RHP-310 Replacing Fan Replacement: step 4, image 1 of 2 Nostalgia Electrics RHP-310 Replacing Fan Replacement: step 4, image 2 of 2
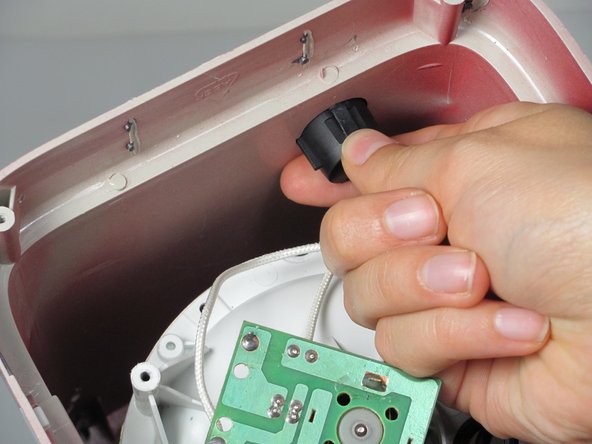
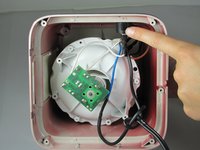
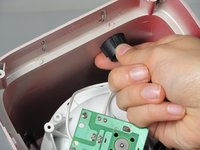
    • Locate the power switch connected to the side of the housing.

    • Pinch the sides of the power switch.

    • Push the power button up and out of the housing.

    Ask FixBot
  5. Nostalgia Electrics RHP-310 Replacing Fan Replacement: step 5, image 1 of 1
    • Remove the wires connected to the power switch that should be detached from the housing.

    • Gently pry the wires loose from the power switch with the plastic opening tool.

    • The wires should easily pop out from the power switch.

    Ask FixBot
  6. Nostalgia Electrics RHP-310 Replacing Fan Replacement: step 6, image 1 of 1
    • Remove the power switch from the housing unit.

    • You can now replace the power switch, if necessary.

    Ask FixBot
  7. Nostalgia Electrics RHP-310 Replacing Fan Replacement, Housing: step 7, image 1 of 2 Nostalgia Electrics RHP-310 Replacing Fan Replacement, Housing: step 7, image 2 of 2
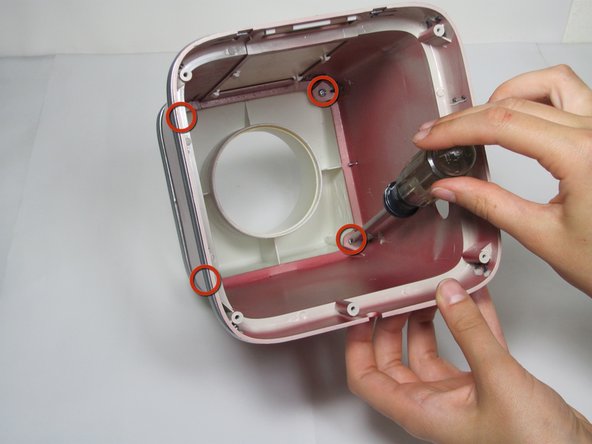
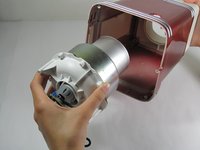
    • Gently remove the heating component from the popper.

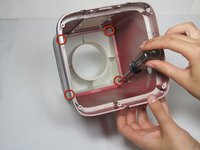
    • Unscrew the four screws (11mm Philips #2 screws) that connect the white top to the housing.

    • Save the screws from this step. You will need them to connect the new housing to the white top.

    Ask FixBot
  8. Nostalgia Electrics RHP-310 Replacing Fan Replacement: step 8, image 1 of 1
    • Remove the white top from the housing.

    Ask FixBot
  9. Nostalgia Electrics RHP-310 Replacing Fan Replacement, Replacing Fan: step 9, image 1 of 1
    • Unscrew the three 10 mm Philips #2 screws that hold the heating component together.

    • Keep the screws in a safe place. You will need them to put the heating component back together.

    Ask FixBot
  10. Nostalgia Electrics RHP-310 Replacing Fan Replacement: step 10, image 1 of 1
    • Pull the heating component apart.

    Ask FixBot
  11. Nostalgia Electrics RHP-310 Replacing Fan Replacement: step 11, image 1 of 2 Nostalgia Electrics RHP-310 Replacing Fan Replacement: step 11, image 2 of 2
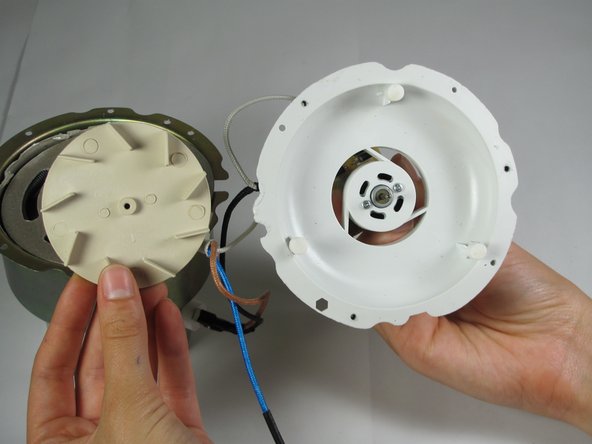
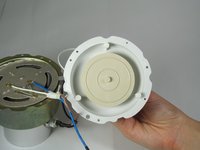
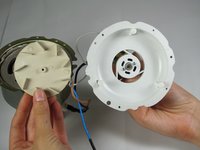
    • Locate the fan.

    • Pull the fan off the motor.

    • Do not pull too hard or you will break the motor.

    Ask FixBot
  12. Nostalgia Electrics RHP-310 Replacing Fan Replacement: step 12, image 1 of 1
    • You can now replace the fan. If there is debris, clean it out.

    Ask FixBot
Conclusion

To reassemble your device, follow these instructions in reverse order.

One other person completed this guide.

Dana Clarke

Member since: 09/26/12

50 Reputation

6 Guides authored

Team

Cal Poly, Team 16-57, Forte Fall 2012 Member of Cal Poly, Team 16-57, Forte Fall 2012

CPSU-FORTE-F12S16G57

5 Members

6 Guides authored

0 Guide Comments

Add Comment

View Statistics:

Past 24 Hours: 0

Past 7 Days: 5

Past 30 Days: 67

All Time: 1,136