
Nook HD+ Charging Port Replacement

Bayleigh Fouts and 2 other contributors
Last updated on Jun 7, 2022
Views: 1.4K
View statistics:
- Past 24 Hours:
- 5
- Past 7 Days:
- 21
- Past 30 Days:
- 89
- All Time:
- 1,445
Comments: 1
1 guide comment.
Go to guide commentsCompleted: 1 2
1 person has marked this guide "completed." Will you be next?
2 people have marked this guide "completed." Including you — great job!
Favorites: 0 1
No one has favorited (and subscribed to) this guide. Will you be the first?
1 person has favorited (and subscribed to) this guide — and that's you!
Introduction
Go to step 1 ↓This guide shows how to replace the Nook HD+ charging port in 8 easy to understand steps. The tools needed to replace this piece of the Nook HD+ are the plastic opening tool, a T5 screwdriver, tweezers, and a soldering iron. A guide explaining how to solder and desolder connections is here to help replace the charging port.
Make sure to treat the motherboard gently throughout the entire process to minimize damages, and be mindful of where and how hard the soldering iron is placed on connections. Being too forceful with the iron may harm the motherboard to the point of it being unfixable and in need of a replacement.
What you need
Tools


-
-
-
Open the plastic frame by wedging the plastic iFixit opening tool under the plastic frame to remove adhesive.
-
Pop up all plastic tabs that secure the frame to the chassis.
 Ask FixBot
-
-
-
Remove twenty 5.0 mm Torx T5 screws that hold the chassis to the back casing using a screwdriver.
-
Disconnect battery from motherboard.
-
Remove back casing.
-
-
Tool used on this step:Tweezers$4.99
-
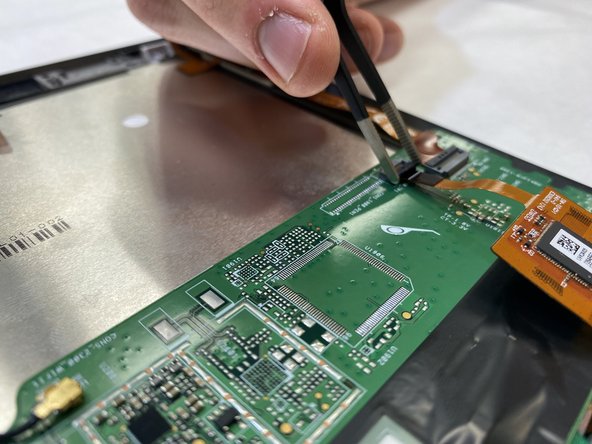
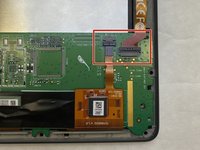
Disconnect both ribbons from the motherboard by pulling up on the dark grey flaps and pulling out the ribbons.
-
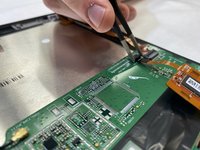
Use tweezers to lift the flaps.
-
-
-
Disconnect the small red and black ribbon connected to the speaker from the white clip on the motherboard.
-
No tool is needed. Gently pull on the wires until the piece disconnects.
-
-
-
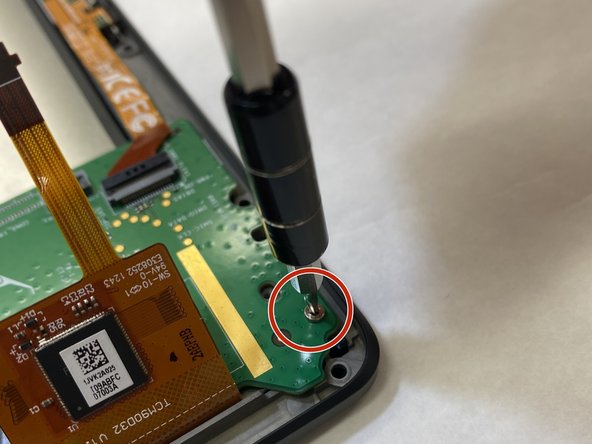
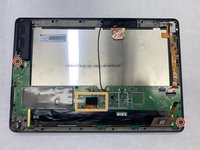
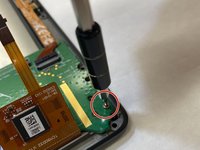
Remove two 5.0 mm Torx T5 screws attached to the motherboard using a screwdriver.
-
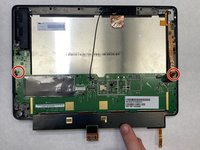
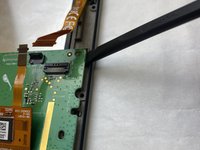
Lift the small foam piece attached to the black strip on the motherboard and gently pull up.
-
-
-
-
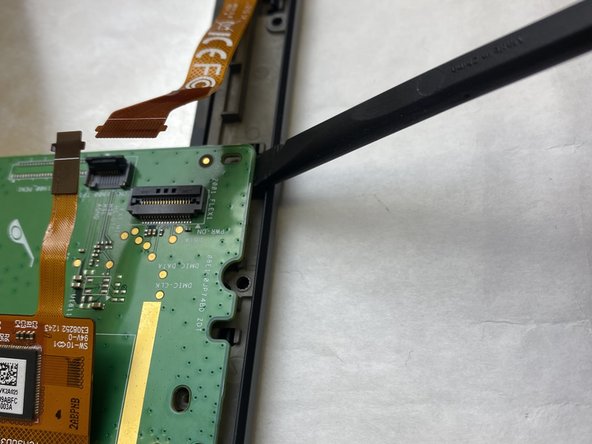
With the black strip lifted, carefully snap the motherboard out of the plastic pieces holding it down.
-
Remove the motherboard.
-
-
-
-
-
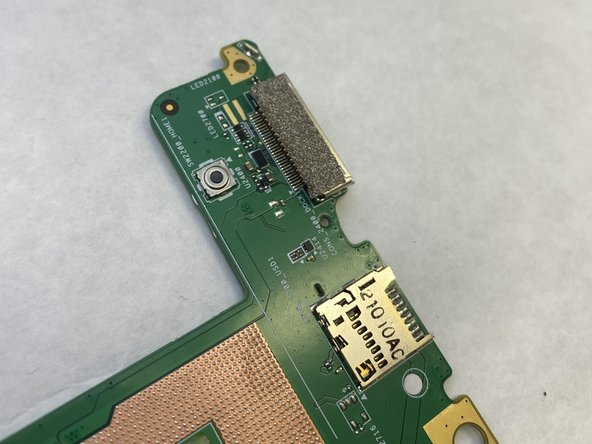
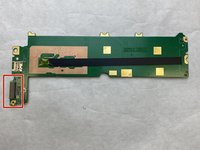
Once removing the motherboard, flip it over and locate the charging port. Use a soldering iron to disconnect the charging port from the motherboard. If confused here's a reference.
-
Solder the new charging port to the motherboard.
-
-






To reassemble your device, follow these instructions in reverse order.
Cancel: I did not complete this guide.
One other person completed this guide.

Team

IUPUI, Team 3-3, Harley Spring 2022 Member of IUPUI, Team 3-3, Harley Spring 2022
IUPUI-HARLEY-S22S3G3
3 Members
36 Guides authored
