
Nook Color Motherboard Replacement

Matthew Perdomo and 7 other contributors
Last updated on Jul 10, 2024
Views: 1.6K
View statistics:
- Past 24 Hours:
- 3
- Past 7 Days:
- 17
- Past 30 Days:
- 93
- All Time:
- 1,595
Comments: 1
1 comment on steps.
Completed: 3 4
3 people have marked this guide "completed." Will you be next?
4 people have marked this guide "completed." Including you — great job!
Favorites: 2 3
2 people have favorited (and subscribed to) this guide. Will you be next?
3 people have favorited (and subscribed to) this guide — including you!
Needs More Images
A few more images would make this guide's procedures crystal clear.
Missing Steps
Oops! This guide is currently missing one or more important steps.
Better Introduction
Improve this guide by completing or revising its introduction.
What you need
Tools


-
-
-
Remove the two 3.8 mm screws located in the back right corner of the device using the T5 Torx screwdriver.
 Ask FixBot
-
-
-
Pry off the back cover with the plastic opening tool. Go around the device with the tool to ensure complete detachment.
-
-
-
-
-
Remove the ten 4.0 mm screws from the device's perimeter using the T5 Torx screwdriver.
-
-
-
-
-
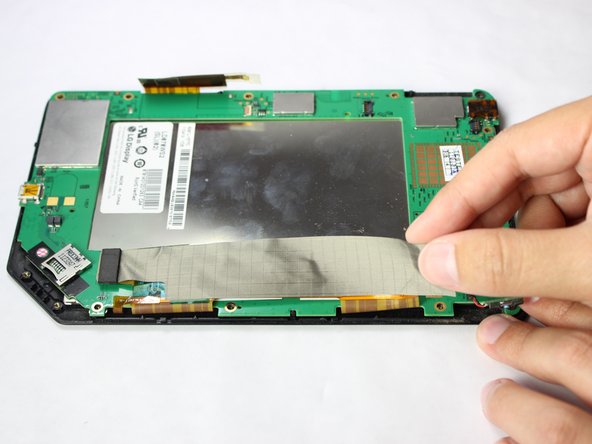
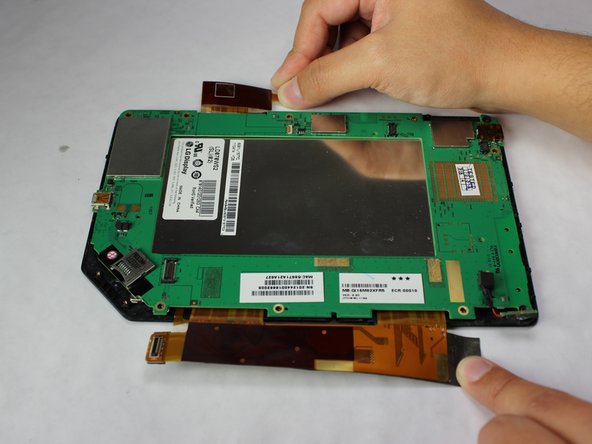
Gently lift and peel the orange and grey ribbon connectors to disconnect the screen and motherboard.
-
-
-
-
Remove the easy-to-miss T5 Torx 3.8 mm screw located in the tabbed corner of the device.
-
-
-
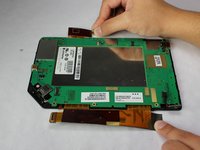
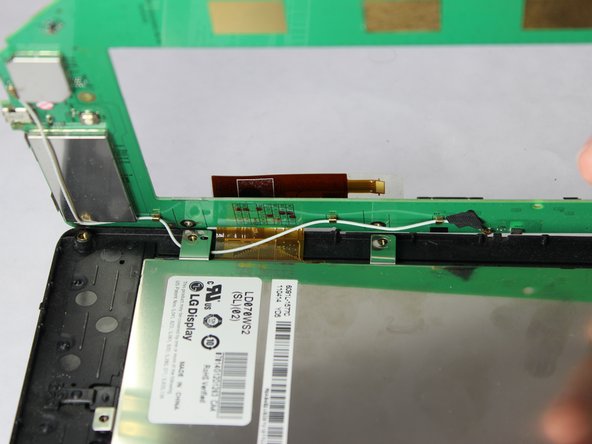
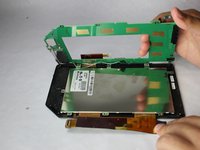
Lift the motherboard gently from the side with the larger connector ribbon.
-
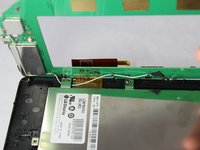
Slide the white cable gently from underneath its holding place to free the motherboard completely.
-
Remove the motherboard carefully from the device.
-
-


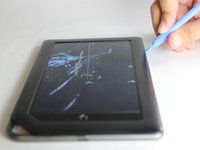
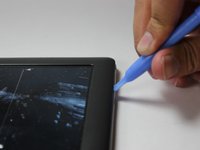


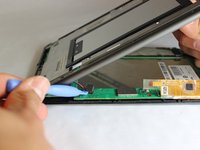
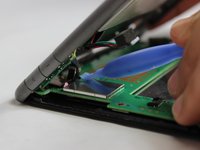



To reassemble your device, follow these instructions in reverse order.
Cancel: I did not complete this guide.
3 other people completed this guide.

Team

USF Tampa, Team 11-5, Blackwell Winter 2015 Member of USF Tampa, Team 11-5, Blackwell Winter 2015
USFT-BLACKWELL-W15S11G5
3 Members
84 Guides authored
