
Nook BNRV300 Battery Replacement

Emily Tracy and 2 other contributors
Last updated on Dec 18, 2019
Views: 5.3K
View statistics:
- Past 24 Hours:
- 5
- Past 7 Days:
- 24
- Past 30 Days:
- 121
- All Time:
- 5,272
Comments: 9
8 comments on steps, 1 guide comment.
Go to guide commentsCompleted: 5 6
5 people have marked this guide "completed." Will you be next?
6 people have marked this guide "completed." Including you — great job!
Favorites: 0 1
No one has favorited (and subscribed to) this guide. Will you be the first?
1 person has favorited (and subscribed to) this guide — and that's you!
Introduction
Go to step 1 ↓The battery is one of the most common components in need of replacement. This guide contains instructions for removing the 3.7 V lithium-ion polymer battery in the Nook BNRV300 device. This device is also called the “Nook Simple Touch.”
Without a properly-functioning battery, your Nook will not operate. First try troubleshooting your Nook device using these guides if your Nook does not power on, or your Nook will not hold a charge. If your Nook device still fails to operate properly, then follow this Nook BNRV300 Battery Replacement Guide.
Warning: If the battery is swelling, causing discoloration, or smelling bad, removing it may be dangerous. If you suspect your battery is damaged, see this helpful guide for what to do with a swollen battery.
What you need
Tools
-
Spudger4.9
-


-
-
-
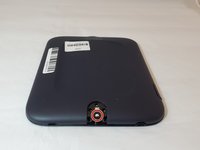
Turn the Nook over to find the power button along the back upper edge.
-
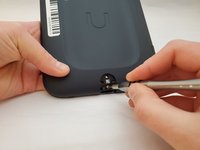
Wedge the spudger between the top of the power button and the upper edge of the device.
-
Push the tool down to pry the button up and off.
 Ask FixBot
-
-
-
-
-
Peel off the white sticker that is covering the screw head.
-
Remove the one 2mm-long screw using a size T5 Torx screwdriver.
-
-
-
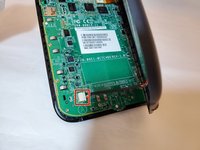
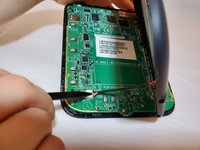
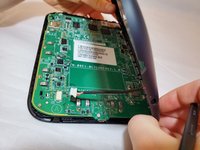
Use a spudger or your fingers to gently pry the connector out of the white socket.
-
The back cover is now fully detached.
-
-
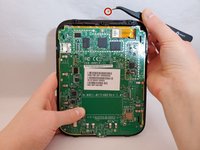
Tool used on this step:Tweezers$4.99
-
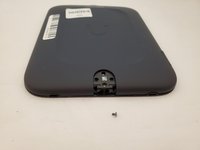
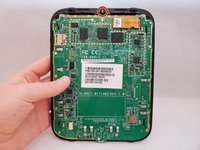
Use tweezers to remove the brass-colored threaded fastener from the Nook plastic casing.
-
-
-
-
-
-
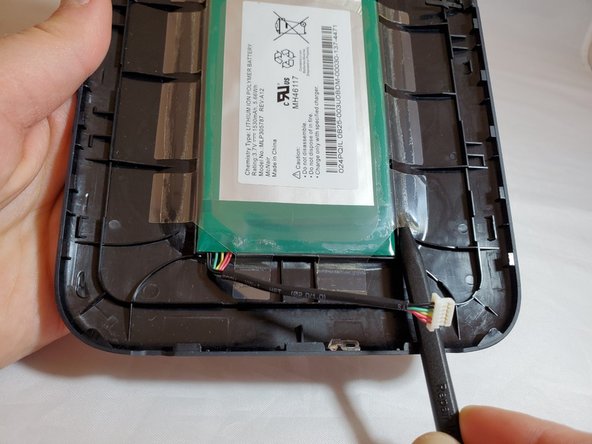
Insert a nylon spudger beneath the clear plastic adhesive holding the battery to the back cover.
-
Work around the battery, peeling up all of the adhesive.
-
-
-
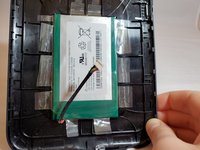
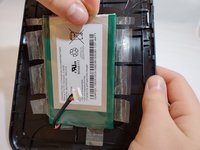
Hold on to one of the adhesive tabs and pull up.
-
This will fully remove the battery from its compartment.
-
-









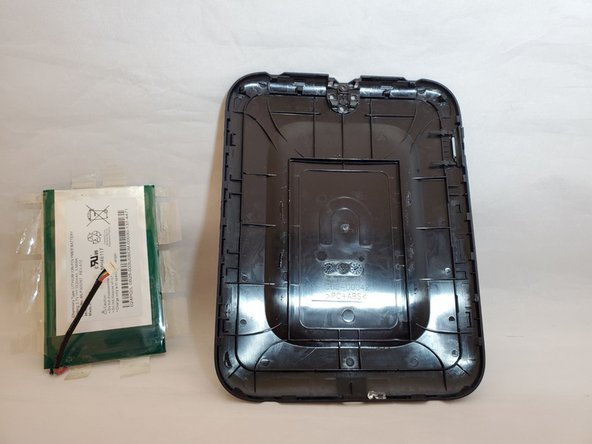
To reassemble your device, follow these instructions in reverse order.
Cancel: I did not complete this guide.
5 other people completed this guide.

Team

Eastern Washington University, Team S1-G1, Al-Hmeyrat Fall 2019 Member of Eastern Washington University, Team S1-G1, Al-Hmeyrat Fall 2019
EWU-AL-HMEYRAT-F19S1G1
3 Members
60 Guides authored
