Introduction
To replace any of your Nook’s other components, you must first remove the back cover. This guide demonstrates the steps you will need in order to remove the Nook BNRV300 back cover. This device is also called the “Nook Simple Touch.”
Before working on your device, remove the microSD card (if there is one). This will protect the memory of your card. The microSD card is located in a slot on the upper right side of the device.
This guide will enable access to the battery, motherboard, and display.
What you need
-
-
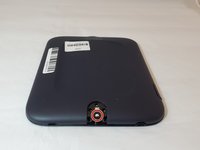
Turn the Nook over to find the power button along the back upper edge.
-
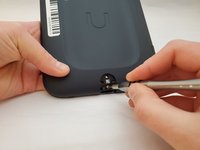
Wedge the spudger between the top of the power button and the upper edge of the device.
-
Push the tool down to pry the button up and off.
 Ask FixBot
-
-
-
-
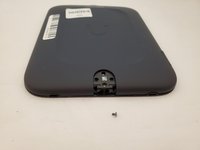
Peel off the white sticker that is covering the screw head.
-
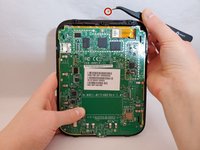
Remove the one 2mm-long screw using a size T5 Torx screwdriver.
-
-
-
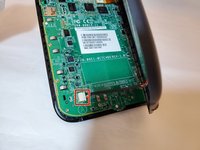
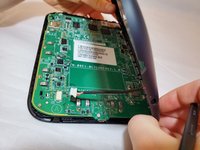
Use a spudger or your fingers to gently pry the connector out of the white socket.
-
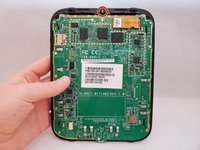
The back cover is now fully detached.
-
-
Tool used on this step:Tweezers$4.99
-
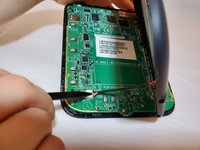
Use tweezers to remove the brass-colored threaded fastener from the Nook plastic casing.
-


To reassemble your device, follow these instructions in reverse order.
Cancel: I did not complete this guide.
3 other people completed this guide.

Team

Eastern Washington University, Team S1-G1, Al-Hmeyrat Fall 2019 Member of Eastern Washington University, Team S1-G1, Al-Hmeyrat Fall 2019
EWU-AL-HMEYRAT-F19S1G1
3 Members
5 Guides authored