
Nokia E61i Microphone Replacement

Christopher Patton and 8 other contributors
Last updated on Jan 15, 2026
Views: 2.9K
View statistics:
- Past 24 Hours:
- 3
- Past 7 Days:
- 22
- Past 30 Days:
- 98
- All Time:
- 2,945
Comments: 0
No one has left comments on this guide. Will you be first?
Go to guide commentsCompleted: 1 2
1 person has marked this guide "completed." Will you be next?
2 people have marked this guide "completed." Including you — great job!
Favorites: 0 1
No one has favorited (and subscribed to) this guide. Will you be the first?
1 person has favorited (and subscribed to) this guide — and that's you!
Missing Steps
Oops! This guide is currently missing one or more important steps.
Action Shots
Be an action hero! This guide needs images that better demonstrate how to perform specific actions.
Needs Better Images
Better photos will improve this guide. Help out by taking, editing, or uploading new ones!
Introduction
Go to step 1 ↓If your Nokia E61i isn't recognizing headphones, creates a distorted sound or has a loose connection when headset is plugged in, the headset may need a replacement. This guide will walk you through how to open the phone and remove the faulty headset jack. Make sure you have a clean workspace and the correct tools before you begin.
What you need
Tools


-
-
-
First, gather all necessary tools.
-
Remove the back cover to access the battery by pushing the tab on the bottom of the cover.
-
Slide the back cover downwards off of the phone while pressing down on the tab.
 Ask FixBot
-
-
-
Locate the bottom-left corner of the phone where there is a spot to remove the battery.
-
-
-
-
-
To remove the top of the back cover, pry the sides and pop it off.
-
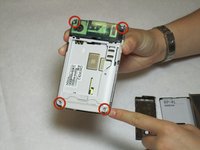
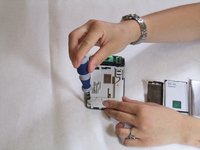
Remove the four screws that secure the front cover to the rest of the phone using a T7 screwdriver.
-
-
-
-
-
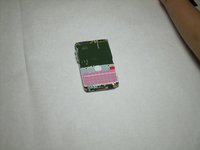
Take off the casing and keyboard.
-
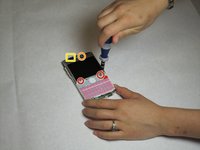
Remove the screws while holding the screen in place using a Torx T6 screwdriver.
-
Remove the single screw while holding the screen in place using a Torx T5 screwdriver.
-
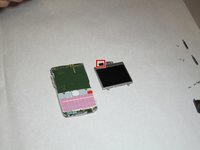
Lift the ribbon, disconnecting contact with the motherboard.
-
-
-
Gently pull the screen off of the phone.
-
Be sure not to rip the sticker that connects the display and the motherboard.
-
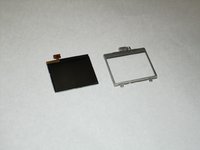
Pull the silver case off to completely free the cracked or damaged screen.
-
-
-
-
-
-
-
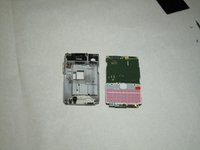
Remove the connector housing by pushing and sliding it off the back panel.
-
-
-
-
-
After the connector housing has been removed, there is nothing else holding the microphone in place. Simply remove it from the housing by pulling up.
-
-




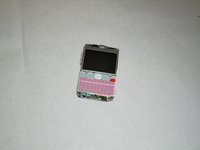




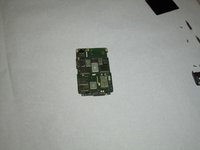


To reassemble your device, follow these instructions in reverse order. Take your e-waste to an R2 or e-Stewards certified recycler.
Cancel: I did not complete this guide.
One other person completed this guide.

Team

Cal Poly, Team 9-63, Walters Spring 2011 Member of Cal Poly, Team 9-63, Walters Spring 2011
CPSU-WALTERS-S11S9G63
5 Members
144 Guides authored
