Free Shipping on Domestic Orders $75+

Nokia 8390 Motherboard Replacement

What you need

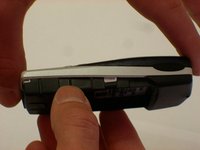
  1. Nokia 8390 Motherboard Replacement, Back Cover: step 1, image 1 of 1
    • Locate the button on the bottom of the back cover.

    Ask FixBot
    Add Comment

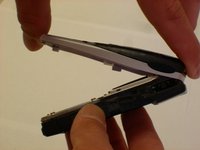
  2. Nokia 8390 Motherboard Replacement: step 2, image 1 of 3 Nokia 8390 Motherboard Replacement: step 2, image 2 of 3 Nokia 8390 Motherboard Replacement: step 2, image 3 of 3
    • Depress the button with your finger.

    • While the button is depressed, slide the back cover off of the phone.

    Ask FixBot
    Add Comment

  3. Nokia 8390 Motherboard Replacement, Outer Case: step 3, image 1 of 3 Nokia 8390 Motherboard Replacement, Outer Case: step 3, image 2 of 3 Nokia 8390 Motherboard Replacement, Outer Case: step 3, image 3 of 3
    • Grasp the top and bottom of the front cover.

    • Grasp the phone body with your other hand.

    • Lightly pull the casing off of the phone.

    Ask FixBot

    Add Comment

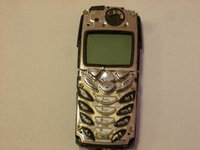
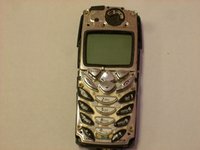
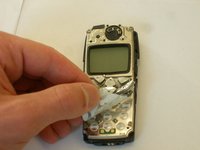
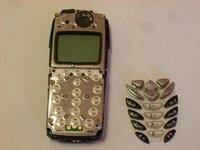
  4. Nokia 8390 Motherboard Replacement, Keypad: step 4, image 1 of 3 Nokia 8390 Motherboard Replacement, Keypad: step 4, image 2 of 3 Nokia 8390 Motherboard Replacement, Keypad: step 4, image 3 of 3
    • Lightly peel the keypad off of the phone.

    Ask FixBot

    Add Comment

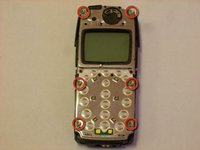
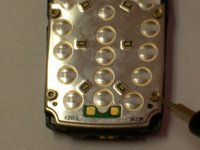
  5. Nokia 8390 Motherboard Replacement, Motherboard: step 5, image 1 of 3 Nokia 8390 Motherboard Replacement, Motherboard: step 5, image 2 of 3 Nokia 8390 Motherboard Replacement, Motherboard: step 5, image 3 of 3
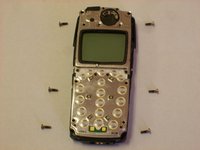
    • Locate the six star-shaped screws on the phone.

    • Note: There are two on the bottom end, two in the middle, and two on the top end.

    • Remove these screws using the screwdriver.

    Ask FixBot

    Add Comment

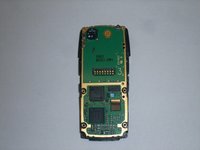
  6. Nokia 8390 Motherboard Replacement: step 6, image 1 of 3 Nokia 8390 Motherboard Replacement: step 6, image 2 of 3 Nokia 8390 Motherboard Replacement: step 6, image 3 of 3
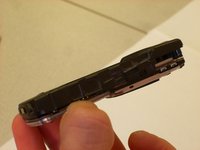
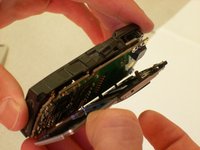
    • Grab the top and bottom of the phone casing.

    • Carefully pull the motherboard apart from the bottom casing.

    • The circuit board should be divided into two parts.

    Ask FixBot
    Add Comment

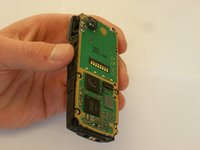
  7. Nokia 8390 Motherboard Replacement: step 7, image 1 of 3 Nokia 8390 Motherboard Replacement: step 7, image 2 of 3 Nokia 8390 Motherboard Replacement: step 7, image 3 of 3
    • Grab the top and bottom of the remaining casing.

    • Carefully pull apart the casing from the circuit board.

    Ask FixBot
    Add Comment

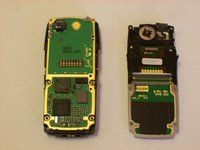
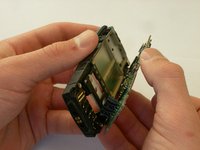
  8. Nokia 8390 Motherboard Replacement: step 8, image 1 of 1
    • The circuit board should be divided into three parts, completely separate from the back casing, as shown.

    Ask FixBot
    Add Comment

Conclusion

To reassemble your device, follow these instructions in reverse order.

Cancel: I did not complete this guide.

Clinton

Member since: 10/22/12

57 Reputation

7 Guides authored

Team

Clemson, Team 14-5, Benson Fall 2012 Member of Clemson, Team 14-5, Benson Fall 2012

CLEM-BENSON-F12S14G5

3 Members

29 Guides authored

0 Guide Comments

Add Comment

View Statistics:

Past 24 Hours: 0

Past 7 Days: 6

Past 30 Days: 29

All Time: 875