Introduction
Installing a new speaker may be necessary if you are having trouble hearing those you are communicating with. Installation should only be done as a last resort, after trying all other possible solutions as listed in the Nokia 8290 Troubleshooting Guide. Installation requires no prior knowledge of mobile phone speakers.
What you need
-
-
Locate the small button on the top of the phone.
-
Depress the button.
-
With your other hand, pull the front cover away from the phone.
 Ask FixBot
-
-
-
Remove all six 5.3 mm long T6 screws.
-
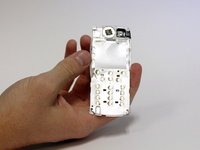
Remove the circuit board/faceplate sub-assembly from the back of the phone.
-
-
-
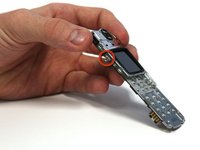
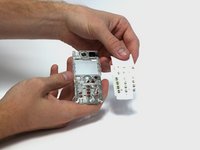
Using your fingers, pull the small plastic tab away from the circuit board/faceplate sub-assembly.
-
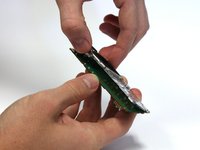
Rotate the faceplate away from the circuit board.
-
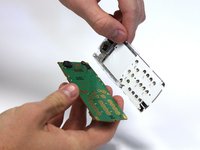
Gently remove the faceplate from the circuit board, taking care to not break the small plastic tab on the other side of the sub-assembly.
-
-
-
-
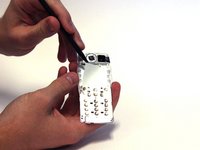
Hold the faceplate with the adhesive film facing upwards.
-
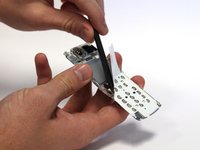
Use the spudger to pry the adhesive film away. This can be done by working the tool back and forth underneath the film.
-
-
-
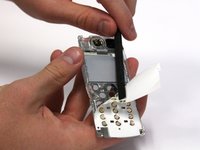
Continue to loosen the film with the spudger.
-
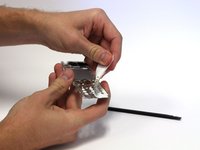
Once the film has been mostly loosened, you can peel away the film.
-
-
-
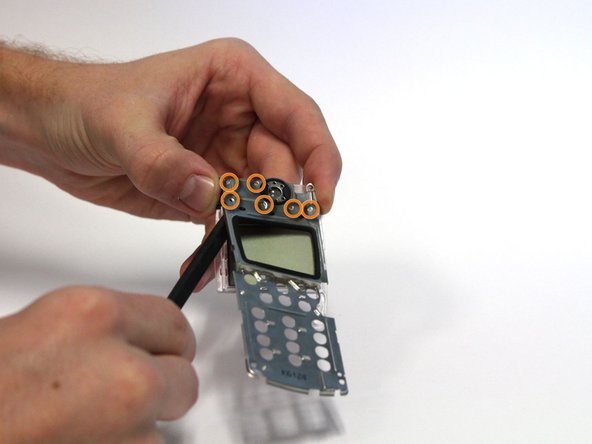
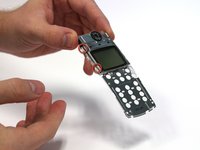
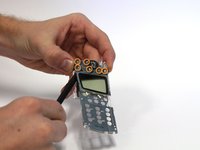
Using your fingers or a probe, loosen the four small tabs located on the side of the faceplate sub-assembly by gently bending up the metal cover. (Two are shown in the picture while the other two are on the other side of the screen.)
-
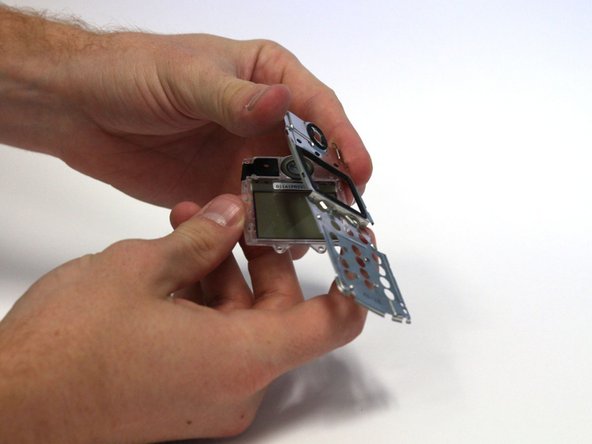
Using the spudger, loosen the metal cover by prying it away from the six small plastic tabs. This can be done by gently working the spudger underneath the cover and pressing up on the cover around the tabs.
-
Remove the metal cover.
-
-
-
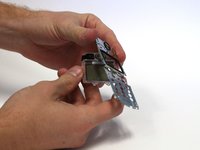
Hold the remaining component tray face up.
-
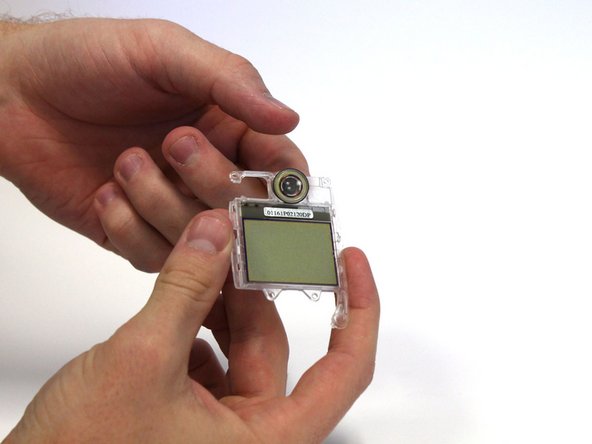
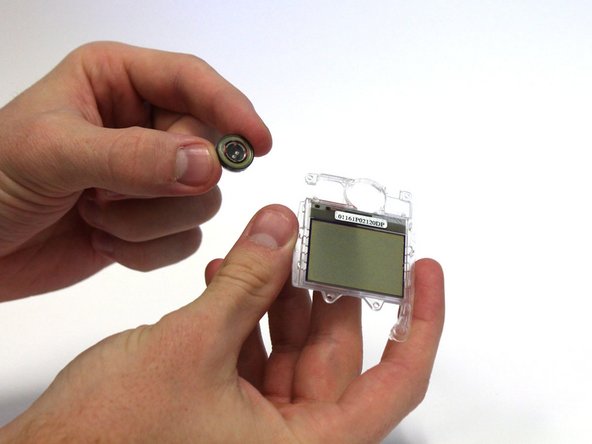
Push the speaker from behind to remove it from the tray.
-








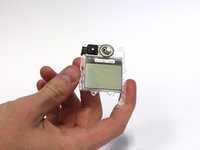
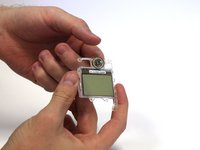
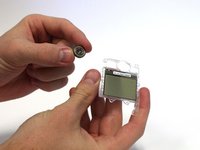
To reassemble your device, follow these instructions in reverse order.
Cancel: I did not complete this guide.
One other person completed this guide.

Team

Clemson, Team 15-3, Benson Fall 2012 Member of Clemson, Team 15-3, Benson Fall 2012
CLEM-BENSON-F12S15G3
3 Members
33 Guides authored
