
Nokia 8290 Microphone Replacement

Parker Niebauer and 5 other contributors
Last updated on May 7, 2024
Views: 830
View statistics:
- Past 24 Hours:
- 0
- Past 7 Days:
- 9
- Past 30 Days:
- 58
- All Time:
- 830
Comments: 0
No one has left comments on this guide. Will you be first?
Go to guide commentsCompleted: 1 2
1 person has marked this guide "completed." Will you be next?
2 people have marked this guide "completed." Including you — great job!
Favorites: 0 1
No one has favorited (and subscribed to) this guide. Will you be the first?
1 person has favorited (and subscribed to) this guide — and that's you!
Introduction
Go to step 1 ↓Installing a new microphone may be necessary if those receiving calls from you are unable to hear you. Installation should only be done as a last resort, after trying all other possible solutions as listed in the Nokia 8290 Troubleshooting Guide. Installation requires no prior knowledge of mobile phone microphones.
What you need
Tools
-
-
Spudger4.9
-


-
-
-
Locate the small button on the top of the phone.
-
Depress the button.
-
With your other hand, pull the front cover away from the phone.
 Ask FixBot
-
-
-
-
-
Remove all six 5.3 mm long T6 screws.
-
Remove the circuit board/faceplate sub-assembly from the back of the phone.
-
-
-
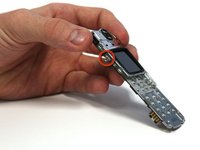
Using your fingers, pull the small plastic tab away from the circuit board/faceplate sub-assembly.
-
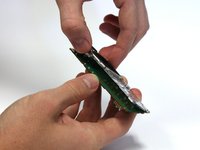
Rotate the faceplate away from the circuit board.
-
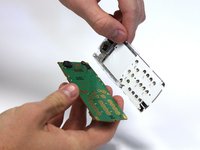
Gently remove the faceplate from the circuit board, taking care to not break the small plastic tab on the other side of the sub-assembly.
-
-
-
-
-
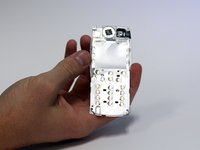
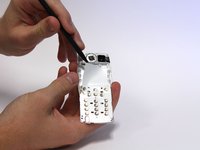
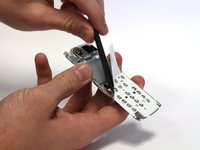
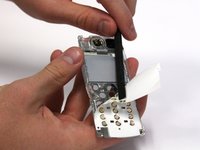
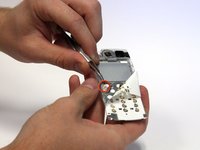
Use the spudger to peel back the top-left corner of the white adhesive film. This can be done by working the spudger back and forth underneath the film.
-
-
-
Tool used on this step:Tweezers$4.99
-
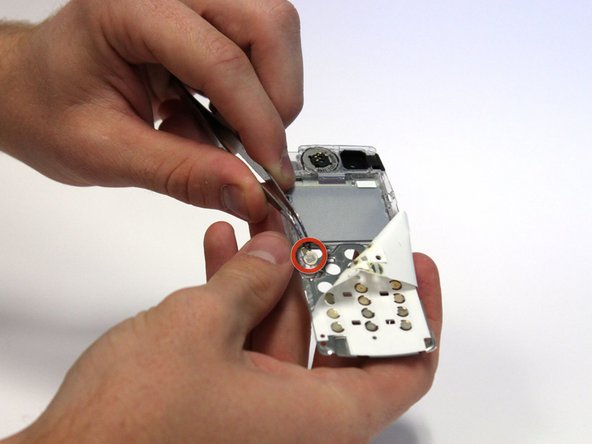
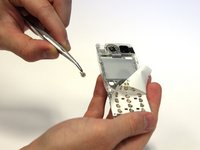
Continue to peel the film back until you can see the microphone.
-
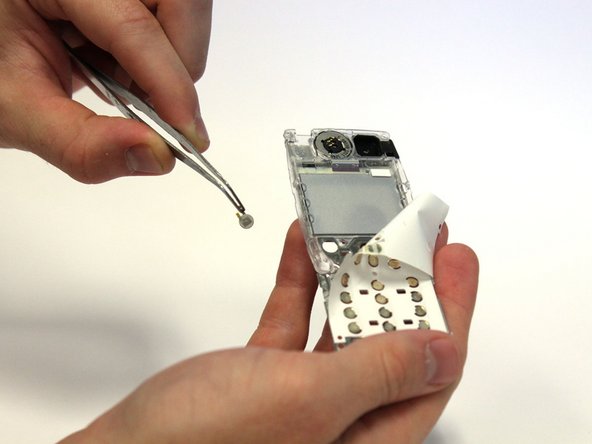
Use tweezers to remove the microphone.
-
-





To reassemble your device, follow these instructions in reverse order.
Cancel: I did not complete this guide.
One other person completed this guide.

Team

Clemson, Team 15-3, Benson Fall 2012 Member of Clemson, Team 15-3, Benson Fall 2012
CLEM-BENSON-F12S15G3
3 Members
132 Guides authored
