
Nokia 6102i Keyboard Replacement

Jonathan Brophy and 6 other contributors
Last updated on Feb 19, 2016
Views: 2.3K
View statistics:
- Past 24 Hours:
- 0
- Past 7 Days:
- 3
- Past 30 Days:
- 37
- All Time:
- 2,306
Comments: 0
No one has left comments on this guide. Will you be first?
Go to guide commentsCompleted: 0 1
No one has marked this guide "completed." Will you be the first?
1 person has marked this guide "completed." It's you — great job!
Favorites: 0 1
No one has favorited (and subscribed to) this guide. Will you be the first?
1 person has favorited (and subscribed to) this guide — and that's you!
Action Shots
Be an action hero! This guide needs images that better demonstrate how to perform specific actions.
Incorrect Tools
Help make this guide better by using the correct tools in images and/or text.
Inconsistent Images
Updating the images on this guide to be more consistent with the prerequisites would increase its awesomeness.
Introduction
Go to step 1 ↓Removing the keyboard from the Nokia 6102i
What you need
Tools


-
-
-
Press and hold the button at the bottom of the back side of the phone while sliding the back plate down to remove the back cover.
-
Note: Images on the right side may be hovered over to reveal larger versions.
 Ask FixBot
-
-
-
-
-
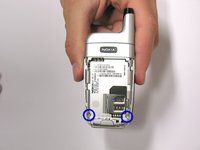
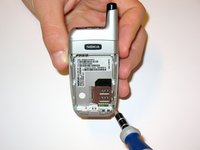
Using a .208 head T-6 Screwdriver remove the two screws at the bottom of the battery cavity.
-
-
-
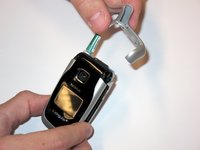
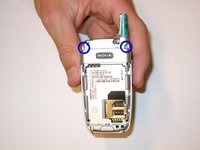
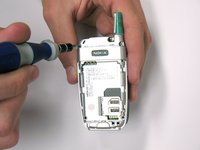
Remove the two newly revealed .208 inch screws at the top using a T-6 screwdriver.
-
-
-
-
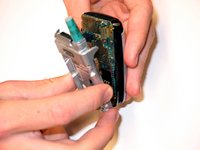
WARNING: Use extreme caution when removing and handling the logic board as it is very fragile.
-
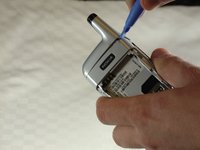
With caution, use a plastic prier to separate the back silver casing from the front of the phone. This may require force.
-
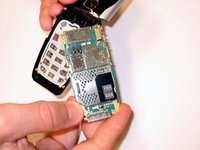
Disconnect the logic board from the small orange chip.
-
-
-
-
-
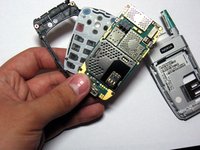
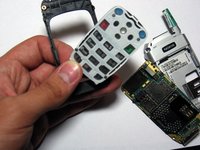
Pop out the keyboard from the frame.
-
The picture is showing the three layers: the frame, the keyboard, and the logic board.
-
-










To reassemble your device, follow these instructions in reverse order.

Team

Cal Poly, Team 23-78, Johann Spring 2010 Member of Cal Poly, Team 23-78, Johann Spring 2010
CPSU-JOHANN-S10S23G78
4 Members
60 Guides authored
