Introduction
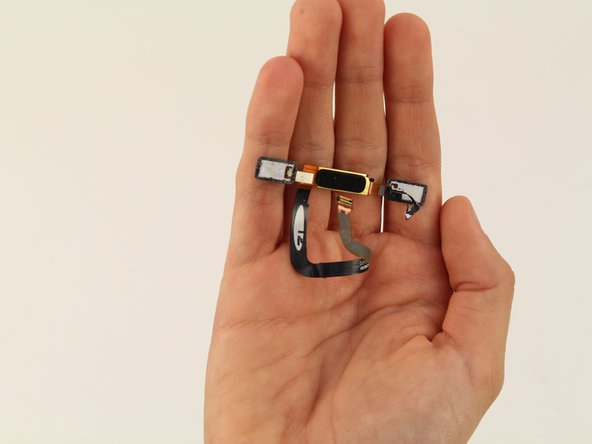
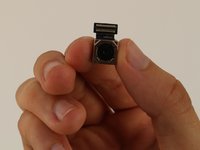
This guide will help you replace the front-facing camera for the Nokia 6.
Be sure to take extra caution when removing it from the motherboard.
What you need
-
-
Insert the SIM card ejection tool into the hole on the left side of the phone.
-
Remove the SIM card and microSD card.
 Ask FixBot
-
-
-
Lay overlapping strips of clear packing tape over the Nokia 6's display until the whole screen is covered.
-
-
-
To soften the adhesive, use a heat gun and heat one edge of the phone for five minutes.
-
To use the heat gun, plug it into an outlet.
-
-
-
Take a Jimmy and slide it under the glass after the adhesive has been softened.
-
Place a pick under the glass after lifting with the pry tool so that the screen won't re-adhere to the frame again.
-
-
-
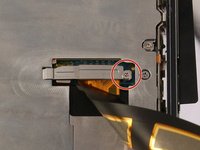
Use a Phillips #000 screwdriver to remove the 1 mm x 1.4 mm screw holding down the metal bracket over the screen ribbon connector.
-
-
-
-
Use a spudger to disconnect the screen ribbon connector and free the display assembly.
-
Carefully remove the screen from the device.
-
-
Tool used on this step:Tweezers$4.99
-
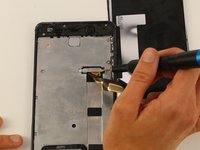
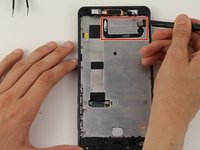
Use a Phillips #00 screwdriver to remove the 1.2 mm x 2.2 mm screw in the upper hand corner of the phone.
-
Use tweezers to remove the bracket.
-
-
-
Detach the cable with the black nylon spudger.
-
Detach the home button and remove it from the device.
-
-
-
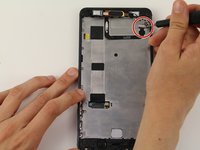
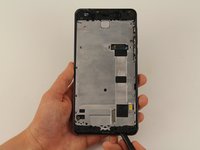
Remove 18 screws.
-
There is one 1 mm x 1.4 mm screw that needs to be removed by a Phillips #000 screwdriver.
-
One of the screws is 1.2 mm x 4.2 mm and will be removed by a Phillips #00.
-
The remaining 16 screws can be removed by the Phillips #00 screwdriver and are 1.2 mm x 2.2 mm.
-
-
-
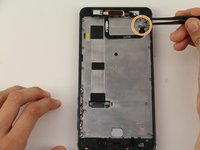
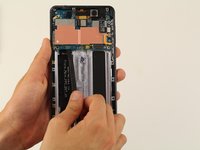
Decouple the midframe with the spudger and remove the midframe from the device.
-
-
Tool used on this step:Tweezers$4.99
-
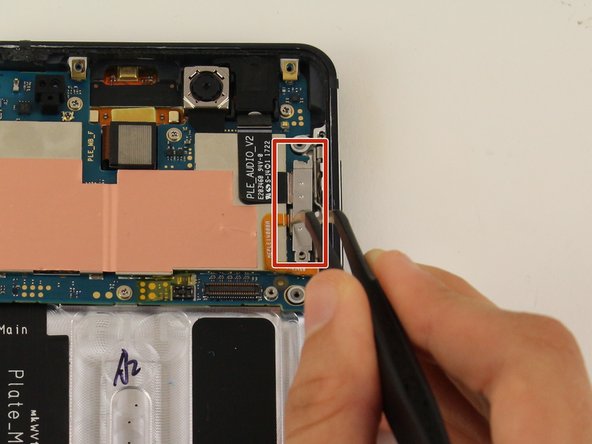
Remove the bracket with tweezers.
-
-
-
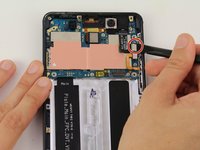
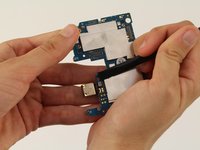
Detach the two cables with the spudger.
-
Detach the cable with a pair of tweezers.
-
-
-
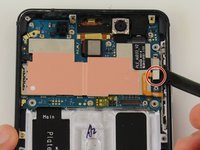
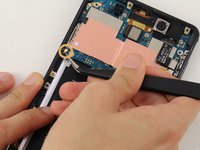
Remove six screws.
-
Two of these screws are 1.0 mm x 1.4 mm and need to be removed by a Phillips #000 screwdriver.
-
The remaining four screws are 1.2 mm x 2.2 mm and are removed by a Phillips #00 screwdriver.
-
-
-
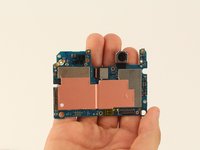
Turn the motherboard around to see the front-facing camera.
-


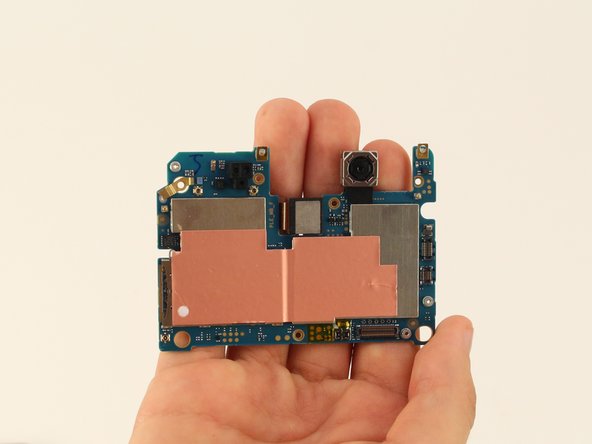


To reassemble your device, follow these instructions in reverse order.

Team

Cal Poly, Team S9-G15, Maness Spring 2019 Member of Cal Poly, Team S9-G15, Maness Spring 2019
CPSU-MANESS-S19S9G15
4 Members
14 Guides authored