What you need
-
-
Slide the black battery cover down and off the phone with your thumb to remove it.
 Ask FixBot
-
-
-
Gently lift the battery with a fingernail to remove it from the back of the phone.
-
-
-
On some models, the front case is screwed down from the back. Follow steps 5 and 6 first to remove the camera cover and two T6 screws, BEFORE removing the faceplate.
-
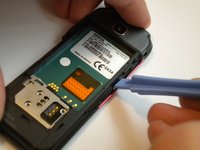
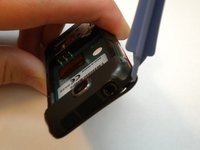
Find a small latch under the music keys and in the middle of each side of the faceplate.
-
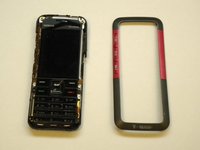
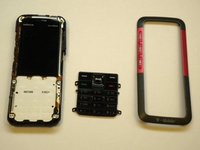
Gently lift the edges of the front faceplate off the phone using a spudger.
-
-
-
-
Flip the phone over to the front side.
-
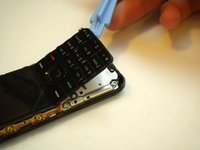
Lift up the keypad from the bottom with either a spudger or your finger.
-
-
-
Flip the phone over to the back side.
-
Unsnap the back camera cover from the phone.
-
Lift to remove the back camera cover from the phone after it has been unsnapped.
-
-
-
Remove the two screws on either side of the camera with the T6 Torx screwdriver.
-
Flip the phone over to the front side.
-
Remove the 4 screws located at each corner of the white keypad base using the T6 Torx screwdriver.
-
-
-
Flip the phone over to the back side.
-
Unclip the faceplate plug (ribbon) located in the lower left corner of the motherboard.
-
-
-
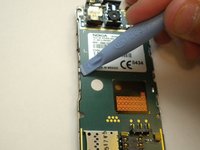
Use a spudger to gently pry the two metal clips in the middle of the left and right sides of the motherboard slightly to provide enough room to lift the motherboard out.
-
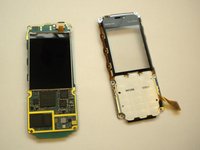
At this point the phone should come apart into two pieces (the motherboard/LCD screen and the faceplate).
-
-
-
Unclip the ribbon plug located on the top of the LCD screen that connects it to the motherboard.
-







To reassemble your device, follow these instructions in reverse order.
Cancel: I did not complete this guide.
6 other people completed this guide.

Team

Cal Poly, Team 15-14, Regan Spring 2011 Member of Cal Poly, Team 15-14, Regan Spring 2011
CPSU-REGAN-S11S15G14
3 Members
12 Guides authored
1 Guide Comment
Thank you much! As efficient & thorough as it gets!
