
Nokia 5165 Screen Replacement

Ethan Pikscher and one other contributor
Last updated on Jul 16, 2019
Views: 570
View statistics:
- Past 24 Hours:
- 1
- Past 7 Days:
- 13
- Past 30 Days:
- 64
- All Time:
- 570
Comments: 0
No one has left comments on this guide. Will you be first?
Go to guide commentsCompleted: 0 1
No one has marked this guide "completed." Will you be the first?
1 person has marked this guide "completed." It's you — great job!
Favorites: 0 1
No one has favorited (and subscribed to) this guide. Will you be the first?
1 person has favorited (and subscribed to) this guide — and that's you!
Community-Contributed Guide
An awesome member of our community made this guide. It was not created by iFixit staff.
What you need

-
-
-
Remove the battery by pushing the button and sliding the battery out a bit then pulling it out
 Ask FixBot
-
-
-
Find the tab at the top of the phone and press down with your fingernail or the flat end of a spudger
-
The top of the cover should pop out and then pull the top part out and the whole thing should come off
-
-
-
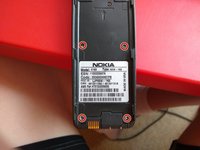
Remove these screws
-
4 T6 Torx Screws
-
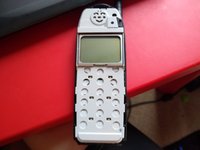
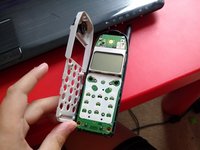
Lift up the white cover
-
-
-
-
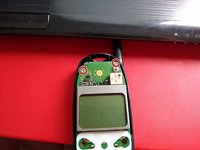
Remove these screws
-
2 T6 Torx screws
-
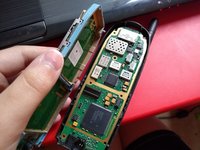
Lift up the screen and number pad assembly
-
Remove the blue seperator and put it on the new screen
-
-




To reassemble your device, follow these instructions in reverse order.

