Free Shipping on Domestic Orders $75+

Nokia 2630b Screen / Front Case Replacement

Views: 4.6K

View statistics:

Past 24 Hours:
2
Past 7 Days:
25
Past 30 Days:
111
All Time:
4,627
Comments: 2

2 guide comments.

Go to guide comments
Completed: 0

No one has marked this guide "completed." Will you be the first?

Favorites: 0

No one has favorited (and subscribed to) this guide. Will you be the first?

Time Required: 5 minutes
Difficulty: Easy
Needs Better Images

Better photos will improve this guide. Help out by taking, editing, or uploading new ones!

Confusing Text

Some of this guide's text is confusing, duplicated, or off-topic. Clarify it by editing!

Missing Steps

Oops! This guide is currently missing one or more important steps.

Slice and Dice

The steps in this guide should be split up and made into a series of prerequisite guides.

Nokia 2630b Screen / Front Case Replacement

Introduction

Go to step 1 ↓

In this guide, we outline how to unscrew and remove the front case from the Nokia 2630b. This grants access to the LCD screen cover and the keyboard.

What you need

Tools

  • iFixit Opening Tool
    4.8

    Either size should work for this repair.

  • T5 Torx Screwdriver
    4.9

    The size of the screwdriver head is usually written on the tool.

    1. Nokia 2630b Screen / Front Case Replacement, Battery Case: step 1, image 1 of 2 Nokia 2630b Screen / Front Case Replacement, Battery Case: step 1, image 2 of 2
      • Press and the release button on both sides of the battery cover. While holding down the release buttons pull the battery cover away from the phone

      Ask FixBot

      Add Comment

    2. Nokia 2630b Screen / Front Case Replacement: step 2, image 1 of 1
      • Pull out the battery by holding the top of the battery and tilting out.

      Ask FixBot

      Add Comment

    1. Nokia 2630b Screen / Front Case Replacement, Screen / Front Case: step 3, image 1 of 1
      • Remove the two screws on either side of the battery case using a T5 Torx screwdriver.

      Ask FixBot

      Add Comment

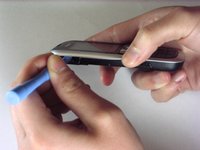
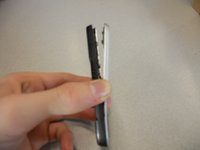
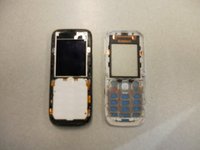
    2. Nokia 2630b Screen / Front Case Replacement: step 4, image 1 of 3 Nokia 2630b Screen / Front Case Replacement: step 4, image 2 of 3 Nokia 2630b Screen / Front Case Replacement: step 4, image 3 of 3
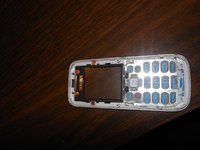
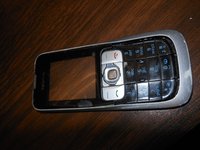
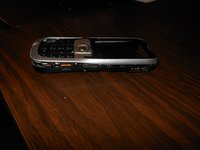
      • Separate the front case from the back case using the iPod opener.

      • The keypad is a loose piece and may fall out.

      Ask FixBot

      Add Comment

    3. Nokia 2630b Screen / Front Case Replacement: step 5, image 1 of 1
      • Remove screws using the T5 Torx screwdriver to release the computer chip from the case.

      Ask FixBot

      Add Comment

    4. Nokia 2630b Screen / Front Case Replacement: step 6, image 1 of 1
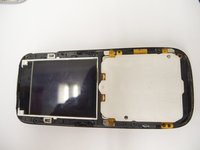
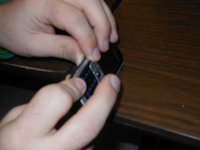
      • Carefully lift the black frame off the screen with your fingers.

      Ask FixBot

      Add Comment

    5. Nokia 2630b Screen / Front Case Replacement: step 7, image 1 of 1
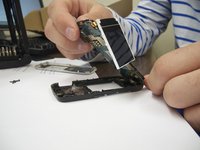
      • Carefully remove the computer chip and screen out of the black case with your fingers.

      Ask FixBot

      Add Comment

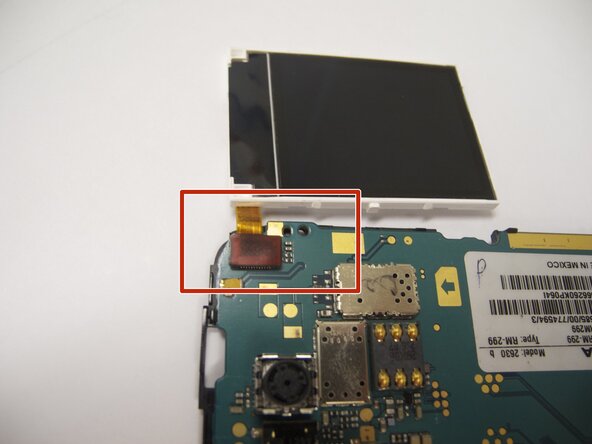
    6. Nokia 2630b Screen / Front Case Replacement: step 8, image 1 of 2 Nokia 2630b Screen / Front Case Replacement: step 8, image 2 of 2
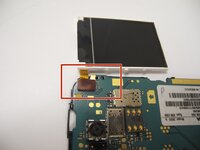
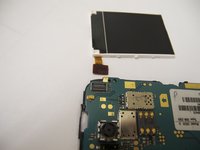
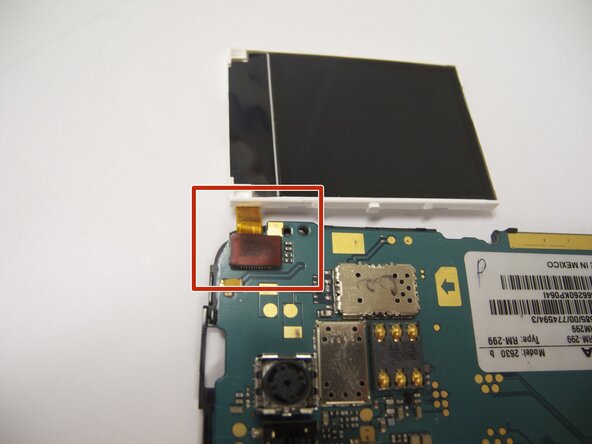
      • The screen is attached to the motherboard by an orange ribbon.

      • Carefully detach the ribbon from the motherboard using your fingers.

      Ask FixBot

      Add Comment

    7. Nokia 2630b Screen / Front Case Replacement: step 9, image 1 of 1
      • Reattach new screen by connecting the orange ribbon to the computer chip.

      Ask FixBot

      Add Comment

    8. Nokia 2630b Screen / Front Case Replacement: step 10, image 1 of 2 Nokia 2630b Screen / Front Case Replacement: step 10, image 2 of 2
      • Place computer chip and screen back into black case.

      Ask FixBot

      Add Comment

    9. Nokia 2630b Screen / Front Case Replacement: step 11, image 1 of 1
      • Place black frame back over screen.

      Ask FixBot

      Add Comment

    10. Nokia 2630b Screen / Front Case Replacement: step 12, image 1 of 2 Nokia 2630b Screen / Front Case Replacement: step 12, image 2 of 2
      • Carefully place keypad back in place.

      Ask FixBot

      Add Comment

    11. Nokia 2630b Screen / Front Case Replacement: step 13, image 1 of 2 Nokia 2630b Screen / Front Case Replacement: step 13, image 2 of 2
      • Snap the front case back in place with the bottom case with your fingers.

      Ask FixBot

      Add Comment

    12. Nokia 2630b Screen / Front Case Replacement: step 14, image 1 of 1
      • Reassemble screws with microscrewdriver.

      Ask FixBot

      Add Comment

    13. Nokia 2630b Screen / Front Case Replacement: step 15, image 1 of 1
      • Slide battery back into place.

      Ask FixBot

      Add Comment

    14. Nokia 2630b Screen / Front Case Replacement: step 16, image 1 of 1
      • Snap battery cover back into place.

      Ask FixBot

      Add Comment

Conclusion

To reassemble your device, follow these instructions in reverse order. Make sure to snap the new screen / front case securely into place.

Cancel: I did not complete this guide.

Eric

Member since: 04/07/11

57 Reputation

4 Guides authored

Team

Cal Poly, Team 9-61, Walters Spring 2011 Member of Cal Poly, Team 9-61, Walters Spring 2011

CPSU-WALTERS-S11S9G61

5 Members

48 Guides authored

2 Guide Comments

Great guide :-) I have a Nokia 2630 too and people can no longer hear me on calls, even though I can hear them. Do you know what could be wrong? Do you think this is something I could fix myself? Thanks!

jfg - Reply Share

You could try getting a neodymium magnet and run it across the earpiece grill. In my father's case, a lot of metal powder was in there, pressing in the speaker membrane; the alternative is cleaning it (which does require opening the phone using Eric's very nice guide). The alternative to those is ordering an earpiece online - but usually those are really bad quality, so trying to fix the original one would be advisable

Darie H - Reply Share

Add Comment

View Statistics:

Past 24 Hours: 2

Past 7 Days: 25

Past 30 Days: 111

All Time: 4,627