Introduction
If your Nokia 225 4G (2020) has a flickering display, black lines on the screen, a cracked display, or the screen does not turn on while the phone is powered on, you may need to replace the screen. The screen is mounted to the back side of the motherboard assembly, so the motherboard must be removed from the top case before beginning this repair. While the motherboard guide may not include detailed motherboard removal instructions, once the board has been safely removed and flipped over, the screen will be accessible.
This repair is moderately difficult because it requires desoldering the old screen and soldering the replacement screen onto the board. If you are unfamiliar with soldering, refer to the How to Solder and Desolder Connections guide for helpful techniques and safety information. Use caution when working with a soldering iron, as it becomes extremely hot and can cause burns or damage the motherboard.
Before beginning the repair, power off the phone and disconnect it from the charger.
What you need
-
-
-
Insert an iFixit opening pick into the seam along the bottom edge of the phone’s back cover.
-
Slide the pick around the edges of the cover to release the retaining clips.
-
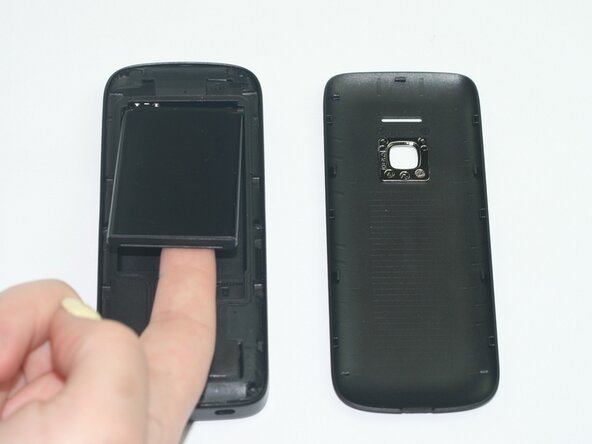
Remove the back casing to expose the battery.
 Ask FixBot
-
-
-
-
-
Use a T3 Torx screwdriver to remove the six screws along the edge of the bottom cover.
-
-
-
-
Insert an iFixit opening tool into the seam between the display and midframe and slide it around the edges to release the retaining clips.
-
Hold the device on both sides, then separate the display and the midframe to expose the motherboard.
-
Remove the motherboard.
-
-
-
-
-
Use a spudger and your fingers to lift off the plastic covering the soldered connection to the motherboard.
-
-
-
Use a soldering iron and desoldering wick to desolder the screen connector from the motherboard.
-




To reassemble your device, follow these instructions in reverse order. Take your e-waste to an R2 or e-Stewards certified recycler.

Team

Texas Tech, Team 11-3, Weston Spring 2026 Member of Texas Tech, Team 11-3, Weston Spring 2026
TTU-WESTON-S26S11G3
5 Members
60 Guides authored
