
Nokia 2128i Logic Board Replacement

Last updated on Jan 28, 2014
Views: 1.8K
View statistics:
- Past 24 Hours:
- 2
- Past 7 Days:
- 5
- Past 30 Days:
- 33
- All Time:
- 1,750
Comments: 0
No one has left comments on this guide. Will you be first?
Go to guide commentsCompleted: 0 1
No one has marked this guide "completed." Will you be the first?
1 person has marked this guide "completed." It's you — great job!
Favorites: 0 1
No one has favorited (and subscribed to) this guide. Will you be the first?
1 person has favorited (and subscribed to) this guide — and that's you!
Introduction
Go to step 1 ↓If the phone's problem lies in the logic board, use this guide to change the logic board out.
What you need
Tools


-
-
-
Be sure cell phone is off before you begin to disassemble the phone.
-
Press the button on the bottom of the back of the cell phone.
-
Slide rear panel down and remove it.
 Ask FixBot
-
-
-
-
-
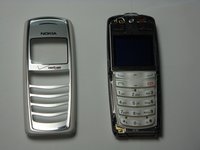
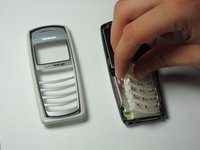
Insert the plastic opening tool under the faceplate.
-
Separate the faceplate from main body by twisting the prying tool with some force.
-
The faceplate is held by three plastic fasteners, so pry evenly on both sides of phone.
-
-
-
-
-
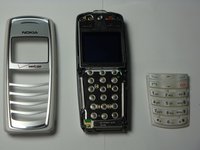
With the faceplate removed, simply peel off rubber key pad and remove.
-
-
-
-
-
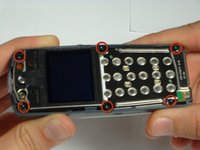
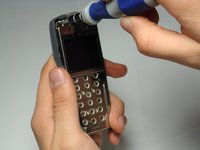
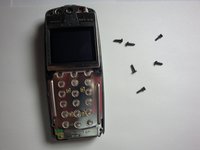
Locate and remove the six screws on the front of the phone using a T6 Torx.
-
All 6 screws are 6.9mm long.
-
-
-
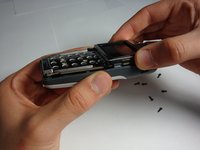
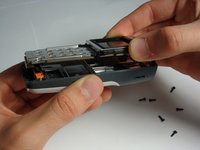
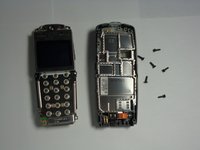
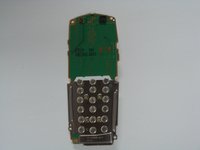
After removing screws, lift the motherboard assembly straight off the cell phone body.
-
-
-
-
-
-
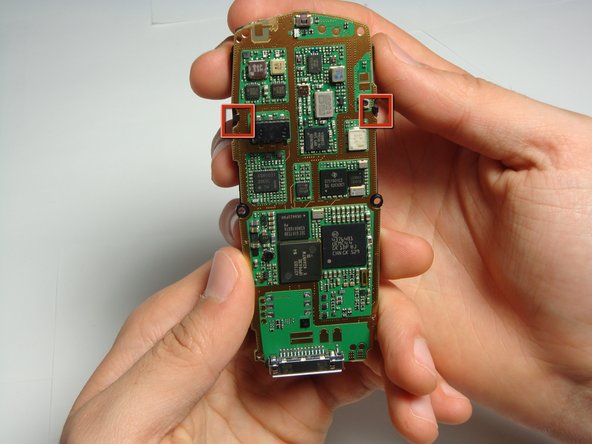
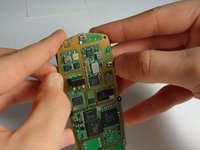
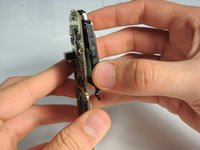
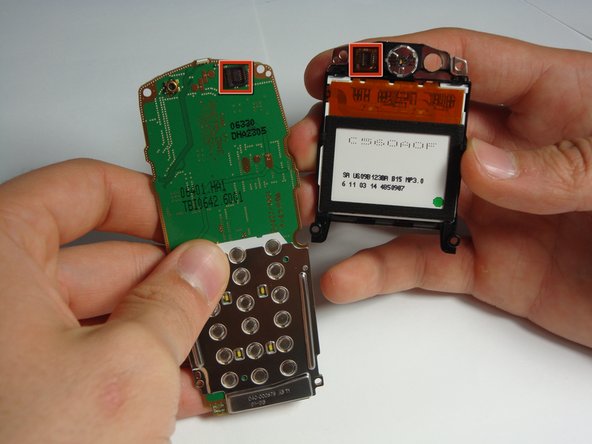
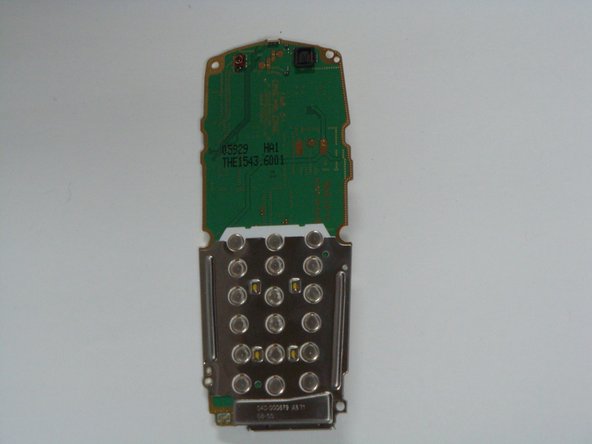
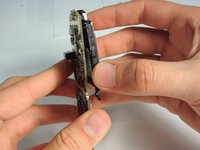
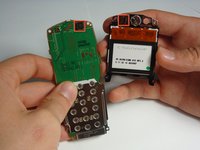
Gently pull LCD unit away from the logic board.
-
Be careful not to damage the connection on the top, right hand side of the logic board.
-









To reassemble your device, follow these instructions in reverse order.

Team

Cal Poly, Team 20-8, Maness Fall 2010 Member of Cal Poly, Team 20-8, Maness Fall 2010
CPSU-MANESS-F10S20G8
4 Members
144 Guides authored
