
Nokia 2115i Faceplate Replacement

Shane and 5 other contributors
Last updated on Feb 19, 2016
Views: 2.2K
View statistics:
- Past 24 Hours:
- 1
- Past 7 Days:
- 13
- Past 30 Days:
- 91
- All Time:
- 2,171
Comments: 0
No one has left comments on this guide. Will you be first?
Go to guide commentsCompleted: 0 1
No one has marked this guide "completed." Will you be the first?
1 person has marked this guide "completed." It's you — great job!
Favorites: 0 1
No one has favorited (and subscribed to) this guide. Will you be the first?
1 person has favorited (and subscribed to) this guide — and that's you!
Needs Better Images
Better photos will improve this guide. Help out by taking, editing, or uploading new ones!
Introduction
Go to step 1 ↓Replacing the faceplate is very quick and simple to do.
What you need

-
-
-
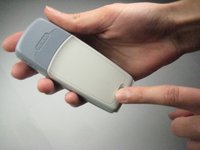
Press down on the small gray button located on the back of the phone.
-
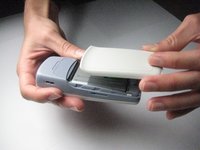
Slide the back plate down and off.
 Ask FixBot
-
-
-
To remove the battery, begin by holding the phone sideways.
-
Then, insert your thumb in the groove below the battery and push the battery up and out.
-
-
-
-
-
-
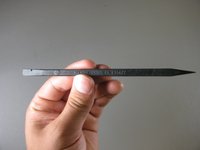
Locate the spudger. A photo of the correct spudger is provided to the left.
-
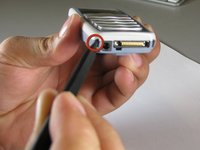
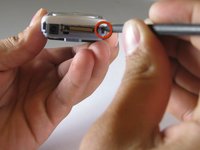
Turn the front of the phone to face you. Find the two small square holes on the bottom left and right sides of the faceplate.
-
Insert the spudger into each square hole and push up to detach the face plate.
-
-




To reassemble your device, follow these instructions in reverse order.

Team

Cal Poly, Team 14-38, Forte Fall 2010 Member of Cal Poly, Team 14-38, Forte Fall 2010
CPSU-FORTE-F10S14G38
5 Members
72 Guides authored
