
Nokero SunRay Pro Power Panel Capacitor Replacement

Nicholas Orr and 2 other contributors
Last updated on Jun 18, 2015
Views: 707
View statistics:
- Past 24 Hours:
- 2
- Past 7 Days:
- 22
- Past 30 Days:
- 89
- All Time:
- 707
Comments: 0
No one has left comments on this guide. Will you be first?
Go to guide commentsCompleted: 0 1
No one has marked this guide "completed." Will you be the first?
1 person has marked this guide "completed." It's you — great job!
Favorites: 1 2
1 person has favorited (and subscribed to) this guide. Will you be next?
2 people have favorited (and subscribed to) this guide — including you!
Introduction
Go to step 1 ↓Not being able to charge your device may mean you have a bad capacitor. Follow these simple steps to get yours replaced.
What you need
Tools


-
-
-
Turn over the device so that the back of the device is facing up.
 Ask FixBot
-
-
-
Insert the first plastic opening tool along the side to pry open the case.
-
Use a second plastic opening tool to help separate the remaining seams.
-
-
-
-
Pull the back case off by applying steady pressure to remove it from the adhesive foam tape.
-
-
-
Use the Phillips precision screwdriver to unscrew the two 5.0 mm Phillips screws from the circuit board.
-
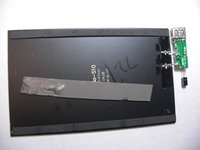
Remove the solar panel and circuit board from the front case.
-
-
-
-
-
Use the soldering station to desolder the two contact points around the connections of the capacitor to loosen the metal.
-
-


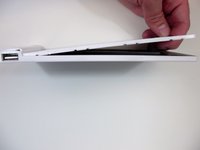
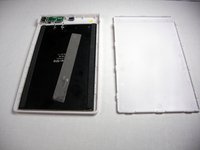

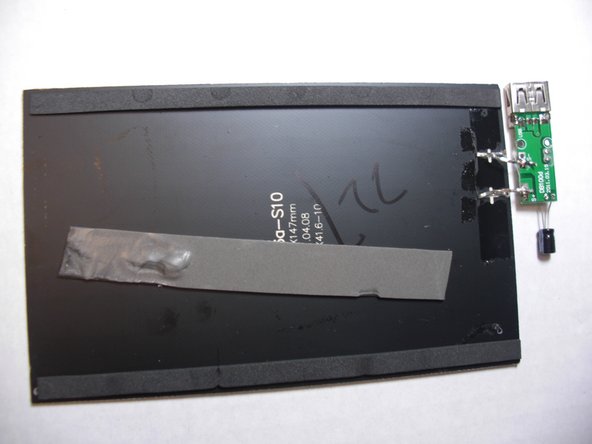
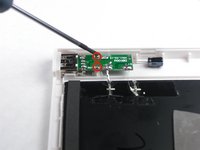


To reassemble your device, follow these instructions in reverse order.

Team

USF Tampa, Team 9-3, Blackwell Winter 2015 Member of USF Tampa, Team 9-3, Blackwell Winter 2015
USFT-BLACKWELL-W15S9G3
3 Members
36 Guides authored
