Introduction
In this guide, we demonstrate the process of replacing a broken tail light on a Nissan 350Z. The primary function of a taillight is to create visibility for those behind you and signal what actions you are going to perform such as braking, making a turn, and backing up.
Having a broken taillight creates a hazard for others behind you and could lead to being ticketed due to the lack of visibility to your vehicle.
Before you begin the repair, make sure that your car is off and in park.
What you need
-
-
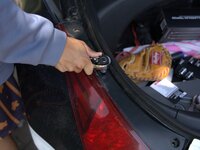
Unlock and open the trunk.
-
The button is located right above your license plate.
 Ask FixBot
-
-
-
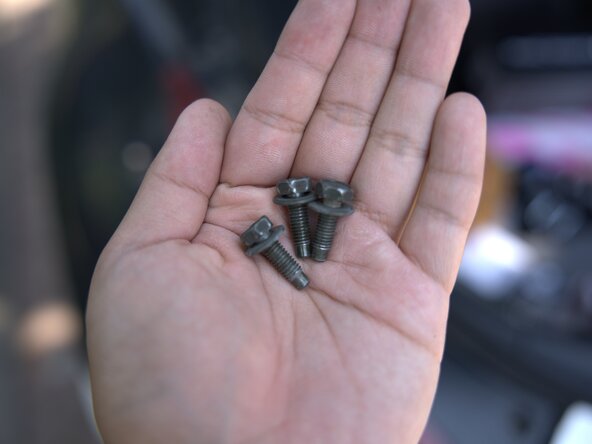
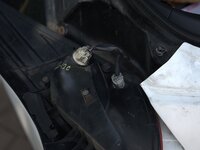
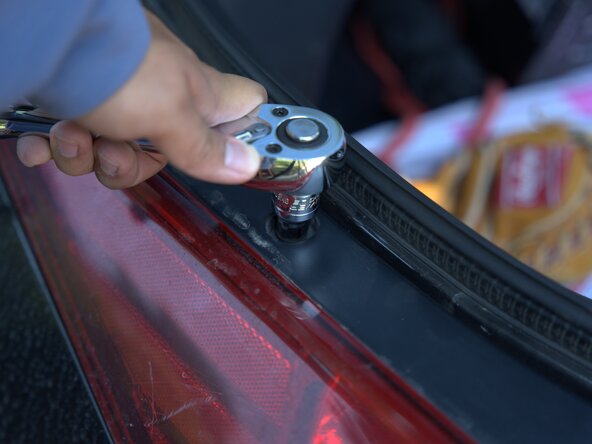
Look for the 3 bolts that secure the tail light to the car.
-
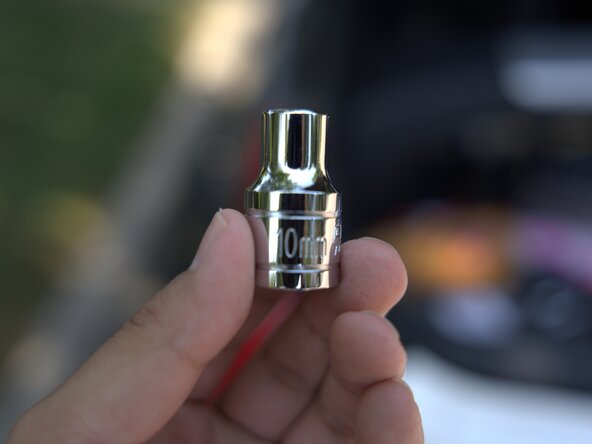
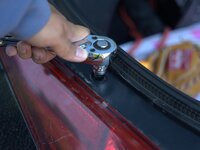
Attach your 10MM socket to your 1/4 inch ratchet.
-
-
-
-
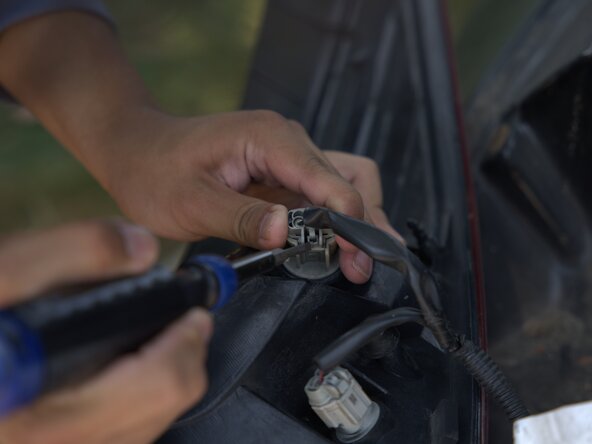
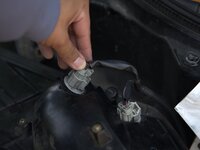
Check the underside of the connector for a square-shaped slot.
-
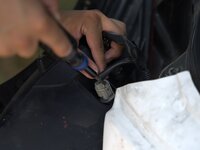
Insert your flathead screwdriver into the square tab to disconnect the connector.
-
-
-
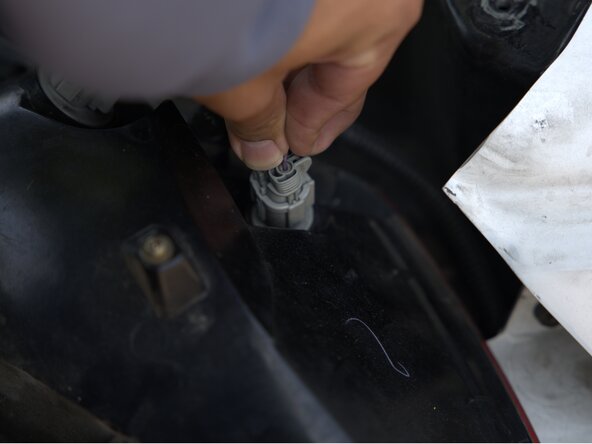
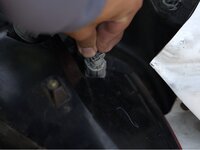
Reconnect the tail light cable connector to the new tail light assembly.
-
Press the connector firmly into the socket to ensure a secure connection.
-
-
-
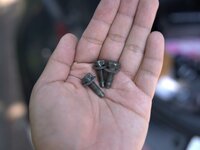
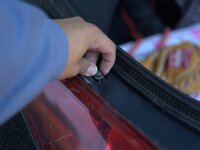
Replace the bolts and use your hand to tighten the bolt just a bit.
-
Use a ratchet with the 10 mm socket to tighten the bolts fully.
-


To reassemble your device, follow these instructions in reverse order.
Team

UC Davis, Team 3-7, Whithaus Spring 2025 Member of UC Davis, Team 3-7, Whithaus Spring 2025
UCD-WHITHAUS-S25S3G7
3 Members
1 Guide authored