
Nintendo Wii mini Motherboard Replacement

Kristin Anderson and 6 other contributors
Last updated on Jun 29, 2023
Views: 7.5K
View statistics:
- Past 24 Hours:
- 6
- Past 7 Days:
- 31
- Past 30 Days:
- 157
- All Time:
- 7,495
Comments: 3
2 comments on steps, 1 guide comment.
Go to guide commentsCompleted: 11 12
11 people have marked this guide "completed." Will you be next?
12 people have marked this guide "completed." Including you — great job!
Favorites: 4 5
4 people have favorited (and subscribed to) this guide. Will you be next?
5 people have favorited (and subscribed to) this guide — including you!
Introduction
Go to step 1 ↓This guide details the replacement of the motherboard on a Nintendo Wii Mini. The steps shown in the images are of the disassembly process, and the replacement and reassembly are as simple as completing the steps in reverse.
An electrostatic discharge bracelet is recommended when handing delicate electronics.
A motherboard replacement may be necessary when these symptoms occur in your Wii Mini : Wii does not turn on or will not boot up after power supply is found to be working.
What you need


-
-
-
Remove the two rubber feet at the back of the console to reveal the hidden screws.
-
Remove the four 6mm Phillips #0 screws.
 Ask FixBot
-
-
-
Turn the Wii mini right-side up. Then run a plastic opening tool around the middle edge of the console to loosen the top piece.
-
Gently lift the top piece of the console and set it aside.
-
-
-
-
Tool used on this step:Tweezers$4.99
-
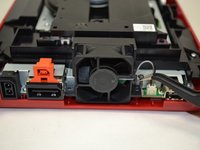
Turn the Wii mini around so that the back of the device is facing you.
-
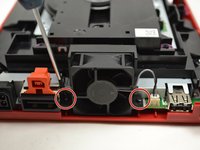
Using a Phillips #0 Screwdriver, unscrew the two 6mm screws on either side of the fan piece.
-
-
-
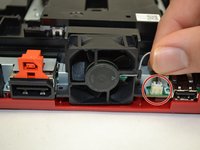
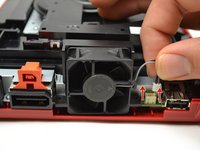
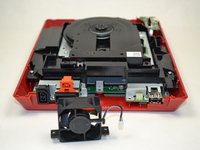
Using your fingers, gently pull the top of the pin connector straight up to detach the fan from the console.
-
Remove the fan piece and set it aside.
-
-
-
-
-
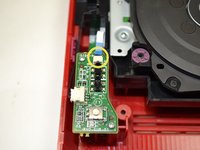
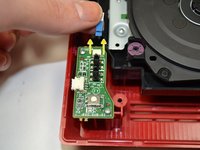
Using your fingers, slide out the blue ribbon cable from the the top of the power board.
-
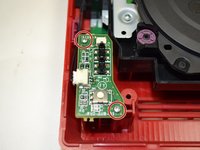
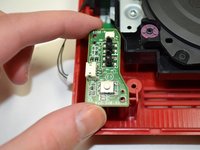
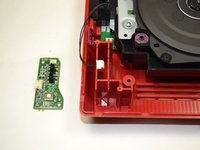
Using a Phillips #0 Screwdriver, unscrew the two 4mm screws at the top and bottom of the power board.
-
-
-
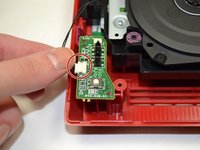
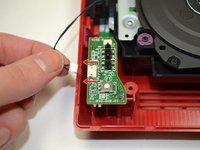
Using your fingers, gently pull the pin connector to disconnect the power board from the disc drive.
-
-
-
-
-
-
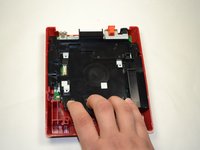
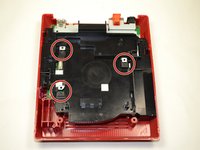
Using a Phillips #0 Screwdriver, unscrew the 6 mm screw at the top of the black tray.
-
-
-
-
Using your fingers, pull the black plastic tray toward you to loosen it from the console.
-
Make sure the black square pieces are separated from the metal square pieces before trying to lift out the tray.
-
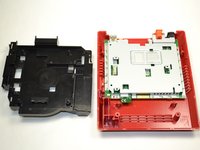
Once separated, lift the plastic tray out of the console and set it aside.
-
-
-
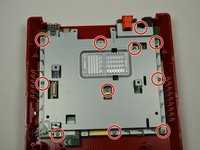
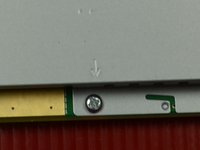
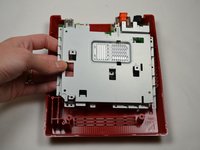
Using a Phillips #0 screwdriver, remove the eleven 5 mm screws holding the silver metal plate to the console.
-
-












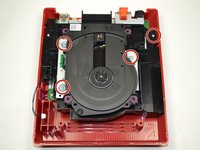
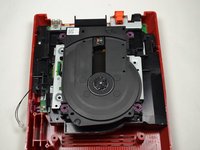


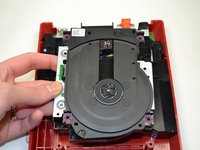
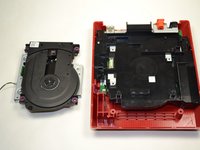






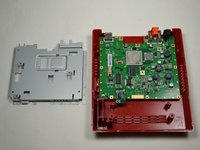

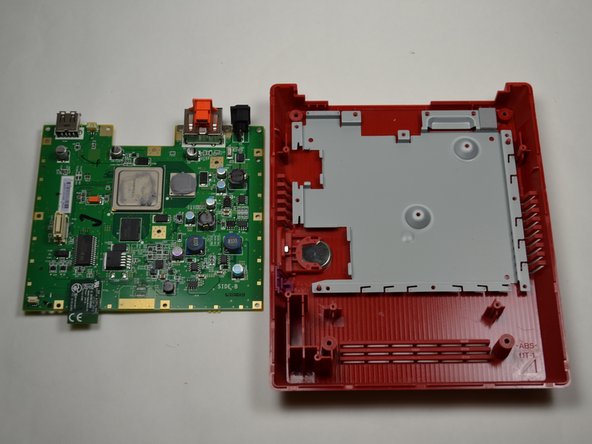
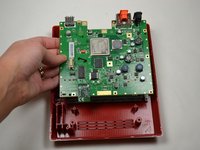
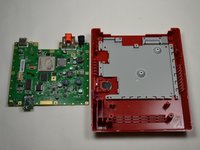
To reassemble your device, follow these instructions in reverse order.
Cancel: I did not complete this guide.
11 other people completed this guide.

Team

1 Guide Comment
Can you fit a Wii Motherboard inside this casing, and use the dvd drive, if so I have a few wiis with broken DVD drives I would like to repair and this would be a cheap solution.
