
Nintendo Wii mini Disc Drive Replacement

Kristin Anderson and 6 other contributors
Last updated on Jan 5, 2024
Views: 6.5K
View statistics:
- Past 24 Hours:
- 4
- Past 7 Days:
- 30
- Past 30 Days:
- 136
- All Time:
- 6,473
Comments: 2
1 comment on steps, 1 guide comment.
Go to guide commentsCompleted: 4 5
4 people have marked this guide "completed." Will you be next?
5 people have marked this guide "completed." Including you — great job!
Favorites: 1 2
1 person has favorited (and subscribed to) this guide. Will you be next?
2 people have favorited (and subscribed to) this guide — including you!
Introduction
Go to step 1 ↓This guide will provide instruction on replacing the disc drive in your Nintendo Wii mini so game discs can be inserted. Aside from the disc drive being incapable of taking in a disc, other reasons are dirt on the disc and scratches that can ultimately make the game choppy/appear unclear. You may need to replace the disc. The troubleshooting page will give you more insight on further issues.
Using tweezers to handle small objects such as screws are suggested to prevent the loss of contents. To prevent further issues regarding hardware, do not tamper with connector or cables while detaching the fan, for it may cause the connector to loosen.
What you need
Parts

Tools


-
-
-
Remove the two rubber feet at the back of the console to reveal the hidden screws.
-
Remove the four 6mm Phillips #0 screws.
 Ask FixBot
-
-
-
Turn the Wii mini right-side up. Then run a plastic opening tool around the middle edge of the console to loosen the top piece.
-
Gently lift the top piece of the console and set it aside.
-
-
-
-
Tool used on this step:Tweezers$4.99
-
Turn the Wii mini around so that the back of the device is facing you.
-
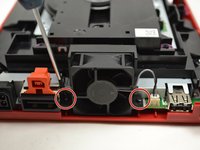
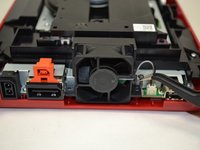
Using a Phillips #0 Screwdriver, unscrew the two 6mm screws on either side of the fan piece.
-
-
-
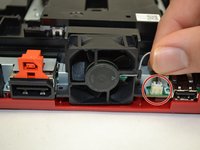
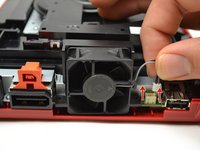
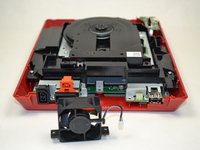
Using your fingers, gently pull the top of the pin connector straight up to detach the fan from the console.
-
Remove the fan piece and set it aside.
-
-
-
-
-
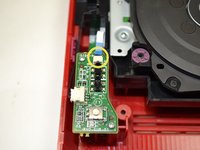
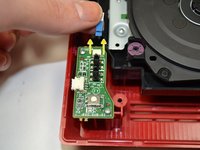
Using your fingers, slide out the blue ribbon cable from the the top of the power board.
-
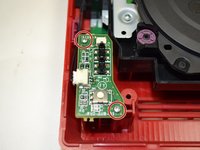
Using a Phillips #0 Screwdriver, unscrew the two 4mm screws at the top and bottom of the power board.
-
-
-
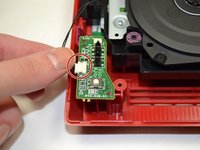
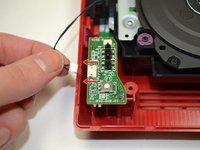
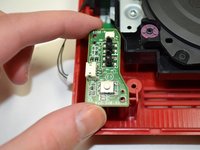
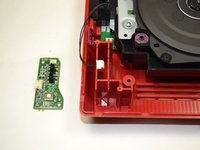
Using your fingers, gently pull the pin connector to disconnect the power board from the disc drive.
-
-
-
-












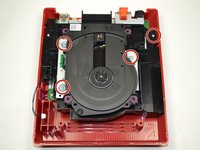
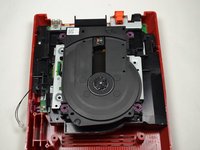


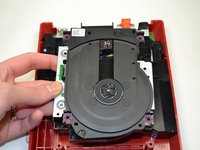
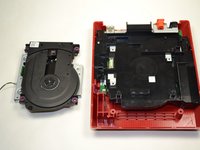
To reassemble your device, follow these instructions in reverse order.
Cancel: I did not complete this guide.
4 other people completed this guide.

Team

1 Guide Comment
i even took apart the disk drive. turns out it wasn't working because the lid was missing one of the plastic parts that pushes the sensor in the disk drive that indicates that the lid is closed
