
Nintendo Wii U GamePad Directional Pad Buttons Replacement

Kim Arre and 5 other contributors
Last updated on Nov 2, 2023
Views: 24K
View statistics:
- Past 24 Hours:
- 12
- Past 7 Days:
- 49
- Past 30 Days:
- 197
- All Time:
- 24,392
Comments: 14
13 comments on steps, 1 guide comment.
Go to guide commentsCompleted: 12 13
12 people have marked this guide "completed." Will you be next?
13 people have marked this guide "completed." Including you — great job!
Favorites: 10 11
10 people have favorited (and subscribed to) this guide. Will you be next?
11 people have favorited (and subscribed to) this guide — including you!
Featured Guide
This guide has been found to be exceptionally cool by the iFixit staff.
Introduction
Go to step 1 ↓Use this guide to replace the directional pad buttons on your Nintendo Wii U GamePad.
What you need
Parts

Tools


-
-
-
Remove the ten 8.9mm Tri-point Y1 screws hidden underneath square stickers.
-
Lift up the back plate.
 Ask FixBot
-
-
-
Unplug the connector that connects the back plate to the motherboard.
-
Remove the back panel.
-
-
-
-
-
Take out the left and right shoulder buttons in the upper corners.
-
Remove the ZR and ZL trigger buttons by lifting up and sliding outward.
-
-
-
Remove the top rubber cover by pulling it off of its mounts to access one of the mounting screws.
-
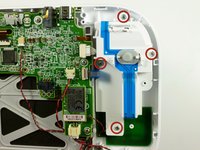
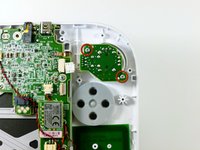
Remove the four 5.2mm Phillips #0 screws.
-
-
-
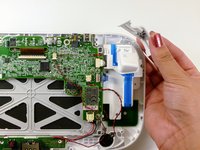
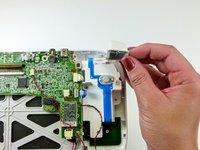
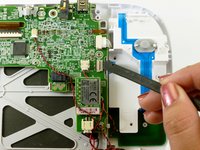
Use a spudger to lift the tab which releases the blue ribbon cable.
-
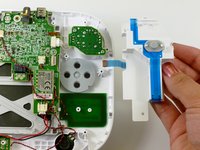
Remove the analog stick and button cover.
-
-
-
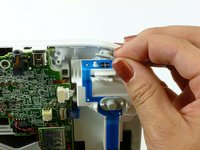
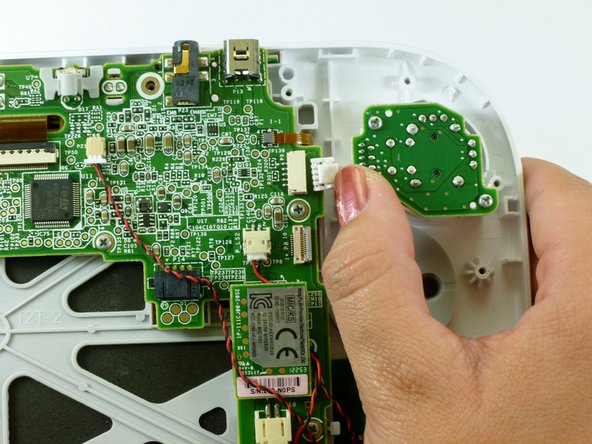
Use your thumb and push the connector towards the rightmost edge to disconnect the analog stick cable connector.
-
-
-
-
-
-
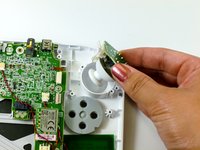
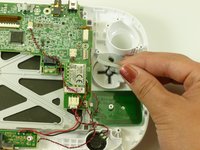
Lift up and remove the rubber cover for the directional pad.
-
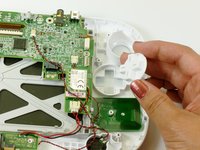
Remove the directional pad buttons.
-
-










To reassemble your device, follow these instructions in reverse order.
Cancel: I did not complete this guide.
12 other people completed this guide.

Team

Cal Poly, Team 17-20, Forte Winter 2013 Member of Cal Poly, Team 17-20, Forte Winter 2013
CPSU-FORTE-W13S17G20
5 Members
96 Guides authored
