Introduction
Use this guide to install a new DVD Drive for a Nintendo Wii U.
What you need
-
-
-
With the bottom of the console facing up, remove the following 6 screws hidden underneath the white square stickers:
-
Three 5.1mm Phillips #000 screws
-
Two 6.1mm Tri-wing Y0 screws
-
One 13.2mm Tri-wing Y1 screw
 Ask FixBot
-
-
-
Rotate the console 180 degrees so that the exhaust vents are facing you.
-
Remove the two 7.1mm Phillips #00 screws.
-
-
-
On the side opposite of the exhaust vents, slide the cover faceplate towards the back of the console and pull upwards to release it.
-
-
-
On the bottom of the console beneath the previously removed faceplate, remove the three 13.2mm Tri-wing Y1 screws.
-
-
-
-
-
-
Rotate the device so that the front plate is facing you.
-
On each side of the console, remove the 3.5mm Phillips #0 screw connecting the DVD drive to the faceplate.
-
-
-
Rotate the device so that the front plate is on the right side and the ribbon cable is visible.
-
The ribbon cable is connected to the system by a latch which holds in the blue tab. Flip this latch up to unlock it.
-
Lift up on the blue tab to release the ribbon cable.
-
-
-
-
-
On each side of the DVD drive, remove the two 4.6mm Phillips #0 mounting screws.
-
-
-
Rotate the device so that the disc drive slot is visible.
-
Lift the disc drive out of the mount and turn over to the right so it lies like a book.
-
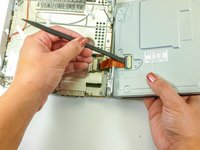
Use a spudger to release the ribbon cable.
-
-


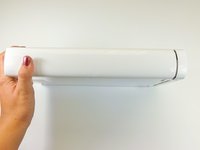
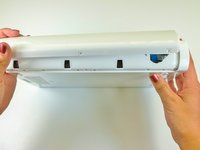


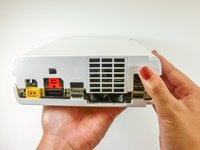
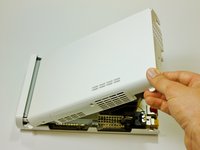
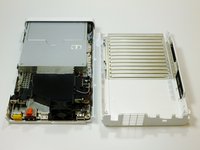


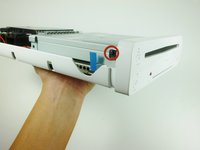
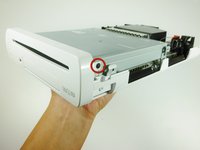


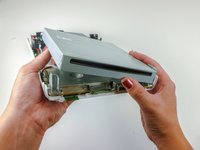

To reassemble your device, follow these instructions in reverse order.
Cancel: I did not complete this guide.
61 other people completed this guide.

Team

Cal Poly, Team 17-20, Forte Winter 2013 Member of Cal Poly, Team 17-20, Forte Winter 2013
CPSU-FORTE-W13S17G20
5 Members
96 Guides authored
49 Guide Comments
I've done with twice with two different drives ordered on Ebay, and keep getting the same error code (160-1402). Is the place I'm buying from selling bad drives, or is there something else that needs to be done after? It goes back to working when I put my old one back in, so I know I'm physically doing it correctly.
Update : For anybody else having this problem, you have to change out the logic board from your old drive to the new one. Pain in the neck, but works!
the logic board is inside the disk drive. Remove it and replace it into the new disk drive. This is the same on the Xbox and Playstation
