
Nintendo Wii U Button Replacement

Emily Vasquez and 2 other contributors
Last updated on May 16, 2016
Views: 7K
View statistics:
- Past 24 Hours:
- 3
- Past 7 Days:
- 24
- Past 30 Days:
- 152
- All Time:
- 6,961
Comments: 4
3 comments on steps, 1 guide comment.
Go to guide commentsCompleted: 0 1
No one has marked this guide "completed." Will you be the first?
1 person has marked this guide "completed." It's you — great job!
Favorites: 2 3
2 people have favorited (and subscribed to) this guide. Will you be next?
3 people have favorited (and subscribed to) this guide — including you!
Introduction
Go to step 1 ↓Use this replacement guide for step-by-step instruction on how to replace the power and accompanying buttons on the Wii U console's front face panel.
What you need
Tools
-
Spudger4.9


-
-
-
You will first need to find all the screws hidden underneath the black (or white) square stickers. They are all located on the bottom side of the Wii U.
 Ask FixBot
-
-
-
Remove the CMOS battery door on the left side of the console.
-
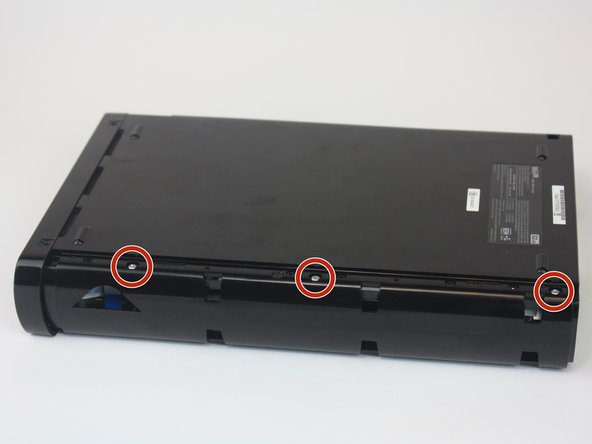
Once the door is removed, remove the three Phillips #0 screws.
-
-
-
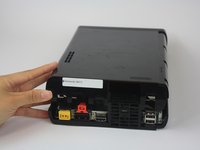
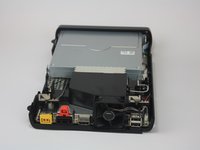
Rotate the device so that the front plate is facing you.
-
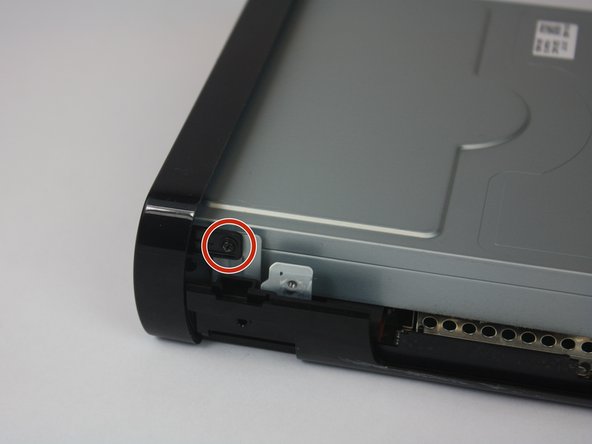
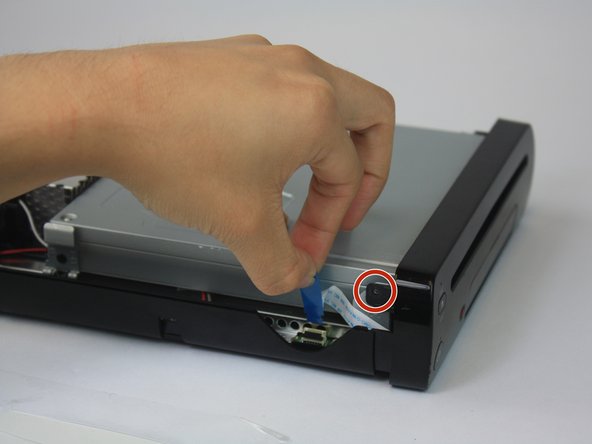
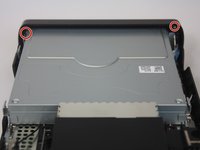
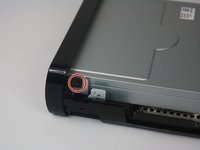
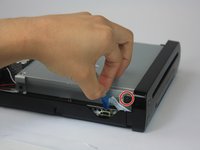
Remove the two Phillips #1 screws.
-
-
-
-
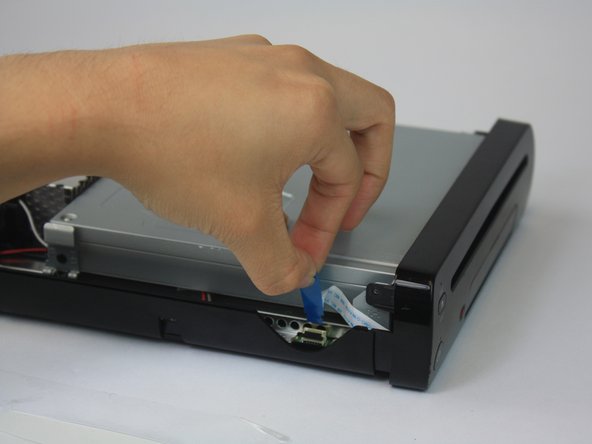
Once unscrewed, remove the black braces that hold the power button, eject button, and sync button in place.
-
-






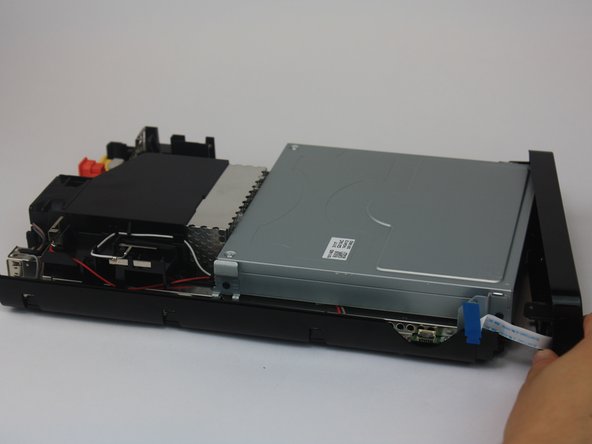
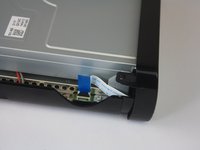
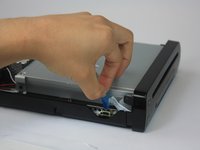


To reassemble your device, follow these instructions in reverse order.

Team

USF Tampa, Team 1-2, Leahy Spring 2016 Member of USF Tampa, Team 1-2, Leahy Spring 2016
USFT-LEAHY-S16S1G2
3 Members
48 Guides authored
