Free Shipping on Domestic Orders $75+

Nintendo Wii Outer Case Replacement

What you need

    1. Nintendo Wii Outer Case Replacement, Faceplate: step 1, image 1 of 2 Nintendo Wii Outer Case Replacement, Faceplate: step 1, image 2 of 2
      • Use a metal spudger to remove the white plastic screw covers stuck to the lower case near the front of the Wii.

      Ask FixBot

      Add Comment

    2. Nintendo Wii Outer Case Replacement: step 2, image 1 of 1
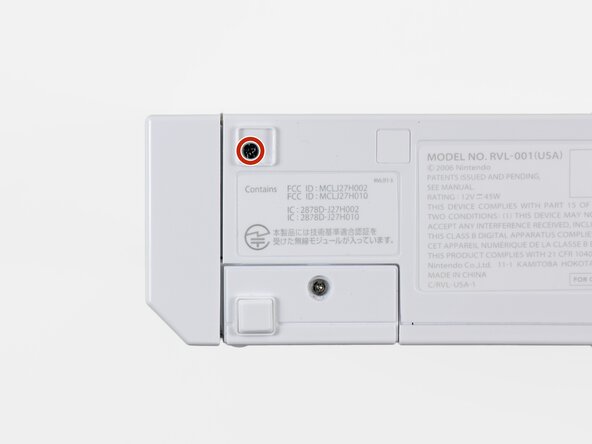
      • Remove the two 8.3 mm Tri-Point screws hidden under the covers you just removed.

      Ask FixBot

      Add Comment

    3. Nintendo Wii Outer Case Replacement: step 3, image 1 of 1
      • Remove the single 5.9 mm Phillips screw under the controller port door nearest the faceplate.

      Ask FixBot

      Add Comment

    4. Nintendo Wii Outer Case Replacement: step 4, image 1 of 1
      • Use a metal spudger to remove the rubber foot stuck to the side of the Wii near the DVD drive opening.

      Ask FixBot

      Add Comment

    5. Nintendo Wii Outer Case Replacement: step 5, image 1 of 1
      • Remove the single 5.9 mm Phillips screw hidden under the foot you just removed.

      Ask FixBot

      Add Comment

    6. Nintendo Wii Outer Case Replacement: step 6, image 1 of 2 Nintendo Wii Outer Case Replacement: step 6, image 2 of 2
      Tool used on this step:
      Tweezers
      $4.99
      Buy
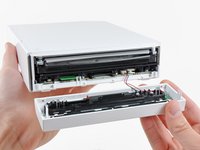
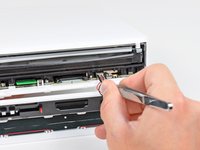
      • Carefully pull the faceplate away from the front of the Wii.

      • Use a pair of tweezers to disconnect the LED cable's plastic connector from the motherboard.

      • Remove the faceplate.

      Ask FixBot

      Add Comment

    1. Nintendo Wii Outer Case Replacement, Outer Case: step 7, image 1 of 3 Nintendo Wii Outer Case Replacement, Outer Case: step 7, image 2 of 3 Nintendo Wii Outer Case Replacement, Outer Case: step 7, image 3 of 3
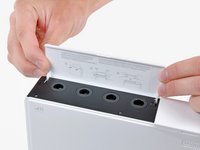
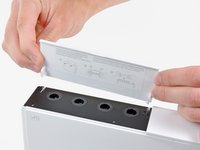
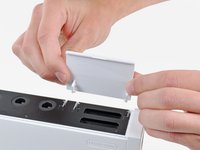
      • Open the controller port cover until it is perpendicular to the black controller port bezel.

      • Pull the controller port cover straight up to release it from the outer case.

      • Repeat this procedure for the memory card port cover.

      Ask FixBot

      Add Comment

    2. Nintendo Wii Outer Case Replacement: step 8, image 1 of 2 Nintendo Wii Outer Case Replacement: step 8, image 2 of 2
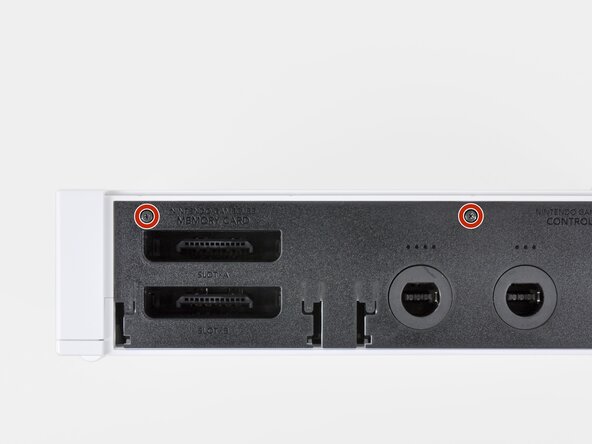
      • Remove the two remaining 4.1 mm Phillips screws along the top edge of the black plastic controller port bezel.

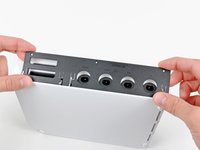
      • Lift the bezel from the long edge furthest away from the controller ports and remove it from the Wii.

      Ask FixBot

      Add Comment

    3. Nintendo Wii Outer Case Replacement: step 9, image 1 of 1
      • Remove the two 5 mm Phillips screws above the controller ports.

      Ask FixBot

      Add Comment

    4. Nintendo Wii Outer Case Replacement: step 10, image 1 of 1
      • Use a metal spudger to remove the three highlighted screw covers stuck to the side of the Wii.

      Ask FixBot

      Add Comment

    5. Nintendo Wii Outer Case Replacement: step 11, image 1 of 1
      • Remove the following screws:

      • Two 5 mm Phillips screws

      • One 8.2 mm Tri-Point screw

      Ask FixBot

      Add Comment

    6. Nintendo Wii Outer Case Replacement: step 12, image 1 of 1
      • Use a metal spudger to remove the two rubber feet stuck to the bottom face of the Wii near the rear ports.

      Ask FixBot

      Add Comment

    7. Nintendo Wii Outer Case Replacement: step 13, image 1 of 1
      Tool used on this step:
      iFixit Precision 4 mm Screwdriver Bit
      $2.99
      Buy
      • Remove the two 8.2 mm Tri-Point screws hidden under the feet you just removed.

      • You may use a 4 mm hex nut driver to extend your bit into the recesses and reach the screws.

      Ask FixBot

      Add Comment

    8. Nintendo Wii Outer Case Replacement: step 14, image 1 of 1
      • Lift the outer case straight up off the body of the Wii.

      Ask FixBot

      Add Comment

Conclusion

To reassemble your device, follow these instructions in reverse order.

Cancel: I did not complete this guide.

42 other people completed this guide.

4 Guide Comments

Great guide. I had no problems.

wewomack - Reply Share

Ugh, I went and purchased an iFixit Essential Electronics Toolkit and the Tri-wing screwdriver is too small! Y000 is what it says on the box, time to return this purchase.

iamstilllaughing - Reply Share

Unfortunately this guide stops half way through and doesn’t include the other side of the case, which involves quite a few screws as the motherboard is screwed down in quite a few places, and the cpu heatsink has to come up, it’s much more complicated than this.

Lily Larceny - Reply Share

yes i would love if the poster edited the guide and made it so it could be used as a "reshell" guide because i am considering purchaseing a lower condition wii and reshelling it in another color

Sqwerks - Reply Share

Add Comment

View Statistics:

Past 24 Hours: 31

Past 7 Days: 126

Past 30 Days: 593

All Time: 62,553