
Nintendo Wii 2011 Disassembly

Noah Mussin Phillips and 6 other contributors
Last updated on May 7, 2024
Views: 50K
View statistics:
- Past 24 Hours:
- 24
- Past 7 Days:
- 167
- Past 30 Days:
- 693
- All Time:
- 49,809
Comments: 5
4 comments on steps, 1 guide comment.
Go to guide commentsCompleted: 22 23
22 people have marked this guide "completed." Will you be next?
23 people have marked this guide "completed." Including you — great job!
Favorites: 2 3
2 people have favorited (and subscribed to) this guide. Will you be next?
3 people have favorited (and subscribed to) this guide — including you!
Introduction
Go to step 1 ↓This guide will walk you through safely removing the outer case and main internal components of a Nintendo Wii, either for exploration or replacement.
NOTE: You MAY need a screwdriver extender, especially if you are using a screwdriver with interchangeable heads. We used our extender during step 4.
What you need
Tools


-
-
-
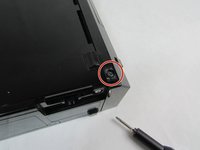
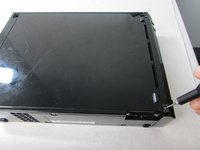
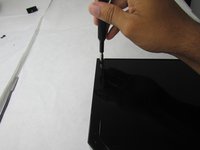
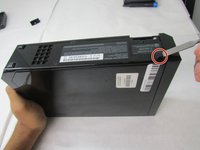
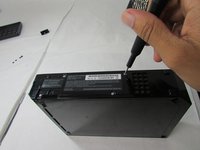
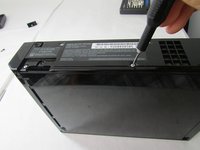
Using the Phillips #0 screwdriver, remove the single screw from the bottom of the device.
-
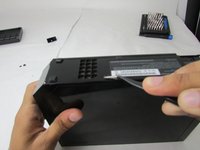
Pull out the slot with the battery (pictured in the third photo). Leave both the battery and the slot organized on the side with the removed screw.
 Ask FixBot
-
-
Tool used on this step:Tweezers$4.99
-
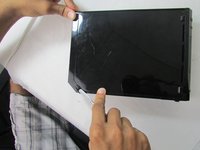
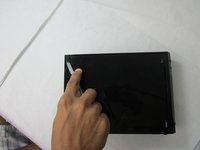
Use tweezers to remove the three black square stickers on the top of the console by prying under and gently pulling up to expose three screws.
-
-
-
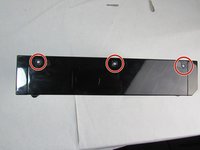
Use the Phillips #0 screwdriver to unscrew all three of the 4.1mm screws underneath the rubber feet.
-
Leave the screws in their holes and remove this plate.
-
-
-
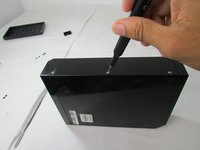
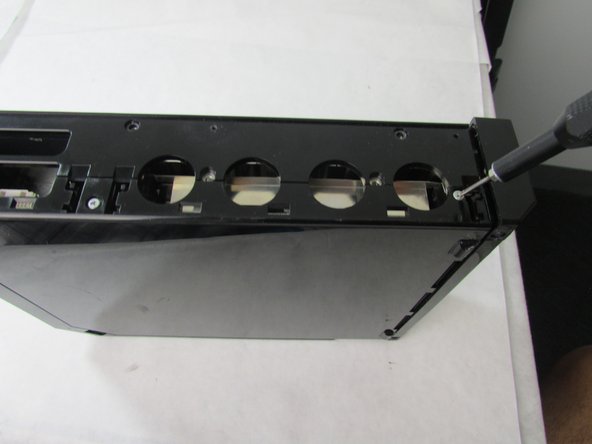
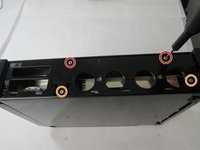
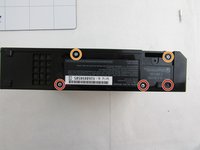
Remove the two 5.9 mm screws using the Phillips #0 screwdriver.
-
Remove the two 8.3mm screws using the Y1 Tri-point screwdriver.
-
-
-
Remove the two half-cylinder stickers from the back left side of the Wii using the spudger.
-
Remove the two rectangular size stickers closest to the front of the Wii using the tweezers. Ignore the other two half-cylinder stickers.
-
-
-
Use the Y1 Tri-point screwdriver to remove all four Y screws on the left facing side of the console.
-
-
-
On the bottom of the console, use the spudger tool to remove the one square rubber pad.
-
Then use tweezers to take off three flat square stickers covering screws.
-
-
-
Use the Phillips #0 screwdriver to remove three screws.
-
Use the Y1 Tri-point screwdriver to remove two screws.
-
-
-
Carefully pull off the front cover (the one with the disc drive hole). You will expose a red and black wire.
-
-
-
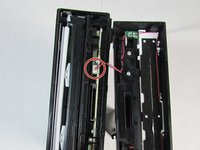
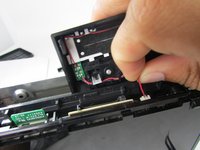
Pinch the red and black wire at the same time and pull perpendicular to the port. The wire will come out of the port.
-
-
-
After removing the front cover, evenly pull from each corner to pull apart the left side and right side of the case.
-
-
-
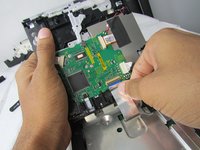
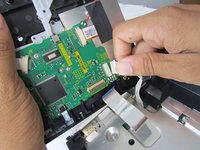
For the wide, flat wire on the left of the other wire, flip up the wire holding lock and then carefully pull away parallel to the disc drive.
-
For the multiple wires on the right side of the wide wire, just pull away parallel to the disc drive to remove.
-
-
-
Remove the three 10mm screws using the Phillips #0 screwdriver.
-
Lift the plastic piece and remove it from the device.
-
-
-
-
Remove the four black 10 mm screws attached to the black plastic frames using the Phillips #0 screwdriver.
-
-
-
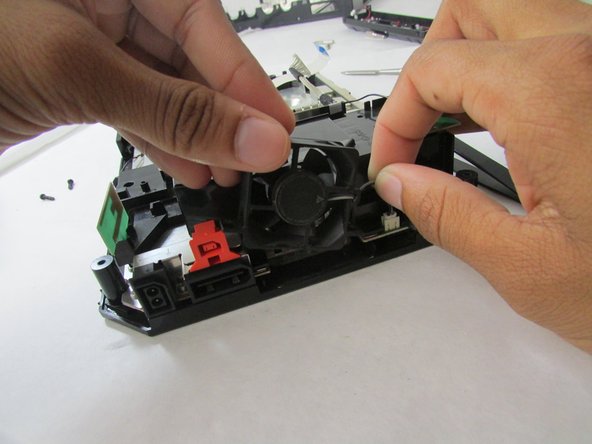
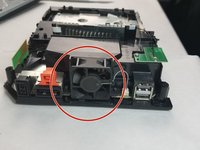
After removing all silver and 10 mm black screws attached to the console frame, remove the fan by pinching the grey and black wires at the same time. Detach the wires from the port.
-
-
-
Using a Phillips #0 screwdriver, remove the four 11.3 mm Phillips screws attaching the heatsink to the case frame and motherboard.
-
Pull off the heatsink and place carefully on a dry surface.
-
-
-
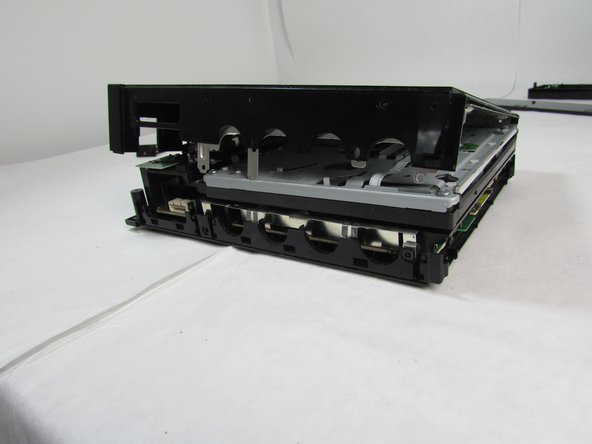
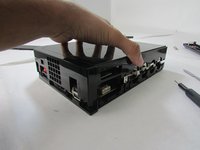
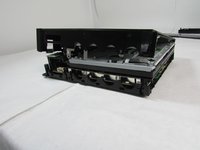
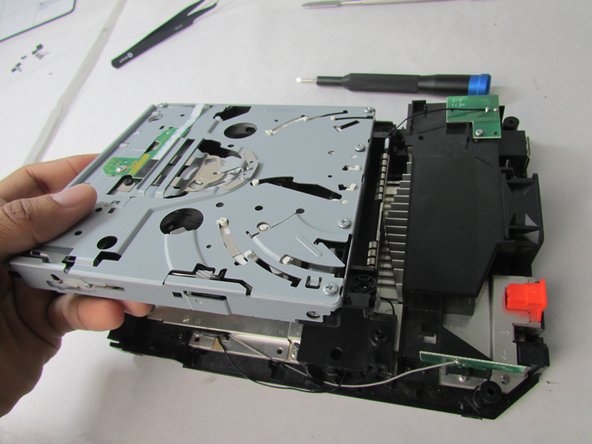
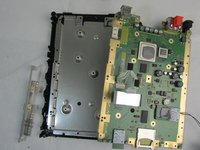
Once the heatsink is removed, cautiously pull the motherboard out from the left side of the console case and remove it from the device.
-
-



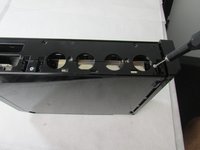

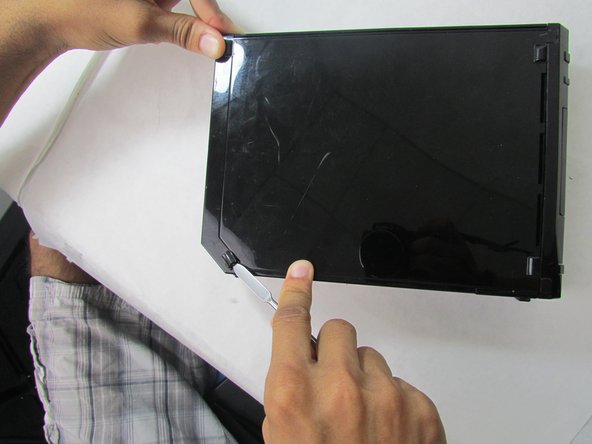
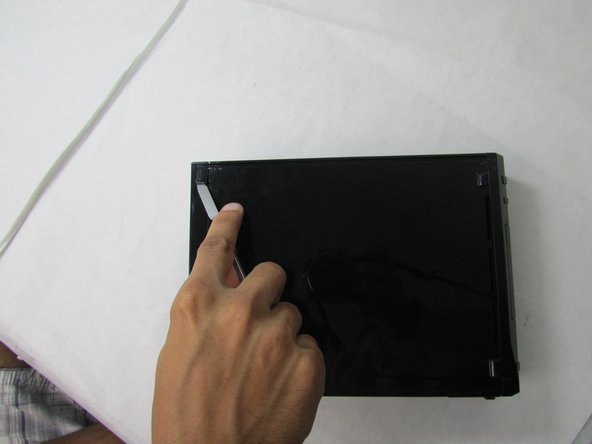
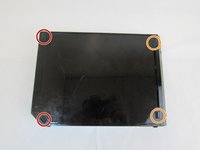











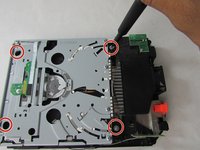
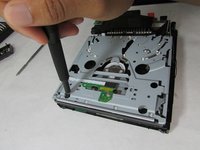
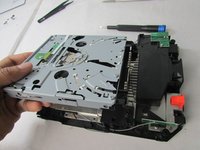


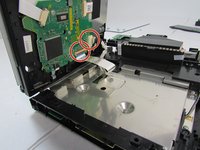





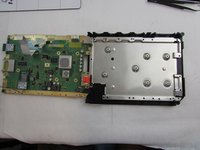
To replace the cover, either with the original or a new one, follow these instructions in reverse order. The time estimate only includes the time that is required to remove the outer case.
Cancel: I did not complete this guide.
22 other people completed this guide.

Team

Embry-Riddle Aeronautical University, Team S23-G2, McClure Fall 2019 Member of Embry-Riddle Aeronautical University, Team S23-G2, McClure Fall 2019
ERAU-MCCLURE-F19S23G2
4 Members
60 Guides authored
1 Guide Comment
there are a couple of screws missing from the guide around the (what i assume would be) the black wifi antenna and some screws holding the metal shield from the mother board
