Free Shipping on Domestic Orders $75+

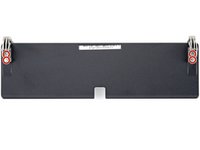
Nintendo Switch OLED Model Kickstand Hinges Replacement

What you need

  1. Nintendo Switch OLED Model Kickstand Hinges Replacement, Release the Joy Con controller locking tabs: step 1, image 1 of 3 Nintendo Switch OLED Model Kickstand Hinges Replacement, Release the Joy Con controller locking tabs: step 1, image 2 of 3 Nintendo Switch OLED Model Kickstand Hinges Replacement, Release the Joy Con controller locking tabs: step 1, image 3 of 3
    • Before you begin this repair, make sure the device is completely powered off.

    • Press and hold down the small round button on the back of the Joy Con controller.

    • While you hold down the button, slide the controller upward.

    Ask FixBot

    Add Comment

  2. Nintendo Switch OLED Model Kickstand Hinges Replacement, Remove the Joy Con controllers: step 2, image 1 of 3 Nintendo Switch OLED Model Kickstand Hinges Replacement, Remove the Joy Con controllers: step 2, image 2 of 3 Nintendo Switch OLED Model Kickstand Hinges Replacement, Remove the Joy Con controllers: step 2, image 3 of 3
    • Continue sliding the Joy Con upward until it's completely removed from the console.

    • Repeat this same process for the other Joy Con.

    Ask FixBot

    Add Comment

  3. Nintendo Switch OLED Model Kickstand Hinges Replacement, Remove the top screw: step 3, image 1 of 2 Nintendo Switch OLED Model Kickstand Hinges Replacement, Remove the top screw: step 3, image 2 of 2
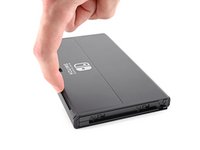
    • Use a Phillips driver, or a JIS driver, to remove the 2 mm-long screw securing the top of the rear case to the frame.

    • To prevent these tight screws from stripping, apply firm downward force, work slowly, and try another JIS or Phillips driver if the screws won't come out.

    Ask FixBot

    Add Comment

  4. Nintendo Switch OLED Model Kickstand Hinges Replacement, Remove the bottom screws: step 4, image 1 of 2 Nintendo Switch OLED Model Kickstand Hinges Replacement, Remove the bottom screws: step 4, image 2 of 2
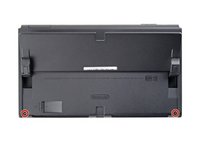
    • Use a Phillips driver to remove the two 2 mm-long screws securing the bottom of the rear case to the frame.

    Ask FixBot

    Add Comment

  5. Nintendo Switch OLED Model Kickstand Hinges Replacement, Remove the right screw: step 5, image 1 of 2 Nintendo Switch OLED Model Kickstand Hinges Replacement, Remove the right screw: step 5, image 2 of 2
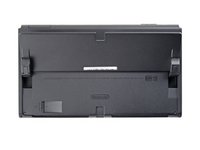
    • Use a Phillips driver to remove the 3.8 mm screw securing the right Joy-Con sensor rail to the rear case.

    • To prevent these tight screws from stripping, apply firm downward force, work slowly and try another JIS 000 or PH 000 driver if the screws won't come out.

    Ask FixBot

    Add Comment

  6. Nintendo Switch OLED Model Kickstand Hinges Replacement, Remove the left screw: step 6, image 1 of 2 Nintendo Switch OLED Model Kickstand Hinges Replacement, Remove the left screw: step 6, image 2 of 2
    • Use a Phillips driver to remove the 3.8 mm screw securing the left Joy-Con sensor rail to the rear case.

    Ask FixBot

    Add Comment

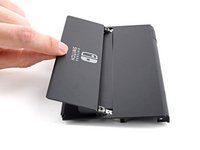
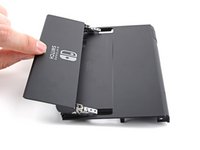
  7. Nintendo Switch OLED Model Kickstand Hinges Replacement, Open the kickstand: step 7, image 1 of 2 Nintendo Switch OLED Model Kickstand Hinges Replacement, Open the kickstand: step 7, image 2 of 2
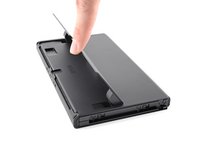
    • Use your finger to flip up the kickstand on the back of the device.

    • If there's a microSD card in the microSD card slot, remove it now before you continue to the next step.

    Ask FixBot

    Add Comment

  8. Nintendo Switch OLED Model Kickstand Hinges Replacement, Remove the back-side screws: step 8, image 1 of 2 Nintendo Switch OLED Model Kickstand Hinges Replacement, Remove the back-side screws: step 8, image 2 of 2
    • Use a Y00 screwdriver to remove the two 4.3 mm screws securing the rear case to the frame.

    Ask FixBot

    Add Comment

  9. Nintendo Switch OLED Model Kickstand Hinges Replacement, Remove the rear case: step 9, image 1 of 3 Nintendo Switch OLED Model Kickstand Hinges Replacement, Remove the rear case: step 9, image 2 of 3 Nintendo Switch OLED Model Kickstand Hinges Replacement, Remove the rear case: step 9, image 3 of 3
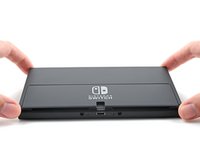
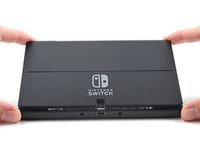
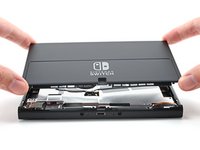
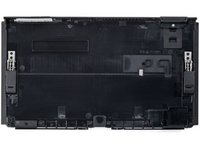
    • Lift the rear case up from the top of the device and remove it.

    • If you're having trouble removing the case, use an opening pick to pry up the plastic clips.

    Ask FixBot

    Add Comment

  10. Nintendo Switch OLED Model Kickstand Hinges Replacement, Unfasten the kickstand: step 10, image 1 of 2 Nintendo Switch OLED Model Kickstand Hinges Replacement, Unfasten the kickstand: step 10, image 2 of 2
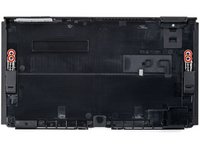
    • Use Phillips driver to remove the four 2.1 mm screws securing the kickstand to the rear case.

    Ask FixBot

    Add Comment

  11. Nintendo Switch OLED Model Kickstand Hinges Replacement, Unfasten the hinge bracket: step 11, image 1 of 2 Nintendo Switch OLED Model Kickstand Hinges Replacement, Unfasten the hinge bracket: step 11, image 2 of 2
    • Open the kickstand.

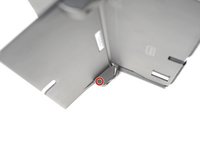
    • Use a Phillips driver to remove the 1.7 mm screw located on the side of the hinge bracket.

    • Repeat this same process for the other hinge bracket.

    Ask FixBot

    Add Comment

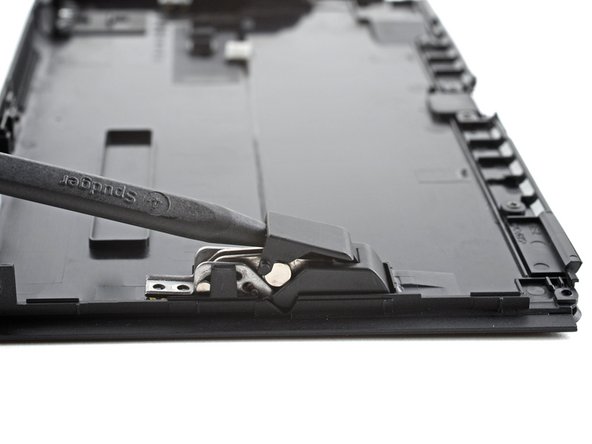
  12. Nintendo Switch OLED Model Kickstand Hinges Replacement, Remove the hinge bracket: step 12, image 1 of 3 Nintendo Switch OLED Model Kickstand Hinges Replacement, Remove the hinge bracket: step 12, image 2 of 3 Nintendo Switch OLED Model Kickstand Hinges Replacement, Remove the hinge bracket: step 12, image 3 of 3
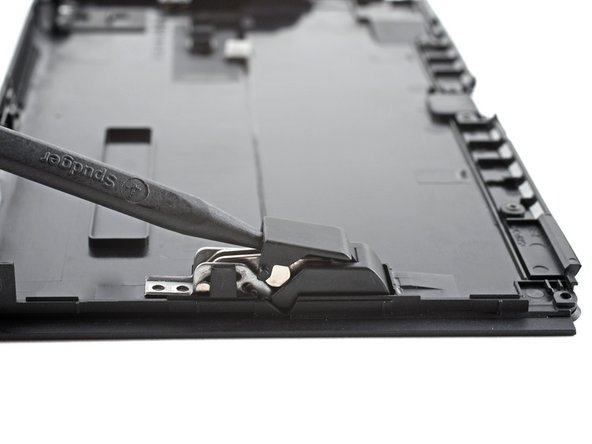
    • Close the kickstand.

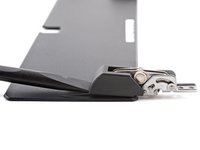
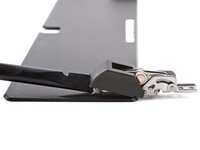
    • Insert the point of spudger between the hinge bracket and the top of the hinge.

    • Pry upward to release the bracket from its plastic clips.

    Ask FixBot

    Add Comment

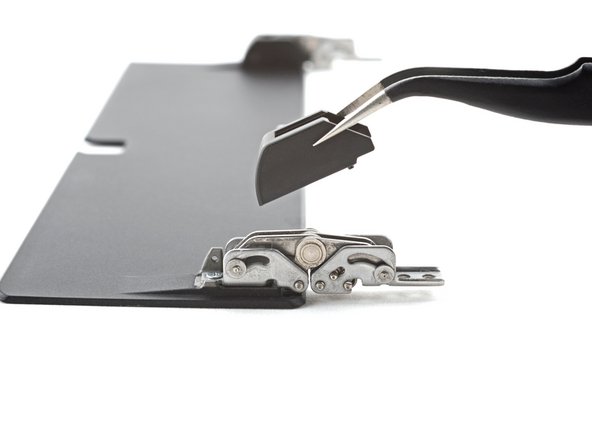
  13. Nintendo Switch OLED Model Kickstand Hinges Replacement: step 13, image 1 of 2 Nintendo Switch OLED Model Kickstand Hinges Replacement: step 13, image 2 of 2
    Tool used on this step:
    Tweezers
    $4.99
    Buy
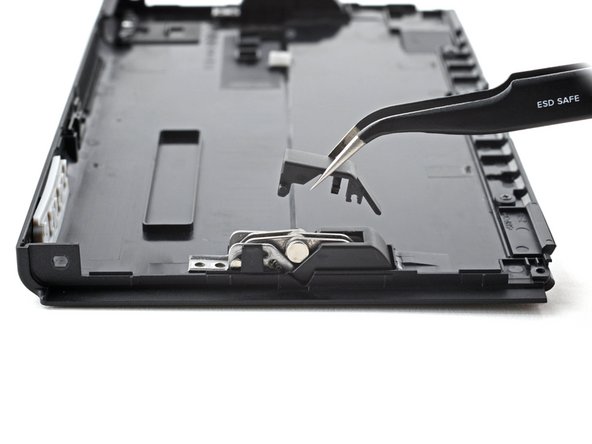
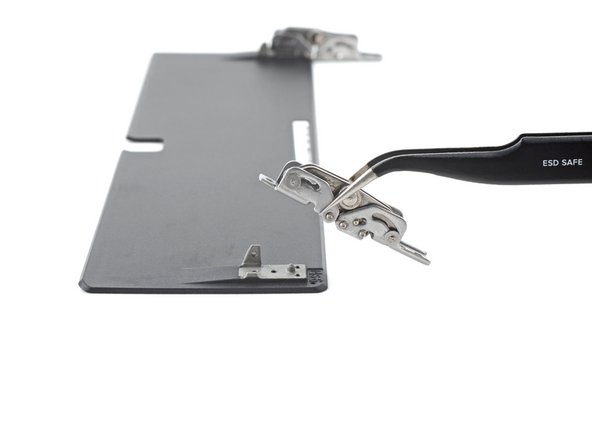
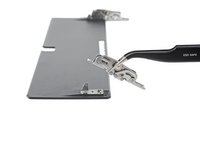
    • Use tweezers, or your fingers, to remove the hinge bracket.

    • Repeat this process for the other hinge bracket.

    Ask FixBot

    Add Comment

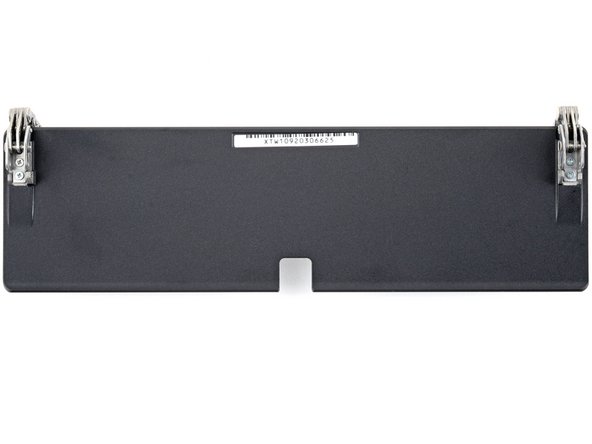
  14. Nintendo Switch OLED Model Kickstand Hinges Replacement: step 14, image 1 of 3 Nintendo Switch OLED Model Kickstand Hinges Replacement: step 14, image 2 of 3 Nintendo Switch OLED Model Kickstand Hinges Replacement: step 14, image 3 of 3
    • Remove the kickstand from the rear case.

    Ask FixBot

    Add Comment

  15. Nintendo Switch OLED Model Kickstand Hinges Replacement, Remove the hinge bracket: step 15, image 1 of 2 Nintendo Switch OLED Model Kickstand Hinges Replacement, Remove the hinge bracket: step 15, image 2 of 2
    • Insert the flat of a spudger between the hinge bracket and the bottom of the hinge.

    • Pry upward to release the hinge bracket from its plastic clips.

    Ask FixBot

    Add Comment

  16. Nintendo Switch OLED Model Kickstand Hinges Replacement: step 16, image 1 of 2 Nintendo Switch OLED Model Kickstand Hinges Replacement: step 16, image 2 of 2
    • Use tweezers, or your fingers, to remove the hinge bracket.

    • Repeat this process for the other hinge bracket.

    Ask FixBot

    Add Comment

  17. Nintendo Switch OLED Model Kickstand Hinges Replacement, Unfasten the kickstand hinges: step 17, image 1 of 2 Nintendo Switch OLED Model Kickstand Hinges Replacement, Unfasten the kickstand hinges: step 17, image 2 of 2
    • Fold the hinges around the kickstand to reveal the screws.

    • Use a Phillips driver to remove the four 2.3 mm screws securing the hinges to the kickstand.

    Ask FixBot

    Add Comment

  18. Nintendo Switch OLED Model Kickstand Hinges Replacement, Remove the hinges: step 18, image 1 of 2 Nintendo Switch OLED Model Kickstand Hinges Replacement, Remove the hinges: step 18, image 2 of 2
    • Use tweezer, or your fingers, to remove the hinge.

    • Repeat this process for the other hinge.

    Ask FixBot

    Add Comment

Conclusion

To reassemble your device, follow these instructions in reverse order.

Compare your new replacement part to the original part—you may need to transfer remaining components or remove adhesive backings from the new part before you install it.

Repair didn’t go as planned? Try some basic troubleshooting, or ask our Nintendo Switch OLED Answers community for help.

Cancel: I did not complete this guide.

Alex Diaz-Kokaisl

Member since: 01/16/22

241,121 Reputation

1,180 Guides authored

Team

iFixit Member of iFixit

Staff

122 Members

26,593 Guides authored

0 Guide Comments

Add Comment

View Statistics:

Past 24 Hours: 3

Past 7 Days: 72

Past 30 Days: 244

All Time: 12,975