Introduction
Are you experiencing problems related to supplying power to your Super Famicon device? This may be a problem of the device's power cable and switch. In this guide, we will give you the steps to replace the cables to reconcile the power in your device. You will need a Gambit screwdriver and J1S1 Phillips screwdriver. Happy Fixing!
What you need
-
-
-
Remove the six 13.5 mm screws on the lower case with a 4.5 mm Gamebit screwdriver.
 Ask FixBot
-
-
-
-
-
-
Remove the two 15.6 mm Phillips screws that secure the power switch.
-
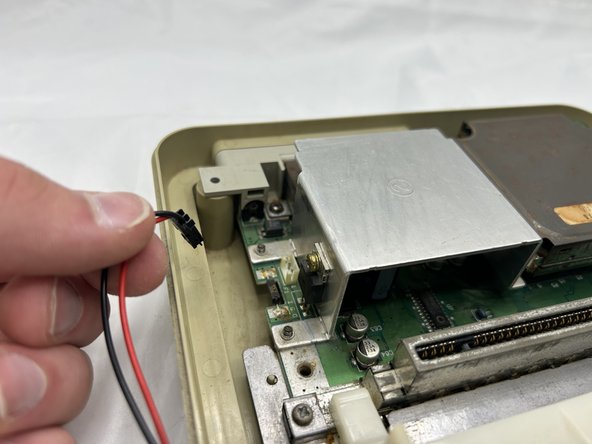
Pull the power switch motherboard connector straight out of is port.
-
-




To reassemble your device, follow these instructions in reverse order.
Cancel: I did not complete this guide.
2 other people completed this guide.

Team

University of North Texas, Team 2-3, Kilpatrick Spring 2024 Member of University of North Texas, Team 2-3, Kilpatrick Spring 2024
UNT-KILPATRICK-S24S2G3
4 Members
59 Guides authored
