Free Shipping on Domestic Orders $75+

Nintendo Game Boy Advance SP Trackpads Replacement

Archived Guide
This guide is retained solely for historical purposes. Use the updated version of the guide to perform your repair.

What you need

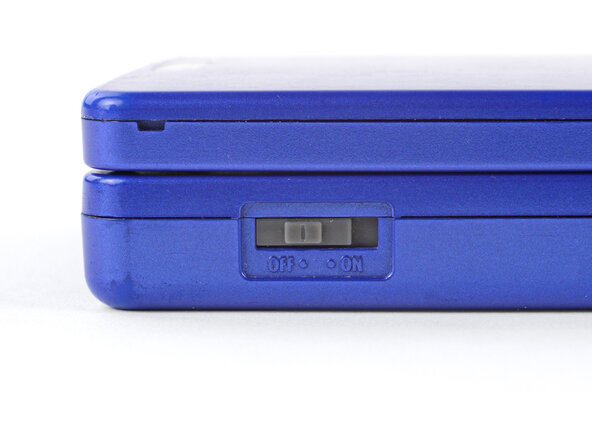
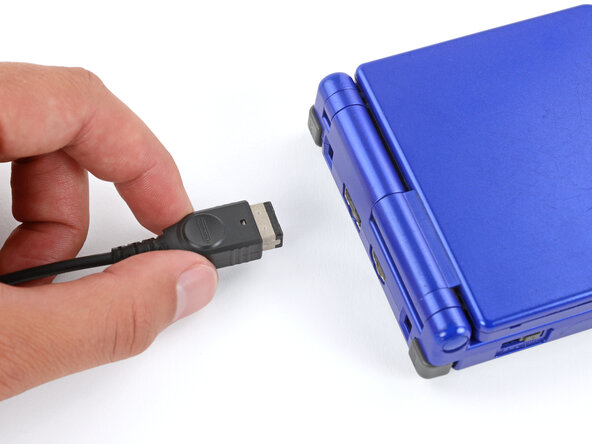
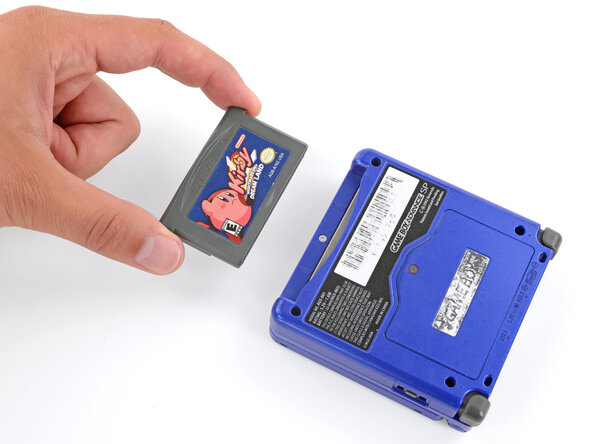
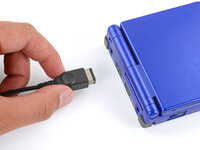
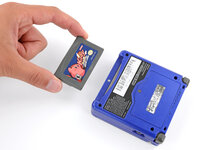
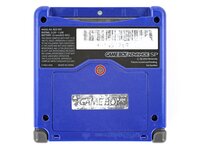
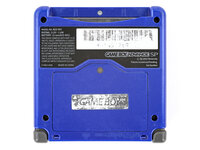
  1. Nintendo Game Boy Advance SP Trackpads Replacement, Prepare your Game Boy for disassembly: step 1, image 1 of 3 Nintendo Game Boy Advance SP Trackpads Replacement, Prepare your Game Boy for disassembly: step 1, image 2 of 3 Nintendo Game Boy Advance SP Trackpads Replacement, Prepare your Game Boy for disassembly: step 1, image 3 of 3
    • Slide the power switch to the OFF position and unplug any cables.

    • If you have a game cartridge in, remove it.

    Ask FixBot

    Add Comment

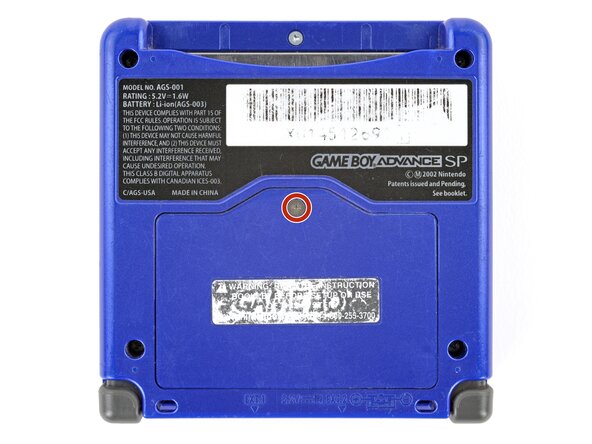
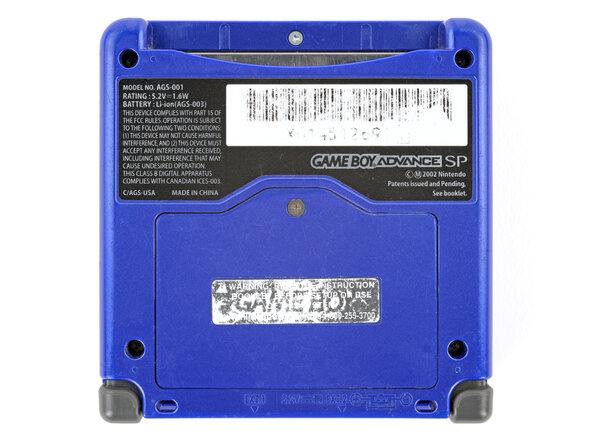
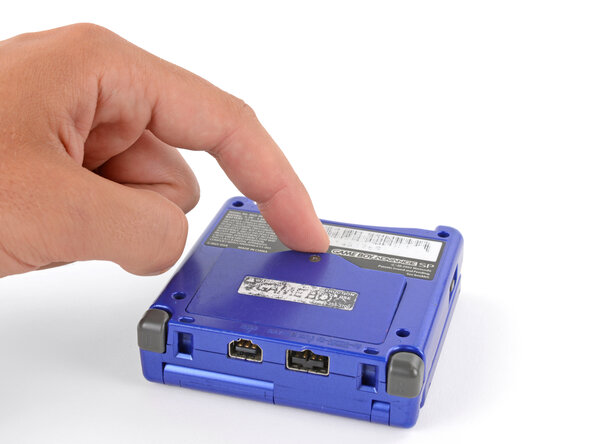
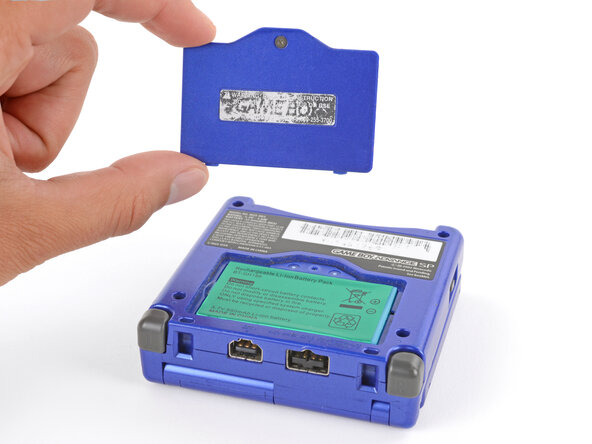
  2. Nintendo Game Boy Advance SP Trackpads Replacement, Remove the battery cover: step 2, image 1 of 2 Nintendo Game Boy Advance SP Trackpads Replacement, Remove the battery cover: step 2, image 2 of 2
    • Use a JIS 00 screwdriver to loosen the captive screw securing the battery cover.

    • You can try to use a non-iFixit Phillips driver in a pinch, but you risk damaging or stripping the screw. Push down firmly on the driver and twist slowly.

    Ask FixBot

    Add Comment

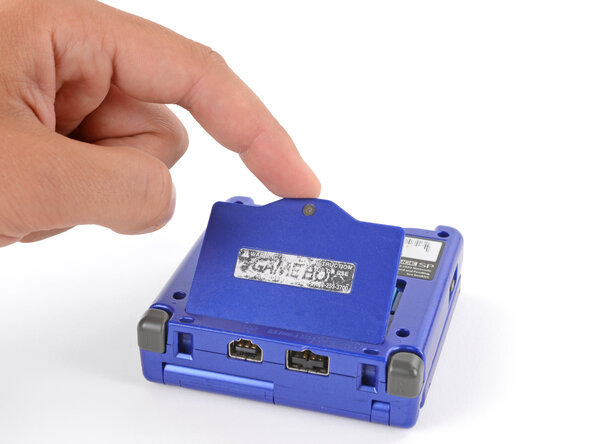
  3. Nintendo Game Boy Advance SP Trackpads Replacement: step 3, image 1 of 3 Nintendo Game Boy Advance SP Trackpads Replacement: step 3, image 2 of 3 Nintendo Game Boy Advance SP Trackpads Replacement: step 3, image 3 of 3
    • Lift the edge of the cover near the screw and remove the cover.

    • During reassembly, hook the tabs on the bottom edge of the cover into their slots and lay the cover into place.

    Ask FixBot

    Add Comment

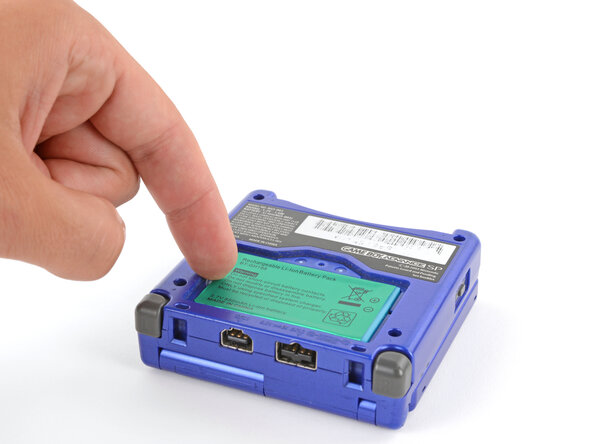
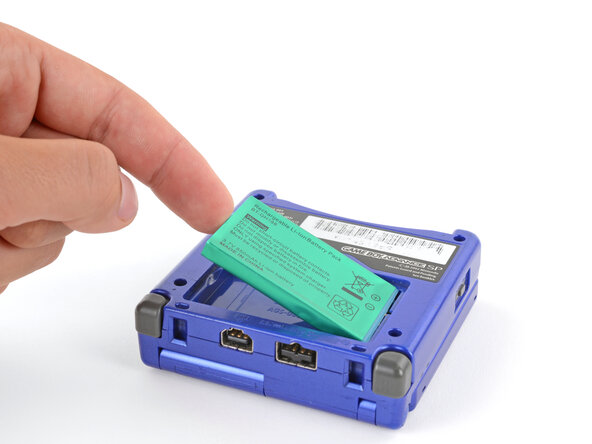
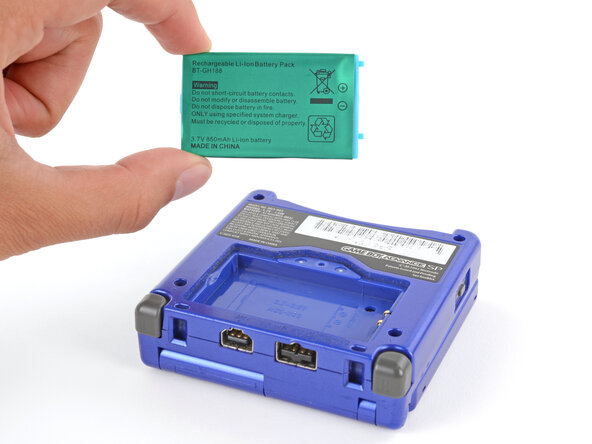
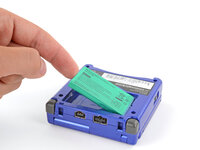
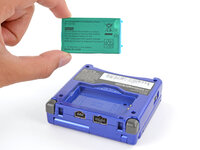
  4. Nintendo Game Boy Advance SP Trackpads Replacement, Remove the battery: step 4, image 1 of 3 Nintendo Game Boy Advance SP Trackpads Replacement, Remove the battery: step 4, image 2 of 3 Nintendo Game Boy Advance SP Trackpads Replacement, Remove the battery: step 4, image 3 of 3
    • Use your finger to lift the battery by the tab on its left edge, then remove it.

    • During reassembly:

    • Never reuse a deformed or damaged battery—it's a fire hazard. Replace it with a new battery.

    • Your replacement battery may come with a plastic enclosure that slides over the battery.

    • Insert the edge of the battery with contacts at a slight downward angle—aligning the contacts with their prongs in the recess—and press the battery into place.

    Ask FixBot

    Add Comment

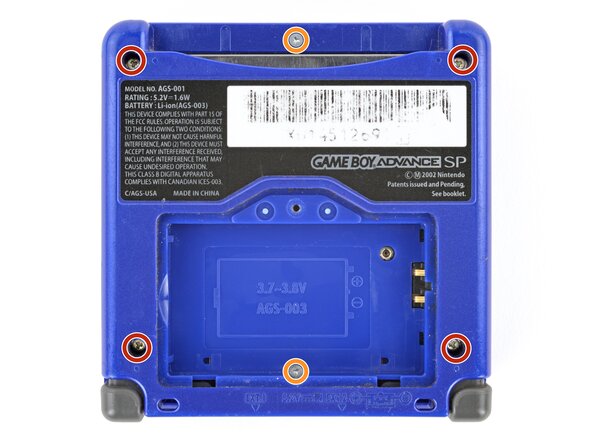
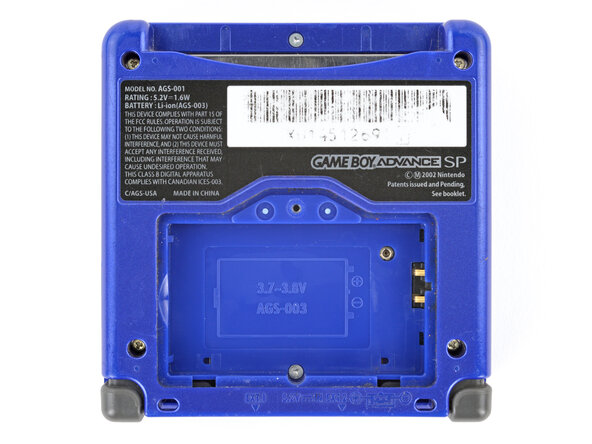
  5. Nintendo Game Boy Advance SP Trackpads Replacement, Remove the bottom shell: step 5, image 1 of 2 Nintendo Game Boy Advance SP Trackpads Replacement, Remove the bottom shell: step 5, image 2 of 2
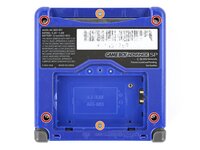
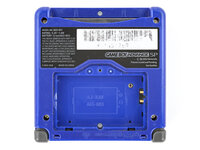
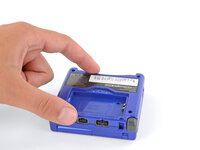
    • Use a tri‑point Y0 screwdriver to remove the six screws securing the bottom shell:

    • Four 6.3 mm‑long recessed screws

    • Two 4.6 mm‑long screws

    Ask FixBot

    Add Comment

  6. Nintendo Game Boy Advance SP Trackpads Replacement: step 6, image 1 of 2 Nintendo Game Boy Advance SP Trackpads Replacement: step 6, image 2 of 2
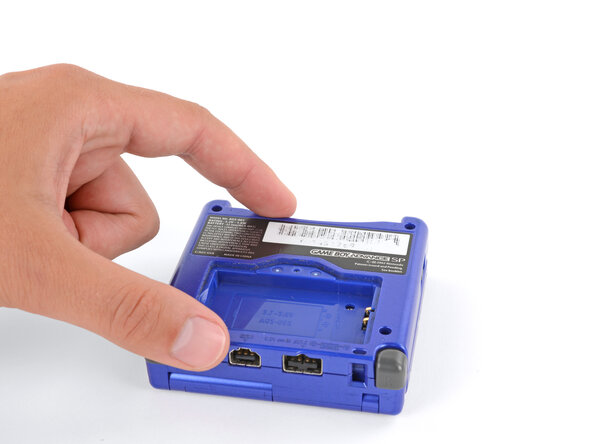
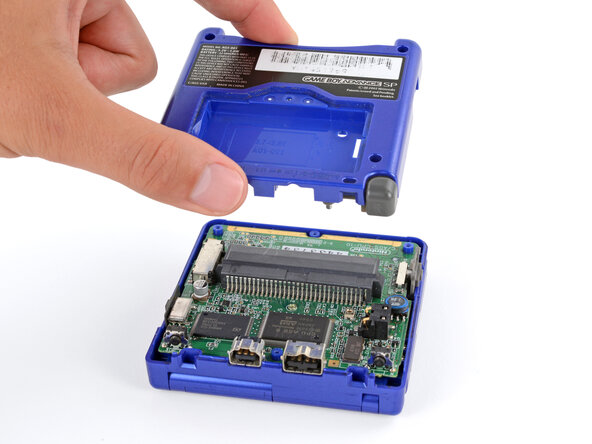
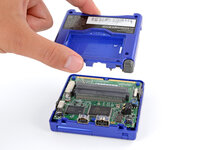
    • Lift the bottom shell straight up and remove it.

    Ask FixBot

    Add Comment

  7. Nintendo Game Boy Advance SP Trackpads Replacement, Remove the speaker: step 7, image 1 of 3 Nintendo Game Boy Advance SP Trackpads Replacement, Remove the speaker: step 7, image 2 of 3 Nintendo Game Boy Advance SP Trackpads Replacement, Remove the speaker: step 7, image 3 of 3
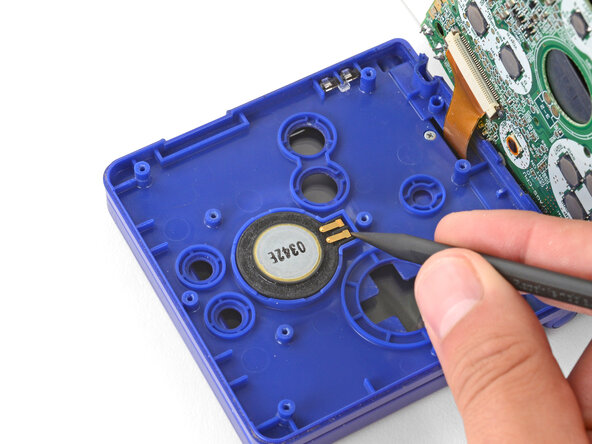
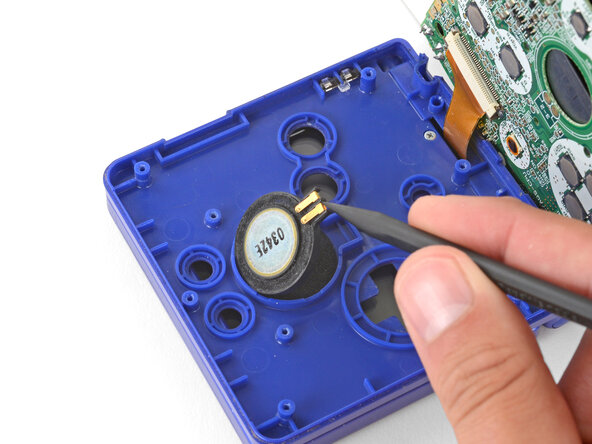
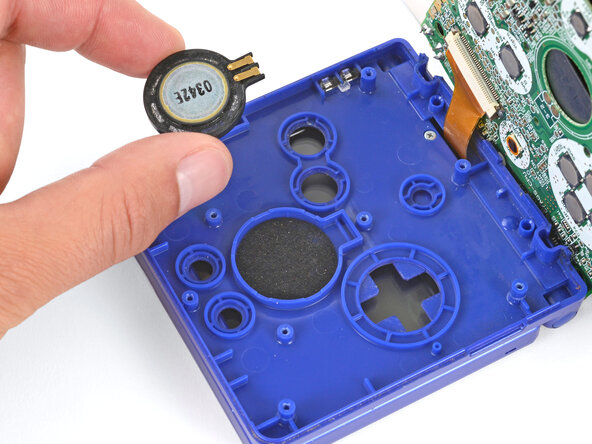
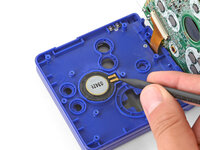
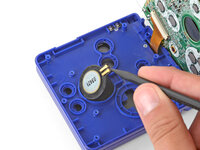
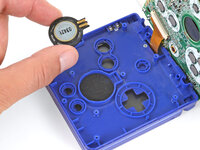
    • Use the point of a spudger or a clean fingernail to lift the speaker until you can grip it with your fingers.

    • Remove the speaker.

    Ask FixBot

    Add Comment

  8. Nintendo Game Boy Advance SP Trackpads Replacement, Prop up the main body: step 8, image 1 of 1
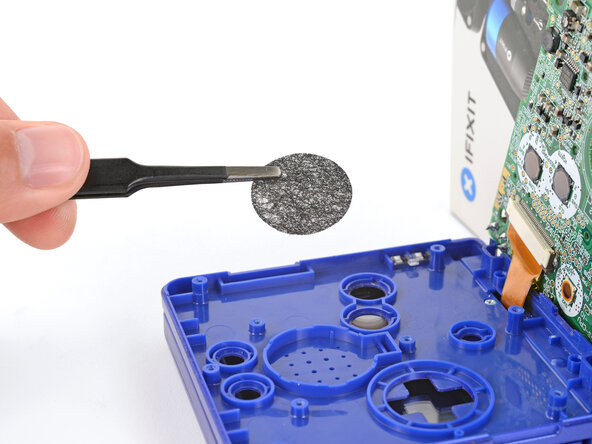
    • Remove the circular mesh from the speaker recess and set it aside—the piece can easily fall out and get lost when working.

    Ask FixBot

    Add Comment

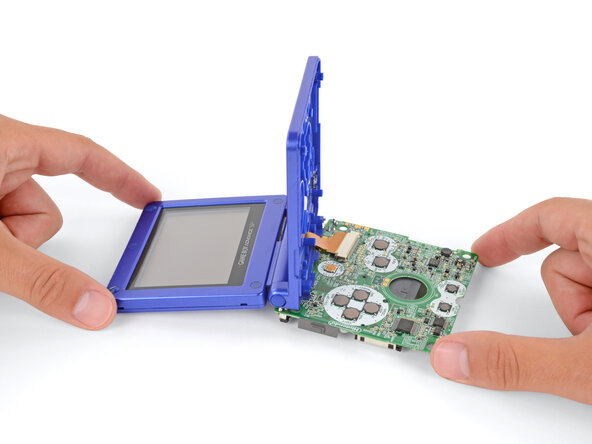
  9. Nintendo Game Boy Advance SP Trackpads Replacement, Prop up the main body: step 9, image 1 of 3 Nintendo Game Boy Advance SP Trackpads Replacement, Prop up the main body: step 9, image 2 of 3 Nintendo Game Boy Advance SP Trackpads Replacement, Prop up the main body: step 9, image 3 of 3
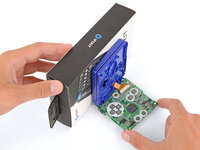
    • Be careful not to strain the screen cable during the next few steps—it has very little slack.

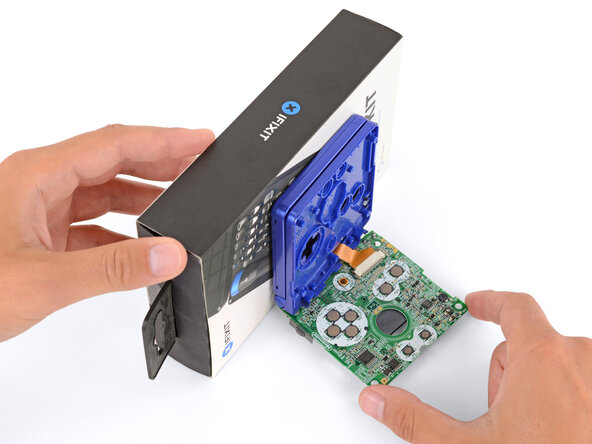
    • You need to prop up the main body of your Game Boy in order to disconnect the screen cable without straining it. Here are two ways to do so:

    • Option 1: Open the main body of your Game Boy to a 90‑degree angle and gently lay the motherboard down. Make sure the main body is resting on top of the motherboard to give the cable slack.

    • Option 2: Keep the main body closed and prop it up on the edge of the logic board, using a sturdy object to hold it up.

    Ask FixBot

    Add Comment

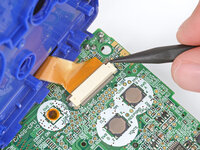
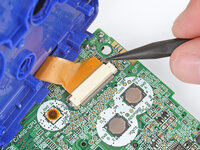
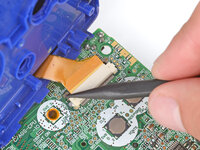
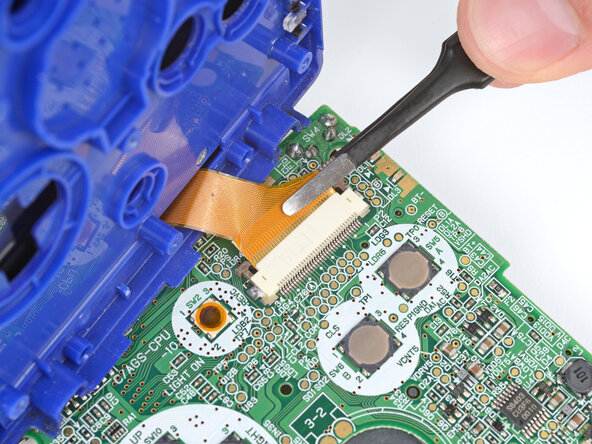
  10. Nintendo Game Boy Advance SP Trackpads Replacement, Disconnect the screen cable: step 10, image 1 of 3 Nintendo Game Boy Advance SP Trackpads Replacement, Disconnect the screen cable: step 10, image 2 of 3 Nintendo Game Boy Advance SP Trackpads Replacement, Disconnect the screen cable: step 10, image 3 of 3
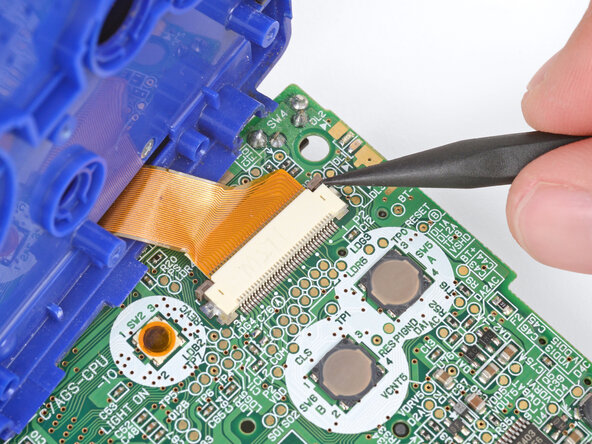
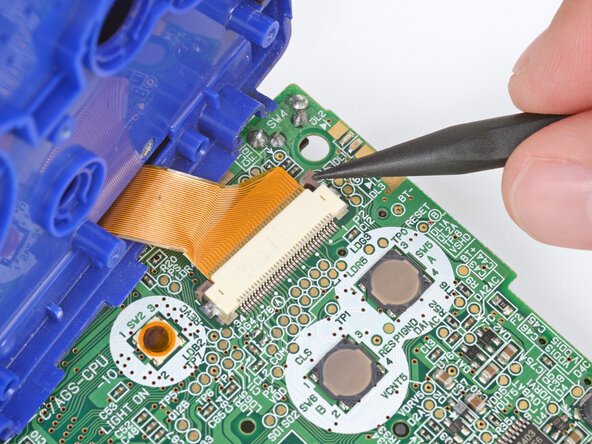
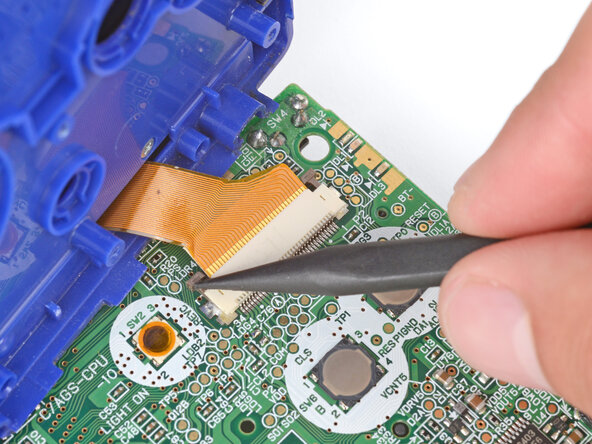
    • Use the point of a spudger to push the two tabs on either side of the screen cable connector into the unlocked position.

    • Only push the tabs until they stop. If you push them too far, you may slide the locking tab off the connector.

    Ask FixBot

    Add Comment

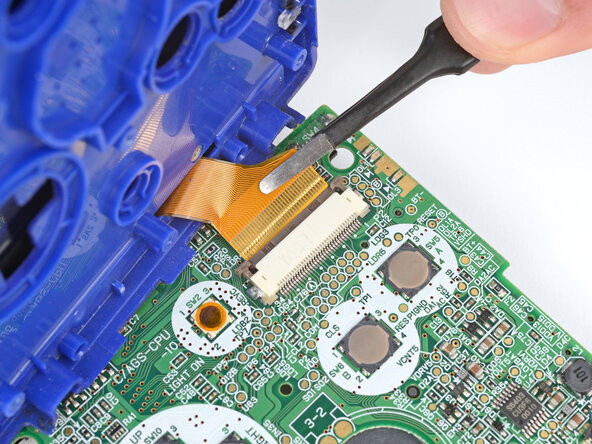
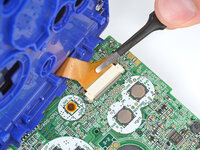
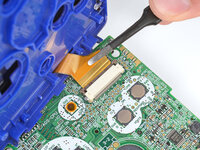
  11. Nintendo Game Boy Advance SP Trackpads Replacement: step 11, image 1 of 2 Nintendo Game Boy Advance SP Trackpads Replacement: step 11, image 2 of 2
    • Use a pair of tweezers to gently slide the screen cable out of its socket.

    Ask FixBot

    Add Comment

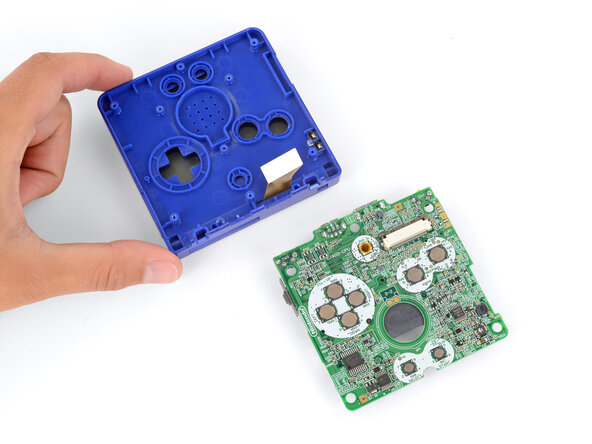
  12. Nintendo Game Boy Advance SP Trackpads Replacement, Remove the main body: step 12, image 1 of 1
    • Remove the main body from the motherboard.

    • During reassembly, prop up the main body for enough slack reconnect the screen cable.

    Ask FixBot

    Add Comment

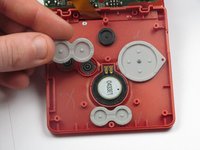
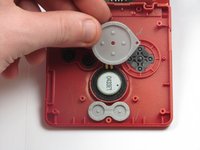
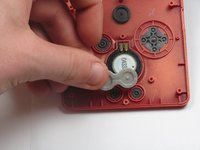
  13. Nintendo Game Boy Advance SP Trackpads Replacement, Removing the Trackpads: step 13, image 1 of 3 Nintendo Game Boy Advance SP Trackpads Replacement, Removing the Trackpads: step 13, image 2 of 3 Nintendo Game Boy Advance SP Trackpads Replacement, Removing the Trackpads: step 13, image 3 of 3
    • Using your fingers, gently lift and remove the trackpads covering the following:

    • 'A' and 'B' buttons

    • Directional Control Button Pad

    • 'Start' and 'Select' buttons

    Ask FixBot

    Add Comment

Conclusion

To reassemble your device, follow these instructions in reverse order.

Cancel: I did not complete this guide.

7 other people completed this guide.

DJ Pantone

Member since: 01/11/13

2,043 Reputation

4 Guides authored

Team

Cal Poly, Team 17-22, Forte Winter 2013 Member of Cal Poly, Team 17-22, Forte Winter 2013

CPSU-FORTE-W13S17G22

4 Members

32 Guides authored

2 Guide Comments

In the tools list, it says tri-point Y1, whereas in the description, it says to use a tri-point Y00. Which one is it really?

Gordonzola - Reply Share
Weird to call them "track pads" when no one calls them that. In fact, if you google "gba sp track pads" this is the only result that comes up referring to them that way. It's nice of you to write a guide but if people can't find it because you're using weird nomenclature you won't be helping many people.

Track pads are usually touch sensitive pads for moving cursors around on a computer. These rubber pads are button membranes. "Rubber membranes" or "button membranes" is what you'd usually call them.

Alexander Knots - Reply Share
Add Comment

View Statistics:

Past 24 Hours: 0

Past 7 Days: 7

Past 30 Days: 43

All Time: 11,829