Free Shipping on Domestic Orders $75+

Nintendo 64 Metal Plate Replacement

What you need

    1. Nintendo 64 Metal Plate Replacement, Top Cover: step 1, image 1 of 1
      • Remove the expansion pack cover by pushing in the tab and pulling out.

      Ask FixBot

      Add Comment

    2. Nintendo 64 Metal Plate Replacement: step 2, image 1 of 1
      • If your system uses a jumper pack, the same procedure applies to remove it.

      • A small spoon can be used in place of a spudger.

      • Lever the expansion pack out using a metal spudger.

      Ask FixBot

      Add Comment

    3. Nintendo 64 Metal Plate Replacement: step 3, image 1 of 1
      • Remove the six screws on the bottom side indicated in the example with a gamebit head or screwdriver.

      Ask FixBot

      Add Comment

    4. Nintendo 64 Metal Plate Replacement: step 4, image 1 of 1
      • Remove the two front feet of the N64.

      Ask FixBot

      Add Comment

    5. Nintendo 64 Metal Plate Replacement: step 5, image 1 of 1
      • Rotate to top side up and lift off top cover.

      Ask FixBot

      Add Comment

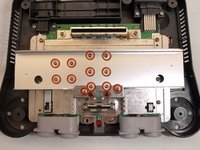
    1. Nintendo 64 Metal Plate Replacement, Metal Plate: step 6, image 1 of 2 Nintendo 64 Metal Plate Replacement, Metal Plate: step 6, image 2 of 2
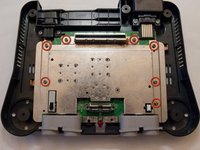
      • Remove the fourteen screws indicated in the example using the larger Phillips screwdriver.

      Ask FixBot

      Add Comment

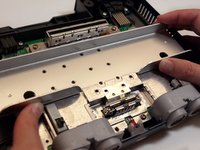
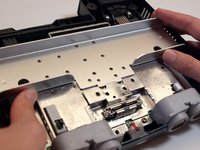
    2. Nintendo 64 Metal Plate Replacement: step 7, image 1 of 2 Nintendo 64 Metal Plate Replacement: step 7, image 2 of 2
      • Remove the metal plate indicated in the example by sliding it back and then lifting it up.

      Ask FixBot

      Add Comment

    3. Nintendo 64 Metal Plate Replacement: step 8, image 1 of 1
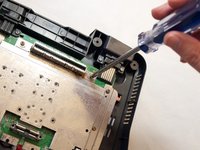
      • Remove the two screws indicated in the example using the smaller Phillips screwdriver.

      Ask FixBot

      Add Comment

    4. Nintendo 64 Metal Plate Replacement: step 9, image 1 of 1
      • Remove the screw to the right of the LED light using the larger Phillips screwdriver.

      Ask FixBot

      Add Comment

    5. Nintendo 64 Metal Plate Replacement: step 10, image 1 of 1
      • Remove the small metal bracket from the back of the expansion pack slot.

      Ask FixBot

      Add Comment

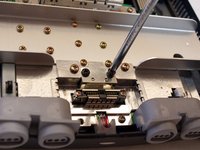
    6. Nintendo 64 Metal Plate Replacement: step 11, image 1 of 2 Nintendo 64 Metal Plate Replacement: step 11, image 2 of 2
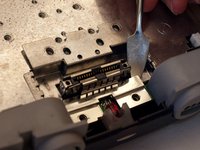
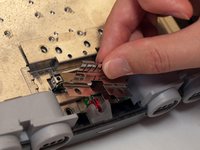
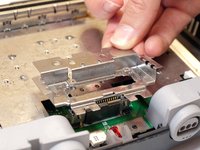
      • Remove the small metal bracket from the front of the expansion pack slot with the metal spudger.

      Ask FixBot

      Add Comment

    7. Nintendo 64 Metal Plate Replacement: step 12, image 1 of 2 Nintendo 64 Metal Plate Replacement: step 12, image 2 of 2
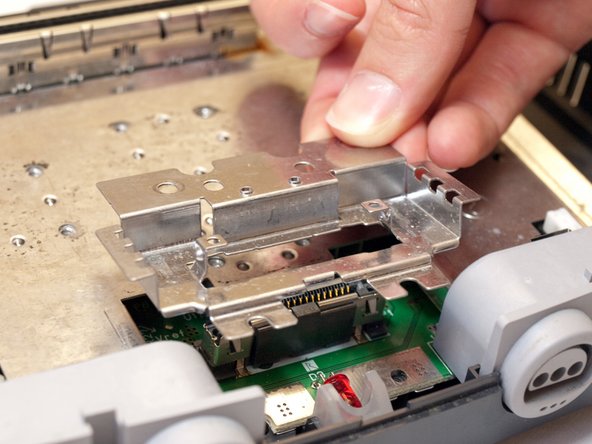
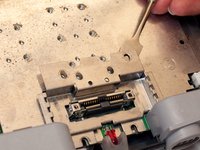
      • Remove the small metal bracket behind the expansion slot using the spudger.

      Ask FixBot

      Add Comment

    8. Nintendo 64 Metal Plate Replacement: step 13, image 1 of 2 Nintendo 64 Metal Plate Replacement: step 13, image 2 of 2
      • Remove the seven screws indicated in the example using the larger Phillips screwdriver.

      Ask FixBot

      Add Comment

    9. Nintendo 64 Metal Plate Replacement: step 14, image 1 of 1
      • Lift off and remove the metal plate as indicated in the example.

      Ask FixBot

      Add Comment

Conclusion

To reassemble your device, follow these instructions in reverse order.

Cancel: I did not complete this guide.

6 other people completed this guide.

LisaF818

Member since: 11/29/09

161 Reputation

1 Guide authored

Team

Cal Poly, Team 5-4, Regan Fall 2009 Member of Cal Poly, Team 5-4, Regan Fall 2009

CPSU-REGAN-F09S5G4

7 Members

60 Guides authored

0 Guide Comments

Add Comment

View Statistics:

Past 24 Hours: 3

Past 7 Days: 23

Past 30 Days: 81

All Time: 13,365