
Nintendo 64 Controller D-Pad Replacement

Jamie Durman and one other contributor
Last updated on Aug 23, 2023
Views: 1.5K
View statistics:
- Past 24 Hours:
- 3
- Past 7 Days:
- 17
- Past 30 Days:
- 87
- All Time:
- 1,528
Comments: 0
No one has left comments on this guide. Will you be first?
Go to guide commentsCompleted: 1 2
1 person has marked this guide "completed." Will you be next?
2 people have marked this guide "completed." Including you — great job!
Favorites: 0 1
No one has favorited (and subscribed to) this guide. Will you be the first?
1 person has favorited (and subscribed to) this guide — and that's you!
Featured Student Guide
This guide has been the hard work of our awesome students and is found to be exceptionally cool by the iFixit staff.
Introduction
Go to step 1 ↓Use this guide to replace a worn out or unresponsive D-pad on your Nintendo 64 controller.
The D-pad is an input component allowing you to control the up, right, left, and down direction of movement within a game. Over time, continuous use of the D-pad can render it non-functional. Fortunately, replacement of the D-pad is fairly easy and you can go back to playing your favorite Nintendo 64 games in no time.
Make sure to inspect your controller for any possible defects that may make repairs difficult or dangerous. If there are any loose wires, consider replacing the cable. If any of the screws are stripped, this guide has many helpful tips for removing these screws. Additionally, make sure your controller is disconnected from your Nintendo 64 system before you begin.
What you need
Tools


-
-
-
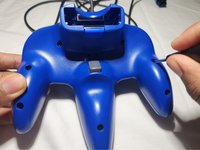
Use a Phillips #0 screwdriver to remove the seven 10 mm screws from the body.
-
Remove the two 6 mm Phillips #0 screws from the expansion slot.
-
Separate the back cover from the front and set it aside.
 Ask FixBot
-
-
-
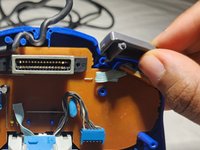
Remove the left and right shoulder triggers by sliding them straight up.
-
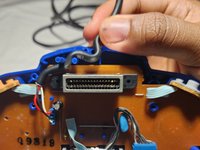
Gently unhook the cable that is looped around two cable clamps by nudging it up and out.
-
-
-
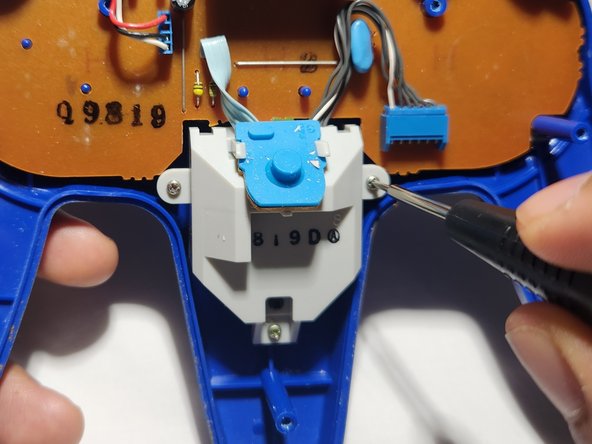
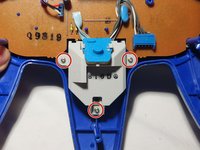
Use a Phillips #0 screwdriver to remove the three silver 6 mm screws holding the joystick assembly in place.
-
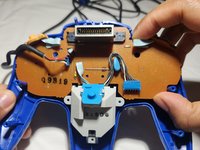
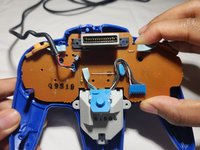
Gently lift the motherboard and joystick assembly out of the controller.
-
-
-
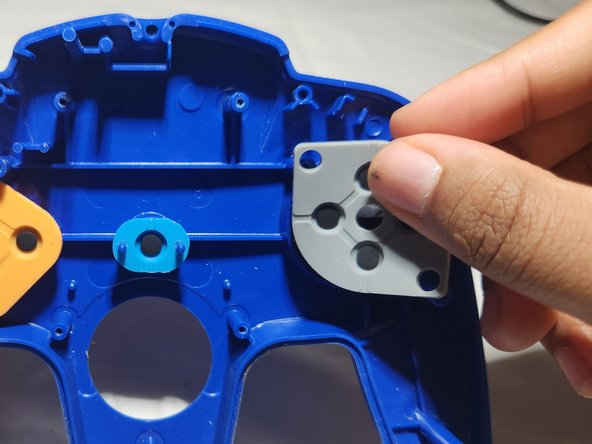
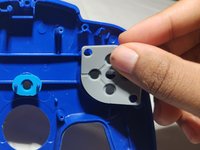
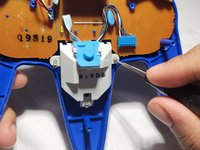
Slide the rubber pad off that covers the back of the D-pad.
-
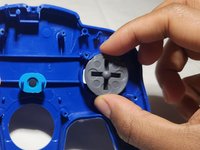
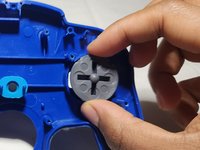
Remove the broken D-pad from its socket.
-
-
-
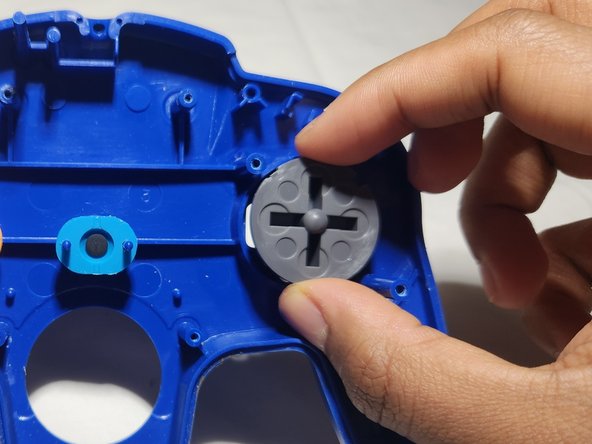
Insert the replacement D-pad into the socket.
-
Stretch the rubber backing onto the plastic pieces and slide it down over the D-pad.
-
Carefully reinsert the circuit board into the controller housing.
-
Insert the joystick into its opening.
-
-
-
-
Carefully secure the cord around the cable clamps.
-
Re-insert the shoulder triggers into place.
-
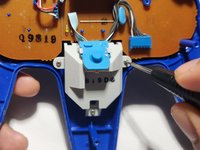
Use a Phillips #0 screwdriver to secure the screws to the joystick assembly.
-
-
-
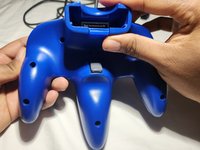
Snap the back cover into place.
-
Use a Phillips #0 screwdriver to replace the screws on the back cover.
-
-










Happy gaming!
Cancel: I did not complete this guide.
One other person completed this guide.

Team

Austin Community College, Team 2-1, Watkins Summer 2023 Member of Austin Community College, Team 2-1, Watkins Summer 2023
AUSTINCC-WATKINS-SU23S2G1
1 Member
12 Guides authored
