Introduction
If your C-Stick doesn't work, you may need to replace it. Watch out for delicate ribbon cables in the device. After removing the board with the C-Stick attached, the face buttons can fall out. Make sure to not lose them.
What you need
-
-
-
Unscrew the two 3mm Phillips #1 head screws along the top edge of the device.
 Ask FixBot
-
-
-
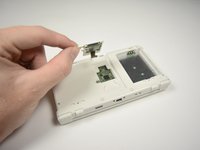
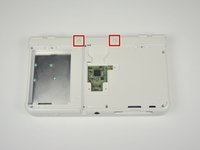
Pull the top corner tabs of the front face plate outward and towards you.
-
Pull the faceplate up and out of the slots at the bottom of the device.
-
Set aside the back faceplate.
-
-
-
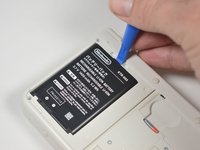
Insert a plastic opening tool into the notch at the top of the battery.
-
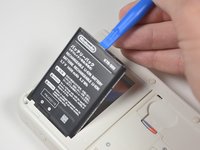
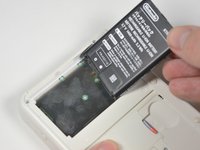
Pry the battery up with the plastic opening tool.
-
-
-
-
-
Unscrew the three 3mm Y0 screws along the right and bottom of the SD card reader.
-
-
-
Pull the SD card reader from the edge with two holes gently to free the tab at the top of the SD card reader.
-
Reorient the device so that the power jack faces you.
-
-
-
-
Lift the SD card reader gently.
-
Use a plastic opening tool to pry the SD card ribbon cable off the socket on the motherboard.
-
Lift the SD card reader out off of the lower casing.
-
-
-
-
Tool used on this step:Tweezers$4.99
-
Reorient the device so that the game slot now faces you.
-
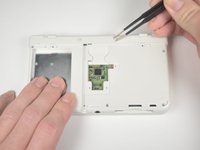
Remove the two rubber bumpers along the top of the device using tweezers.
-
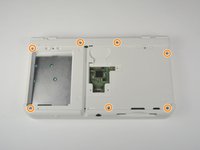
Unscrew the seven 6mm Phillips #00 screws along the top and bottom of the 3DS.
-
-
-
Lift the top edge of the lower case slightly off on the 3DS.
-
Pry the ribbon cable socket under the right trigger using a plastic opening tool.
-
Pry the ribbon cable socket under the infrared receiver cover using a plastic opening tool.
-
-
-
Open the device slowly from its top edge. Be careful not to tug the ribbon cable connected near the bottom edge of the device.
-
Pry the last ribbon cable attached to the lower case using a plastic opening tool.
-
-
-
-
-
Remove the four 3mm Phillips #00 screws.
-
Remove the three 3mm Phillips #00 screws.
-
-
Tool used on this step:Tweezers$4.99
-
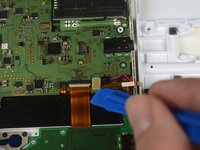
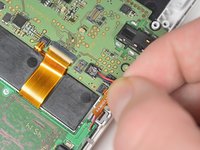
Pull up gently on power cable to loose it from the motherboard.
-
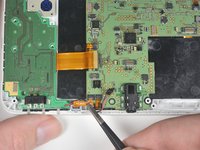
Pull the ribbon cable, connected to the mic, gently towards you with a pair of tweezers.
-
Lift the tab to free the large ribbon cable on just above the power connector.
-
-
-
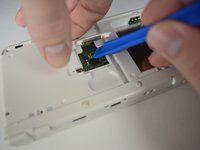
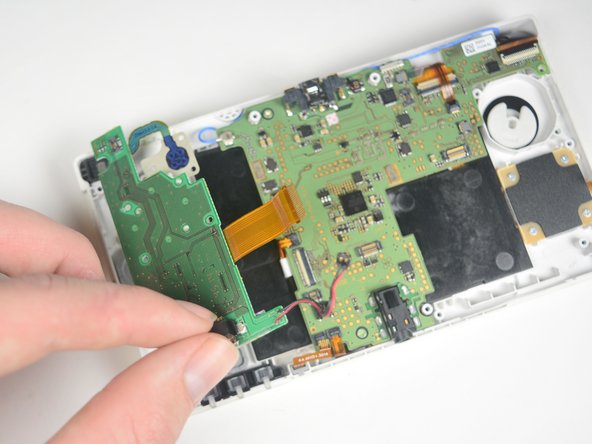
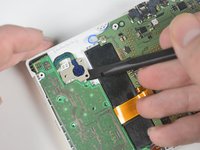
Pry the C-Stick from its plastic housing with the flat side of a spudger.
-
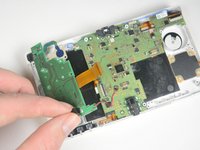
Lift the assembly gently out of the device from the battery connector at the bottom of the leftmost circuit board.
-
-
-
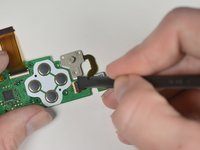
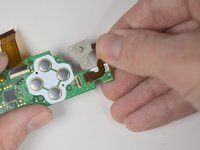
Flip the board over to reveal the connector for the C-stick's ribbon cable.
-
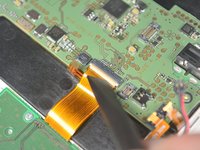
Lift the tab on the ZIF connector securing the C-Stick to the board.
-
Separate the C-Stick from the board.
-
-








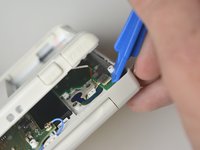
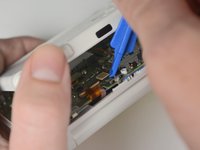


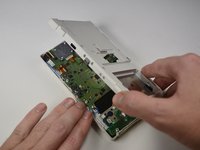
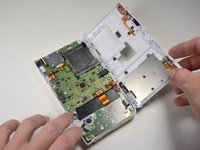





To reassemble your device, follow these instructions in reverse order.
Cancel: I did not complete this guide.
3 other people completed this guide.

Team

Cal Poly, Team 4-6, Livingston Fall 2016 Member of Cal Poly, Team 4-6, Livingston Fall 2016
CPSU-LIVINGSTON-F16S4G6
4 Members
108 Guides authored
3 Guide Comments
What do I do if two of my screws were stripped when I got my system? I need to fix my cstick desperately but I cant get inside of my 3ds. Anything at all would help.
~Akiru
Hello Akiru! Stripped screws can be a bugger, but you do have some options. I could outline some of your options here, but iFixit has a good article for this one. Go ahead and take a look at the article on iFixit titled "How to Remove a Stripped Screw", it should help you out.
Have a Good One.
Tyler
you do have the option of just ripping it out
