Free Shipping on Domestic Orders $75+

Ninja Ultima BL810 Vent Replacement

What you need

  1. Ninja Ultima BL810 Vent Replacement, Power Plug: step 1, image 1 of 3 Ninja Ultima BL810 Vent Replacement, Power Plug: step 1, image 2 of 3 Ninja Ultima BL810 Vent Replacement, Power Plug: step 1, image 3 of 3
    • Unscrew the Phillips #0 11mm screws.

    • Unscrew the Torx Security #10 11mm screw.

    Ask FixBot
  2. Ninja Ultima BL810 Vent Replacement: step 2, image 1 of 2 Ninja Ultima BL810 Vent Replacement: step 2, image 2 of 2
    • Unscrew the six Phillips #2 11mm screws from the remainder of the bottom plate.

    • Pull the bottom covering off of the blender.

    Ask FixBot
  3. Ninja Ultima BL810 Vent Replacement: step 3, image 1 of 2 Ninja Ultima BL810 Vent Replacement: step 3, image 2 of 2
    • Unscrew the two Phillips #2 9mm screws.

    • Remove the plastic block.

    Ask FixBot
  4. Ninja Ultima BL810 Vent Replacement: step 4, image 1 of 3 Ninja Ultima BL810 Vent Replacement: step 4, image 2 of 3 Ninja Ultima BL810 Vent Replacement: step 4, image 3 of 3
    • Unscrew the four Phillips #2 11mm screws.

    • Remove the plastic covers.

    • Removing the top cover and then rotating the bottom cover into the same orientation works best.

    Ask FixBot
  5. Ninja Ultima BL810 Vent Replacement: step 5, image 1 of 1
    • Unscrew the three Phillips #2 9mm screws.

    • This metal plate doesn't need to be completely removed, just adjusted to the side to continue working.

    Ask FixBot
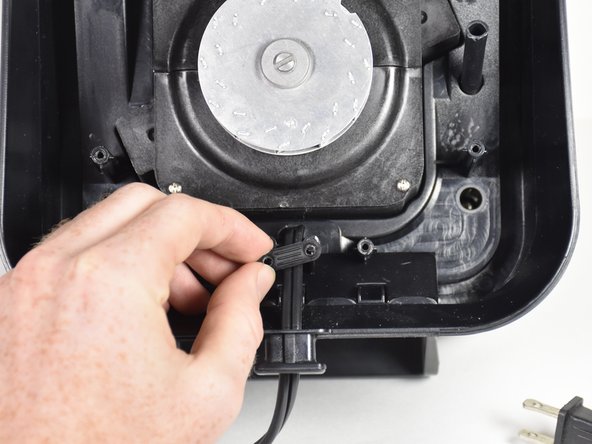
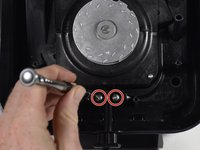
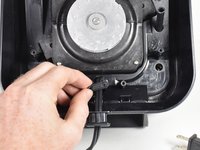
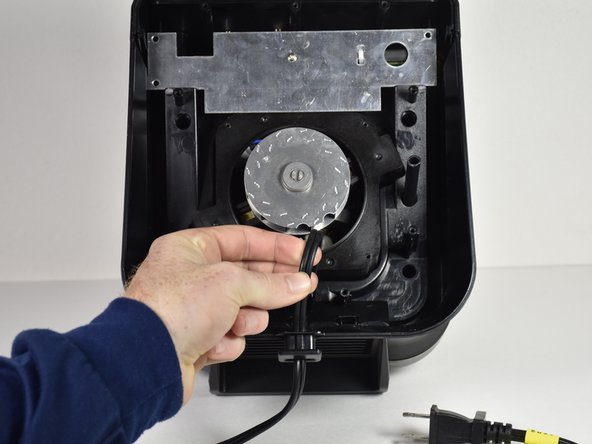
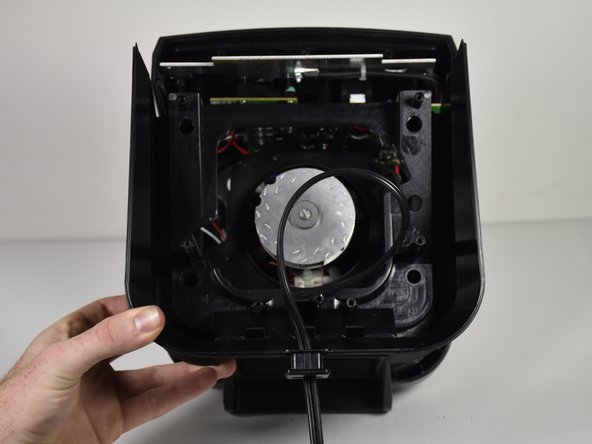
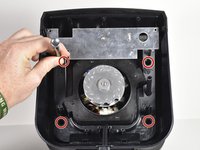
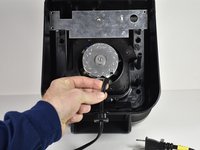
  6. Ninja Ultima BL810 Vent Replacement: step 6, image 1 of 3 Ninja Ultima BL810 Vent Replacement: step 6, image 2 of 3 Ninja Ultima BL810 Vent Replacement: step 6, image 3 of 3
    • Unscrew the four Phillips #2 11mm screws.

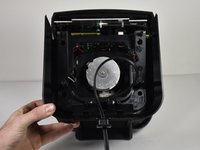
    • Pull the power cord through as shown to create slack.

    • Remove plastic casing by lifting upwards.

    Ask FixBot
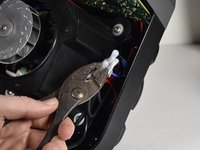
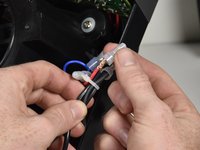
  7. Ninja Ultima BL810 Vent Replacement: step 7, image 1 of 3 Ninja Ultima BL810 Vent Replacement: step 7, image 2 of 3 Ninja Ultima BL810 Vent Replacement: step 7, image 3 of 3
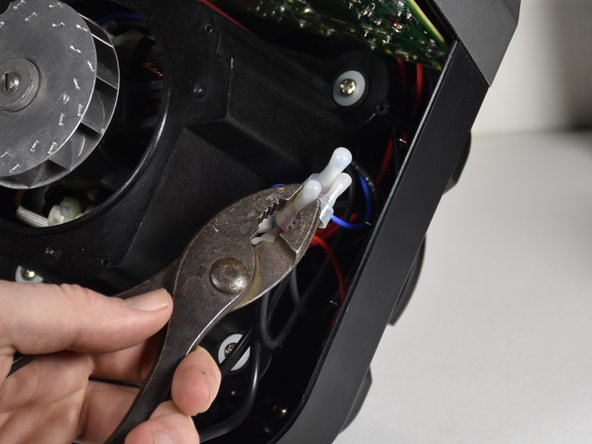
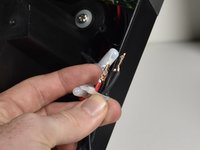
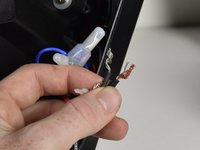
    • Follow the power plug cords to find the right plastic caps.

    • Squeeze the caps with pliers to loosen the grip.

    • Pull the plastic caps off the twisted wires.

    Ask FixBot
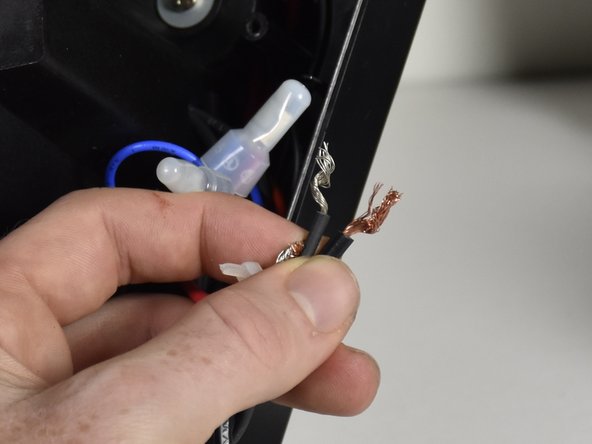
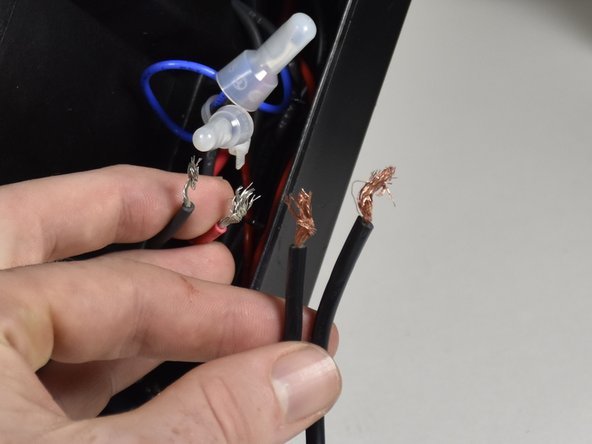
  8. Ninja Ultima BL810 Vent Replacement: step 8, image 1 of 3 Ninja Ultima BL810 Vent Replacement: step 8, image 2 of 3 Ninja Ultima BL810 Vent Replacement: step 8, image 3 of 3
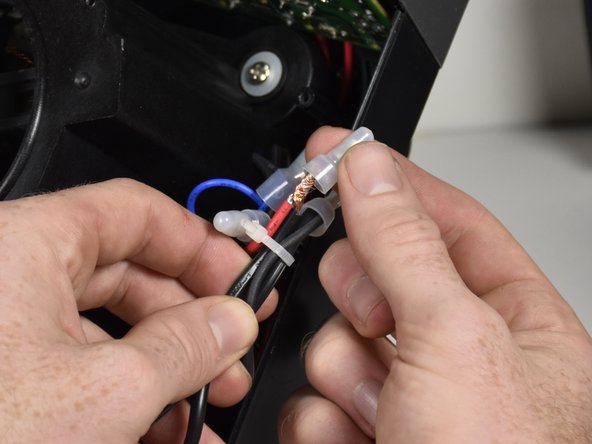
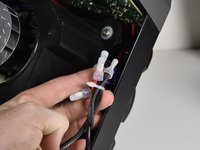
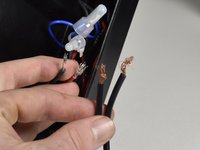
    • Untwist the two wires from each other and pull the zip tie off.

    Ask FixBot
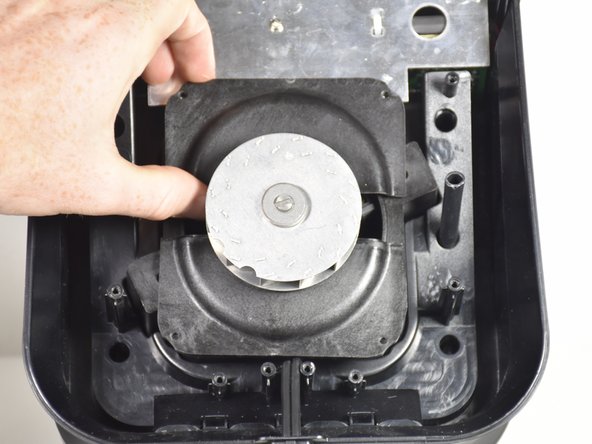
  9. Ninja Ultima BL810 Vent Replacement, Vent: step 9, image 1 of 1
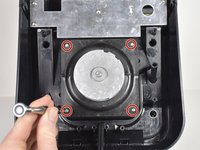
    • Unscrew the 2 Phillips #2 9mm screws.

    Ask FixBot
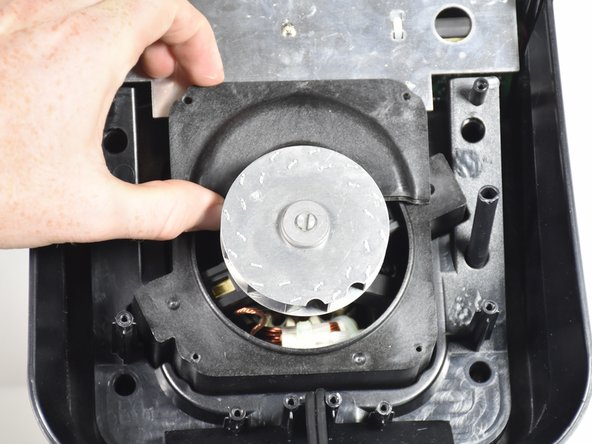
  10. Ninja Ultima BL810 Vent Replacement: step 10, image 1 of 1
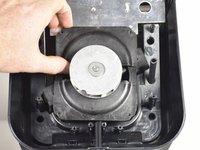
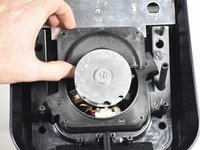
    • Grip the vent on either side and lift it straight in the upward direction.

    Ask FixBot
Conclusion

To reassemble your device, follow these instructions in reverse order.

Ryan James Gilroy

Member since: 09/27/17

364 Reputation

3 Guides authored

Team

Cal Poly, Team S9-G4, Banghart Fall 2017 Member of Cal Poly, Team S9-G4, Banghart Fall 2017

CPSU-BANGHART-F17S9G4

4 Members

6 Guides authored

0 Guide Comments

Add Comment

View Statistics:

Past 24 Hours: 2

Past 7 Days: 5

Past 30 Days: 40

All Time: 1,298