Free Shipping on Domestic Orders $75+

Ninja Ultima BL810 Power Plug Replacement

What you need

    1. Ninja Ultima BL810 Power Plug Replacement, Power Plug: step 1, image 1 of 3 Ninja Ultima BL810 Power Plug Replacement, Power Plug: step 1, image 2 of 3 Ninja Ultima BL810 Power Plug Replacement, Power Plug: step 1, image 3 of 3
      • Unscrew the Phillips #0 11mm screws.

      • Unscrew the Torx Security #10 11mm screw.

      Ask FixBot

      Add Comment

    2. Ninja Ultima BL810 Power Plug Replacement: step 2, image 1 of 2 Ninja Ultima BL810 Power Plug Replacement: step 2, image 2 of 2
      • Unscrew the six Phillips #2 11mm screws from the remainder of the bottom plate.

      • Pull the bottom covering off of the blender.

      Ask FixBot

      Add Comment

    3. Ninja Ultima BL810 Power Plug Replacement: step 3, image 1 of 2 Ninja Ultima BL810 Power Plug Replacement: step 3, image 2 of 2
      • Unscrew the two Phillips #2 9mm screws.

      • Remove the plastic block.

      Ask FixBot

      Add Comment

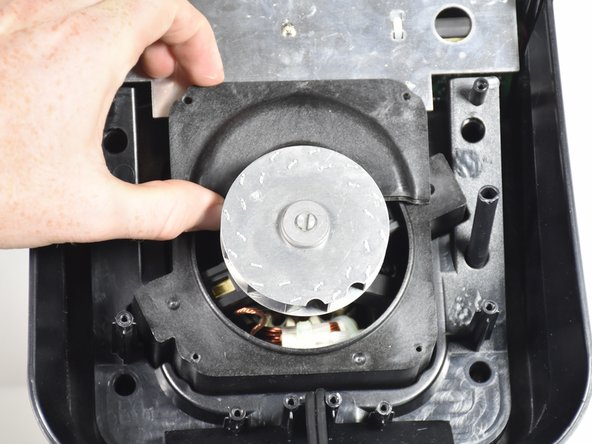
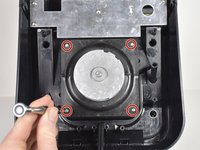
    4. Ninja Ultima BL810 Power Plug Replacement: step 4, image 1 of 3 Ninja Ultima BL810 Power Plug Replacement: step 4, image 2 of 3 Ninja Ultima BL810 Power Plug Replacement: step 4, image 3 of 3
      • Unscrew the four Phillips #2 11mm screws.

      • Remove the plastic covers.

      • Removing the top cover and then rotating the bottom cover into the same orientation works best.

      Ask FixBot

      Add Comment

    5. Ninja Ultima BL810 Power Plug Replacement: step 5, image 1 of 1
      • Unscrew the three Phillips #2 9mm screws.

      • This metal plate doesn't need to be completely removed, just adjusted to the side to continue working.

      Ask FixBot

      Add Comment

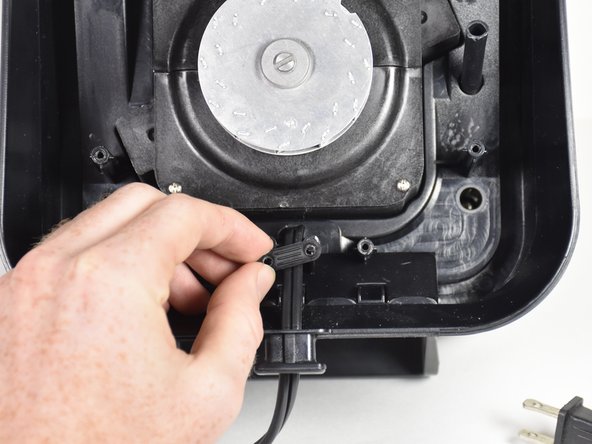
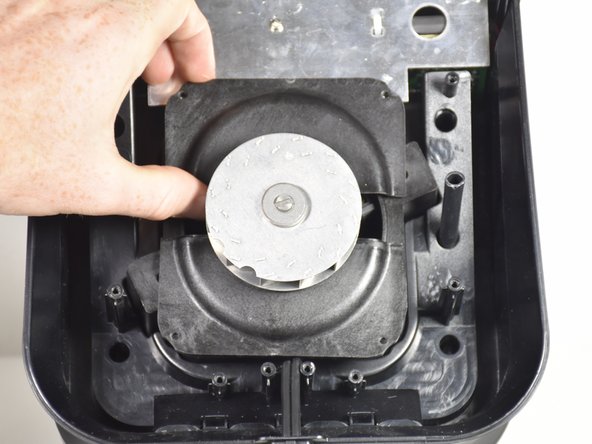
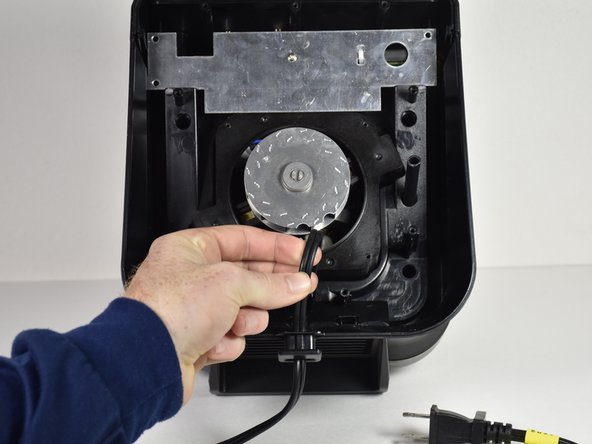
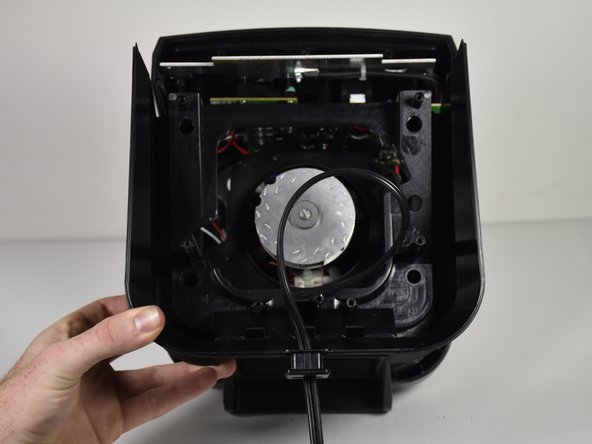
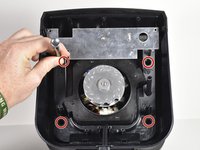
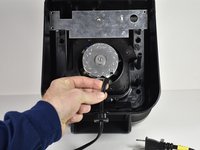
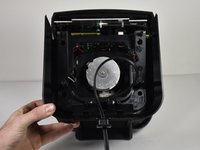
    6. Ninja Ultima BL810 Power Plug Replacement: step 6, image 1 of 3 Ninja Ultima BL810 Power Plug Replacement: step 6, image 2 of 3 Ninja Ultima BL810 Power Plug Replacement: step 6, image 3 of 3
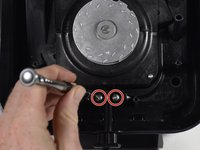
      • Unscrew the four Phillips #2 11mm screws.

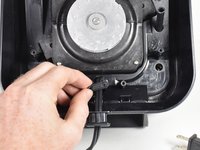
      • Pull the power cord through as shown to create slack.

      • Remove plastic casing by lifting upwards.

      Ask FixBot

      Add Comment

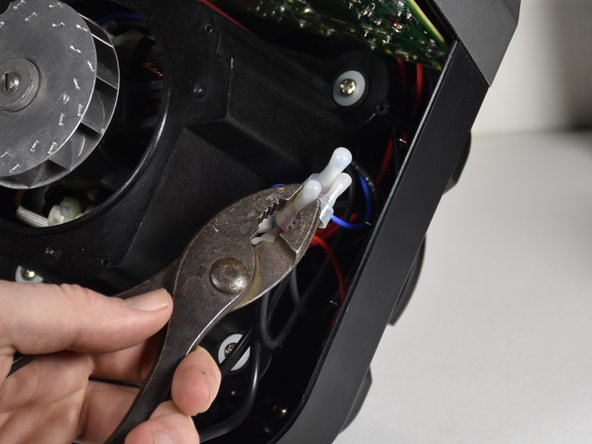
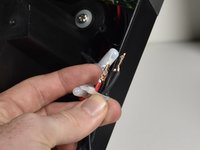
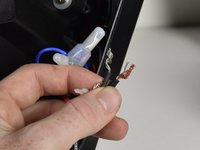
    7. Ninja Ultima BL810 Power Plug Replacement: step 7, image 1 of 3 Ninja Ultima BL810 Power Plug Replacement: step 7, image 2 of 3 Ninja Ultima BL810 Power Plug Replacement: step 7, image 3 of 3
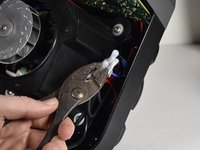
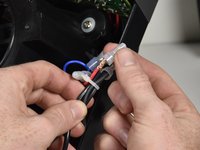
      • Follow the power plug cords to find the right plastic caps.

      • Squeeze the caps with pliers to loosen the grip.

      • Pull the plastic caps off the twisted wires.

      Ask FixBot

      Add Comment

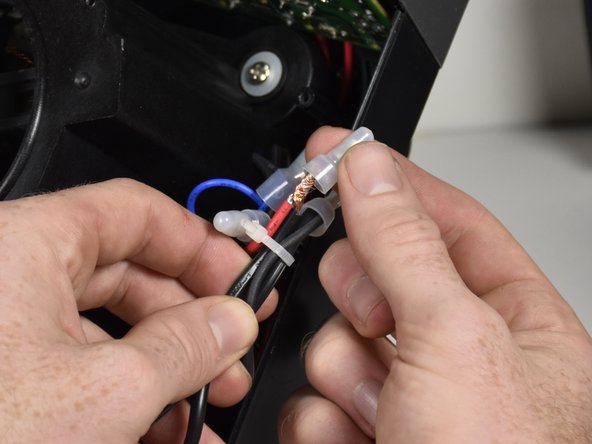
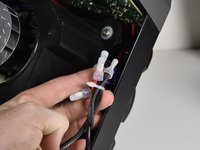
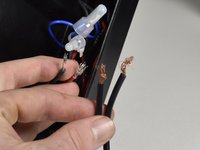
    8. Ninja Ultima BL810 Power Plug Replacement: step 8, image 1 of 3 Ninja Ultima BL810 Power Plug Replacement: step 8, image 2 of 3 Ninja Ultima BL810 Power Plug Replacement: step 8, image 3 of 3
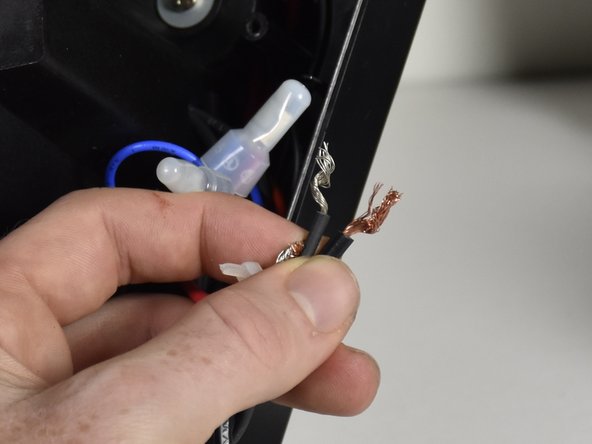
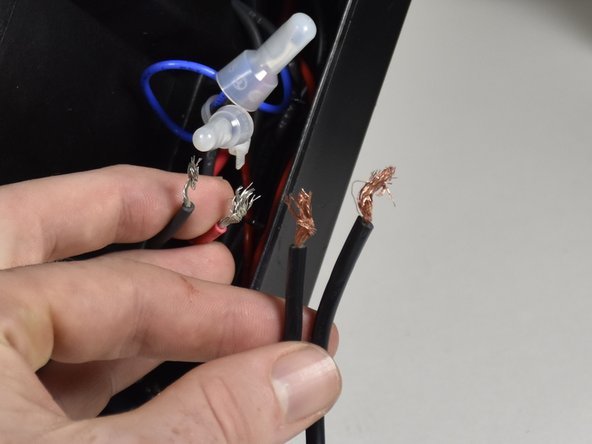
      • Untwist the two wires from each other and pull the zip tie off.

      Ask FixBot

      Add Comment

Conclusion

To reassemble your device, follow these instructions in reverse order.

Cancel: I did not complete this guide.

One other person completed this guide.

Ryan James Gilroy

Member since: 09/27/17

364 Reputation

3 Guides authored

Team

Cal Poly, Team S9-G4, Banghart Fall 2017 Member of Cal Poly, Team S9-G4, Banghart Fall 2017

CPSU-BANGHART-F17S9G4

4 Members

60 Guides authored

0 Guide Comments

Add Comment

View Statistics:

Past 24 Hours: 0

Past 7 Days: 0

Past 30 Days: 21

All Time: 933