
Ninja Professional Blender BL660 Power Button Panel Replacement

Hernan Mendoza and 4 other contributors
Last updated on Jan 4, 2018
Views: 2.2K
View statistics:
- Past 24 Hours:
- 3
- Past 7 Days:
- 19
- Past 30 Days:
- 96
- All Time:
- 2,233
Comments: 0
No one has left comments on this guide. Will you be first?
Go to guide commentsCompleted: 0 1
No one has marked this guide "completed." Will you be the first?
1 person has marked this guide "completed." It's you — great job!
Favorites: 0 1
No one has favorited (and subscribed to) this guide. Will you be the first?
1 person has favorited (and subscribed to) this guide — and that's you!
Introduction
Go to step 1 ↓If your blender doesn't power on or is non responsive, then the power button panel may be damaged. This guide will show you how to replace the power button panel on the Ninja Blender BL660.
What you need
Tools


-
-
-
Using the Phillips #1 screwdriver, remove the 5 screws (13mm long, 6mm wide) holding the outer base.
-
Lift the base up to remove it.
 Ask FixBot
-
-
-
Remove the midsection by pulling it up. If the section is stuck, use the iFixit plastic opening tool to pry it off.
-
Pull the power cord through the mid-section opening.
-
-
-
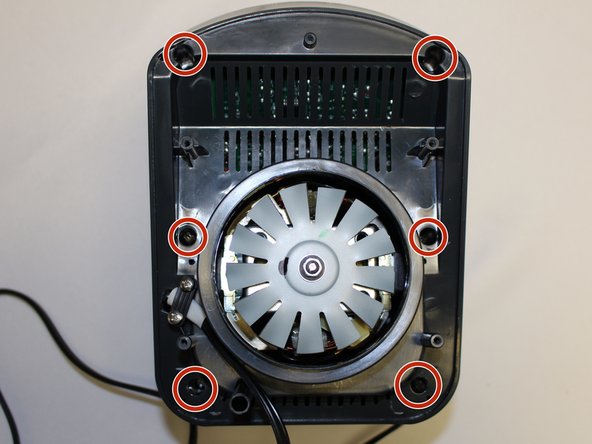
Using the Phillips #1 screwdriver, remove the 6 screws (13 mm long, 6 mm wide).
-
-
-
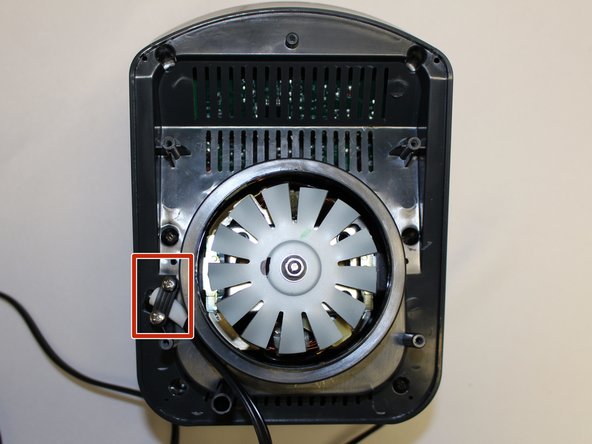
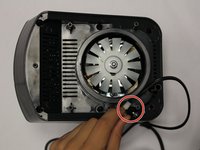
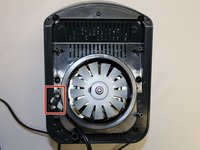
Using the Phillips #1 screwdriver, remove the two screws (5 mm long, 3 mm wide) holding the power cord onto the motor cover.
-
-
-
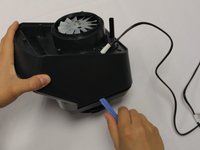
Using the iFixit plastic opening tool, pry the motor cover off the general housing. Once it is loose, lift it up to remove it off the base.
-
Slide the cover all the way to the end of the power cord.
-
-
-
-
-
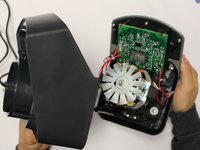
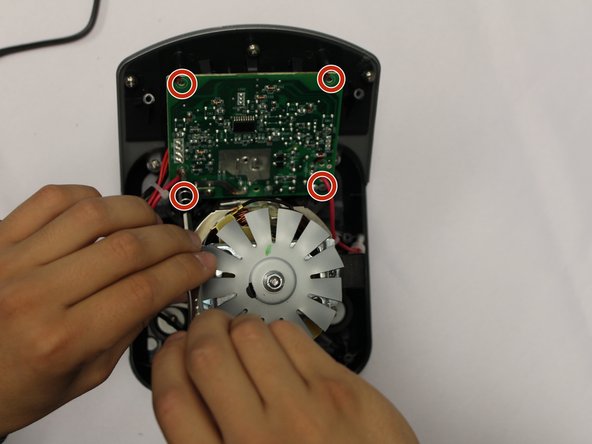
Using the Phillips #2 screwdriver, remove the four screws holding the circuit board to the housing.
-
-
-
-
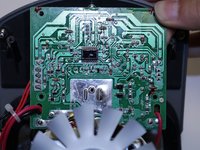
Using a pair of scissors, cut the zip ties holding the power wires in order to give the circuit board mobility.
-
-
-
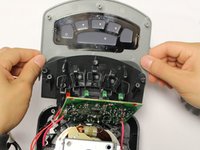
Using a Phillips #2 screwdriver, remove the 5 screws holding the power button panel cover.
-
-
-
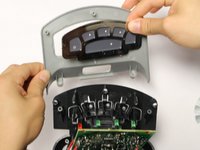
Pull the power button panel cover off.
-
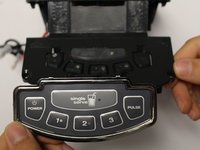
The power button panel comes off as a whole unit. Replace as needed.
-
-









To reassemble your device, follow these instructions in reverse order.

Team

Central Washington University, Team S1-G1, Pengilly Fall 2017 Member of Central Washington University, Team S1-G1, Pengilly Fall 2017
CWU-PENGILLY-F17S1G1
4 Members
84 Guides authored
