
Ninja NJ600 Power Cord Replacement

Trevor Waite and 4 other contributors
Last updated on Aug 24, 2015
Views: 3.6K
View statistics:
- Past 24 Hours:
- 3
- Past 7 Days:
- 13
- Past 30 Days:
- 72
- All Time:
- 3,580
Comments: 2
2 comments on steps.
Completed: 0 1
No one has marked this guide "completed." Will you be the first?
1 person has marked this guide "completed." It's you — great job!
Favorites: 0 1
No one has favorited (and subscribed to) this guide. Will you be the first?
1 person has favorited (and subscribed to) this guide — and that's you!
Action Shots
Be an action hero! This guide needs images that better demonstrate how to perform specific actions.
Introduction
Go to step 1 ↓If your blender is not turning on, it may be due to a faulty power cord. This guide will show you how to disassemble your blender, and it will help you locate and address two possible problems that have caused your power cord to malfunction.
What you need
Tools


-
-
-
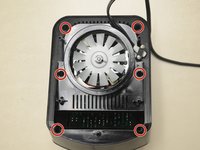
Remove the five screws (13mm long, 6mm head diameter) using a Phillips #2 screwdriver.
 Ask FixBot
-
-
-
Without removing any screws, you can pull the 2nd layer free from the base. Do this now and set it down gently next to the base.
-
The power cord runs through a hole in the side of this layer. Squeeze the cord and pull it through the hole to separate the layer from the cord.
-
-
-
Using the Phillips #2 screwdriver, remove these six screws (13mm long, 6mm head diameter). Then carefully remove this layer, and rest it next to the blender base.
-
-
-
-
-
Remove these two screws (10mm long, 5mm head diameter) using a Phillips #2 screwdriver.
-
-
-
Your blender and power cord should look like this now that the two screws have been removed.
-
In the next steps we will highlight two issues that your power cord may have.
-
-
-
-
Your power cord is soldered to the circuit board as shown.
-
A loose or damaged connection could explain why your blender is not turning on.
-
Desolder the connection using the iFixit guide that describes this process.
-
Solder the wires back on to the circuit board. Refer to the iFixit soldering guide for assistance.
-
-
-
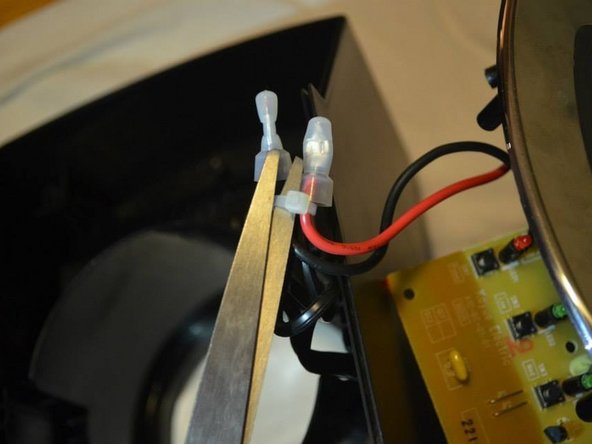
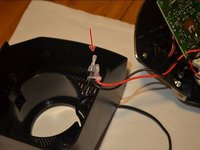
If there were no issues with the soldering connection in Step 6, check the wiring in the picture shown.
-
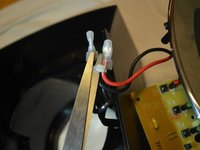
Remove the zip ties with a pair of scissors. Then remove the plastic that covers the wires.
-
If the wires underneath the plastic covers are loose or disconnected, try to desolder and solder the wires. Use the iFixit soldering guide to assist in this step.
-
-


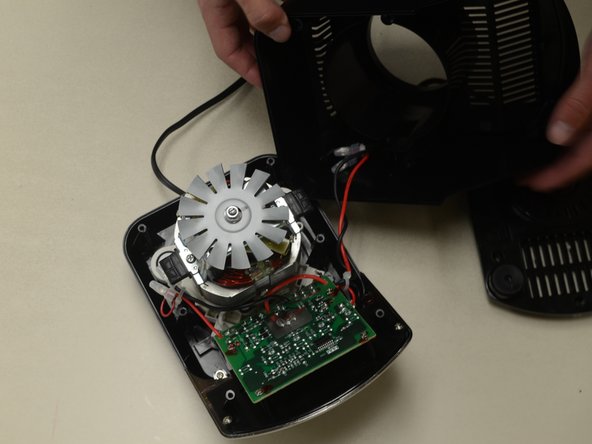



To reassemble your device, follow these instructions in reverse order.

Team

Cal Poly, Team 24-2, Lancaster Spring 2015 Member of Cal Poly, Team 24-2, Lancaster Spring 2015
CPSU-LANCASTER-S15S24G2
4 Members
72 Guides authored
