
Ninja NJ600 LED Light Replacement

Nathan Delaney and 5 other contributors
Last updated on Aug 24, 2015
Views: 867
View statistics:
- Past 24 Hours:
- 2
- Past 7 Days:
- 19
- Past 30 Days:
- 95
- All Time:
- 867
Comments: 4
4 comments on steps.
Completed: 0 1
No one has marked this guide "completed." Will you be the first?
1 person has marked this guide "completed." It's you — great job!
Favorites: 0 1
No one has favorited (and subscribed to) this guide. Will you be the first?
1 person has favorited (and subscribed to) this guide — and that's you!
Action Shots
Be an action hero! This guide needs images that better demonstrate how to perform specific actions.
Introduction
Go to step 1 ↓The Ninja NJ600 blender has an LED light display to help the user operate it. This guide will show how to replace one of these lights.
What you need
Tools


-
-
-
Remove the five screws (13mm long, 6mm head diameter) using a Phillips #2 screwdriver.
 Ask FixBot
-
-
-
Without removing any screws, you can pull the 2nd layer free from the base. Do this now and set it down gently next to the base.
-
The power cord runs through a hole in the side of this layer. Squeeze the cord and pull it through the hole to separate the layer from the cord.
-
-
-
Using the Phillips #2 screwdriver, remove these six screws (13mm long, 6mm head diameter). Then carefully remove this layer, and rest it next to the blender base.
-
-
-
-
-
Remove these four screws (10mm long, 5mm head diameter) using a Phillips #2 screwdriver.
-
-
-
Using a pair of scissors or wire cutters, cut the zip tie holding these wires.
-
This will give the circuit board more range of motion.
-
-
-
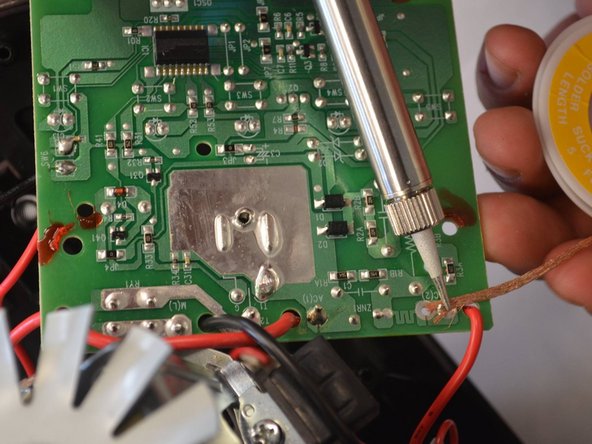
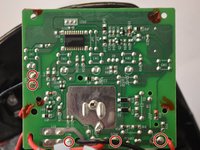
Desolder the five wires from the solder pads shown.
-
If you do not know how to do this, iFixit has a guide describing the process.
-
-
-
-
After the wires have cooled enough to touch, carefully slide the circuit board free of the wires.
-
NOTE: keep track of which pad each wire was soldered to. This is important for your blender to function.
-
-
-
-
-
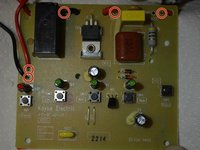
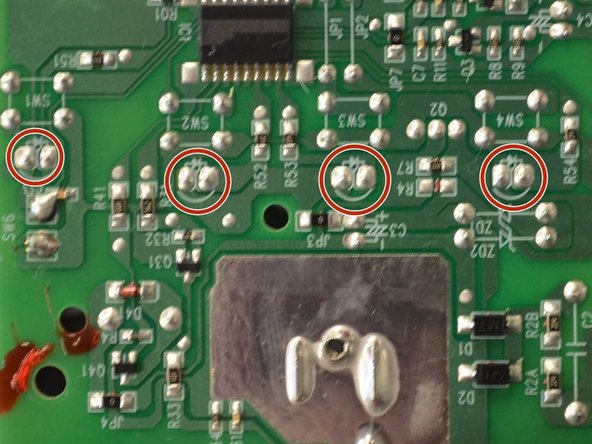
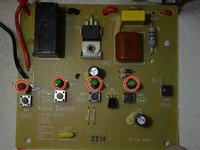
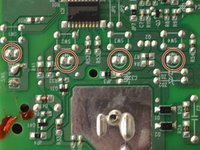
Locate the LED you wish to desolder.
-
On the bottom of the board, each LED is designated with a small triangle with a line at one tip.
-
-
-
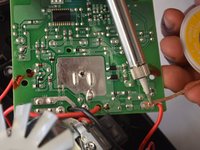
Desolder the two LED leads, and remove the LED from the board.
-
NOTE: the LED is a diode, and requires proper orientation when installed.
-
-


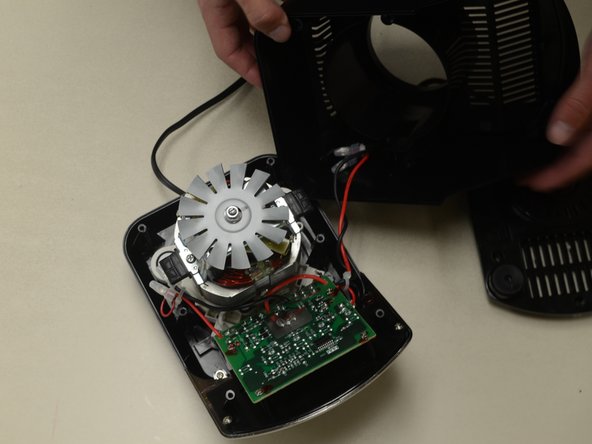

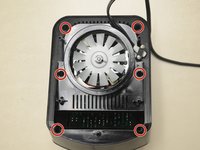





To reassemble your device, follow these instructions in reverse order.

Team

Cal Poly, Team 24-2, Lancaster Spring 2015 Member of Cal Poly, Team 24-2, Lancaster Spring 2015
CPSU-LANCASTER-S15S24G2
4 Members
72 Guides authored
