
Ninja NJ600 Button Replacement

Kody D and 4 other contributors
Last updated on Aug 24, 2015
Views: 1.8K
View statistics:
- Past 24 Hours:
- 3
- Past 7 Days:
- 20
- Past 30 Days:
- 98
- All Time:
- 1,820
Comments: 5
4 comments on steps, 1 guide comment.
Go to guide commentsCompleted: 0 1
No one has marked this guide "completed." Will you be the first?
1 person has marked this guide "completed." It's you — great job!
Favorites: 0 1
No one has favorited (and subscribed to) this guide. Will you be the first?
1 person has favorited (and subscribed to) this guide — and that's you!
Action Shots
Be an action hero! This guide needs images that better demonstrate how to perform specific actions.
Introduction
Go to step 1 ↓This guide will demonstrate how to replace any of the push button switches on the circuit board. Each button has four solder pads to desolder, and when replaced, must be in the correct orientation in order for your device to work.
What you need
Tools


-
-
-
Remove the five screws (13mm long, 6mm head diameter) using a Phillips #2 screwdriver.
 Ask FixBot
-
-
-
Without removing any screws, you can pull the 2nd layer free from the base. Do this now and set it down gently next to the base.
-
The power cord runs through a hole in the side of this layer. Squeeze the cord and pull it through the hole to separate the layer from the cord.
-
-
-
Using the Phillips #2 screwdriver, remove these six screws (13mm long, 6mm head diameter). Then carefully remove this layer, and rest it next to the blender base.
-
-
-
-
-
Remove these four screws (10mm long, 5mm head diameter) using a Phillips #2 screwdriver.
-
-
-
Using a pair of scissors or wire cutters, cut the zip tie holding these wires.
-
This will give the circuit board more range of motion.
-
-
-
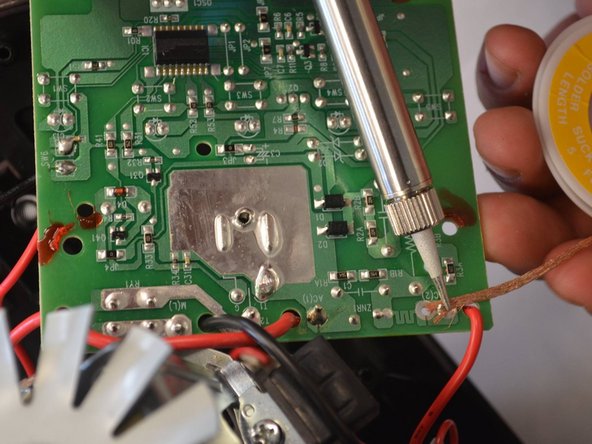
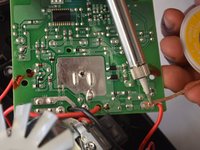
Desolder the five wires from the solder pads shown.
-
If you do not know how to do this, iFixit has a guide describing the process.
-
-
-
-
After the wires have cooled enough to touch, carefully slide the circuit board free of the wires.
-
NOTE: keep track of which pad each wire was soldered to. This is important for your blender to function.
-
-
-
-
-
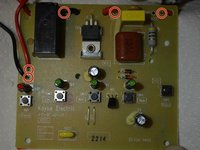
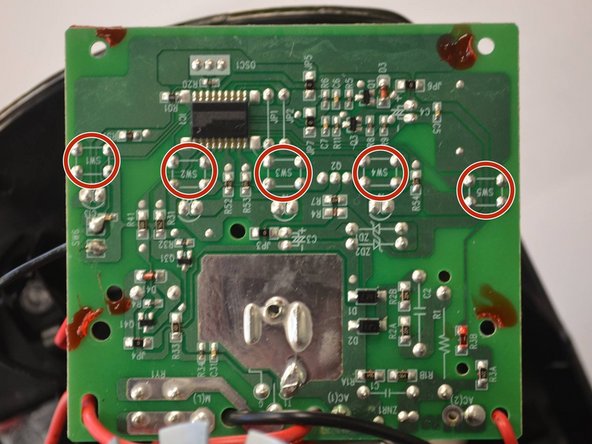
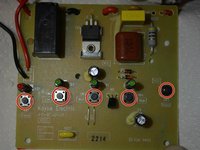
After removing the circuit board from your device, locate which button you wish to replace.
-
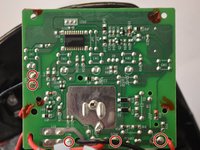
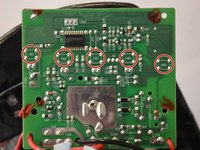
On the opposite side of the circuit board from the button, there are four solder pads with the designation "SW" followed by a number.
-
-
-
Desolder these four solder pads.
-
These pads are small, so take care to not damage the circuit board.
-
NOTE: the orientation of the buttons is important. Make sure you place the new button in the correct orientation.
-
-


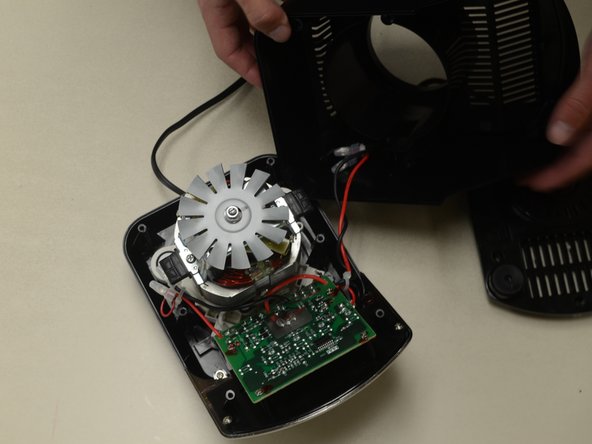

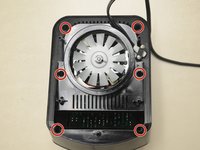





To reassemble your device, follow these instructions in reverse order, except soldering when you desoldered previously.

Team

Cal Poly, Team 24-2, Lancaster Spring 2015 Member of Cal Poly, Team 24-2, Lancaster Spring 2015
CPSU-LANCASTER-S15S24G2
4 Members
72 Guides authored
