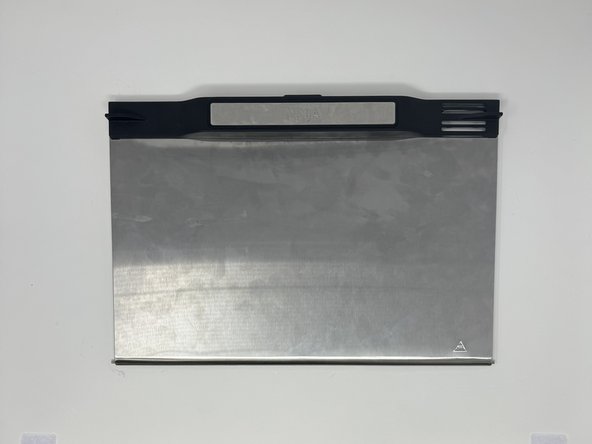
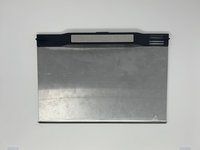
Free Shipping on Domestic Orders $75+

Ninja Foodi SP101 Bottom Panel Replacement

What you need

  1. Ninja Foodi SP101 Bottom Panel Replacement, Feet: step 1, image 1 of 2 Ninja Foodi SP101 Bottom Panel Replacement, Feet: step 1, image 2 of 2
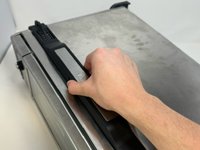
    • Use a TR10 screwdriver to remove the four 11mm screws holding the black lever bar in place.

  2. Ninja Foodi SP101 Bottom Panel Replacement: step 2, image 1 of 1
    • Remove the black lever bar.

  3. Ninja Foodi SP101 Bottom Panel Replacement, Side Panels: step 3, image 1 of 1
    • Use a Phillips #1 screwdriver to remove the three 8mm screws on each side of the back panel.

  4. Ninja Foodi SP101 Bottom Panel Replacement: step 4, image 1 of 2 Ninja Foodi SP101 Bottom Panel Replacement: step 4, image 2 of 2
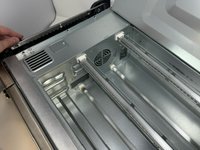
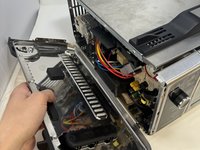
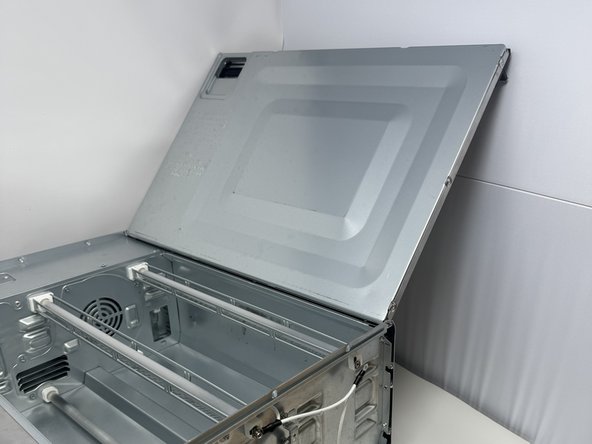
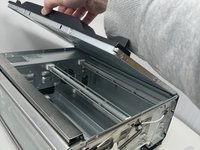
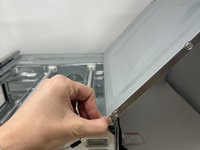
    • Flip the device upside down and open the bottom panel.

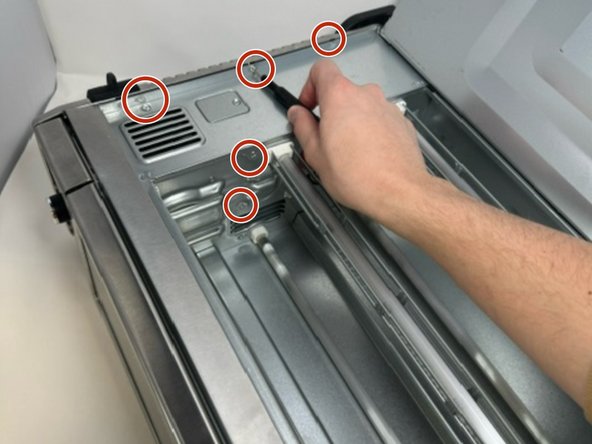
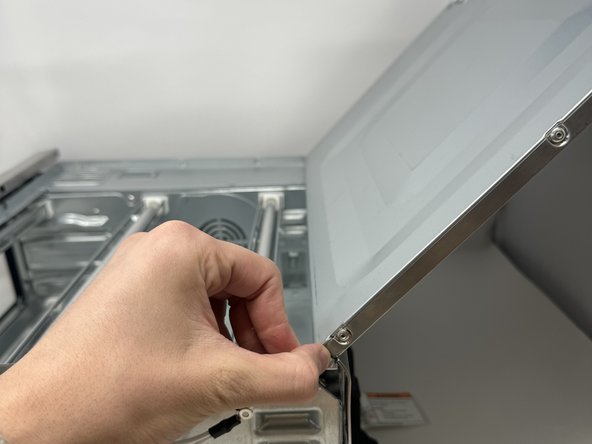
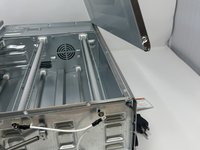
    • Remove the 3 x philips #1 screws along the top edge of the interior using a screwdriver. The Bottom 2 do not have to be removed.

  5. Ninja Foodi SP101 Bottom Panel Replacement: step 5, image 1 of 3 Ninja Foodi SP101 Bottom Panel Replacement: step 5, image 2 of 3 Ninja Foodi SP101 Bottom Panel Replacement: step 5, image 3 of 3
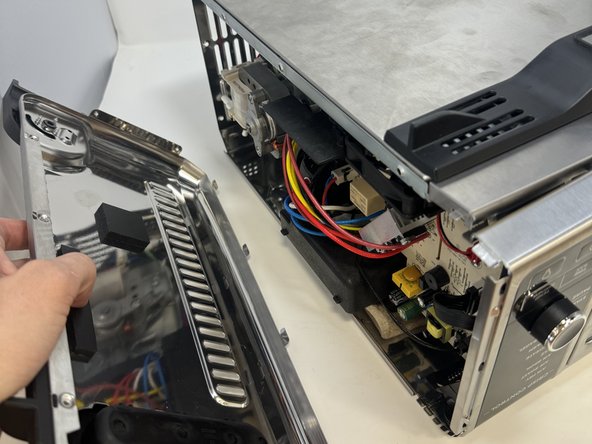
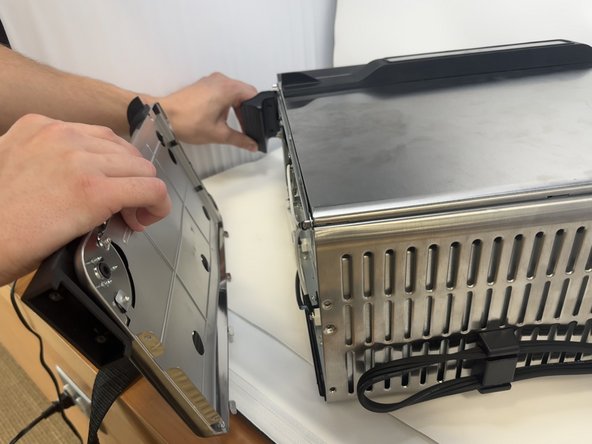
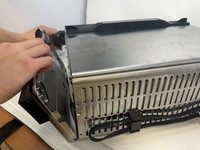
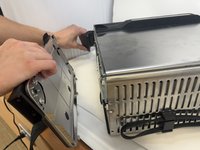
    • Remove the control side panel. To remove it, push forward towards then front control panel to release the tabs out of the main body. Fold away the side panel when the tabs have visually released from their slots in the main body.

  6. Ninja Foodi SP101 Bottom Panel Replacement: step 6, image 1 of 2 Ninja Foodi SP101 Bottom Panel Replacement: step 6, image 2 of 2
    • Lift the handle and pull the side panel out.

    • Remove the handle side panel.

  7. Ninja Foodi SP101 Bottom Panel Replacement, Bottom Panel: step 7, image 1 of 3 Ninja Foodi SP101 Bottom Panel Replacement, Bottom Panel: step 7, image 2 of 3 Ninja Foodi SP101 Bottom Panel Replacement, Bottom Panel: step 7, image 3 of 3
    • Open the bottom panel, and face the handle side of the oven.

  8. Ninja Foodi SP101 Bottom Panel Replacement: step 8, image 1 of 2 Ninja Foodi SP101 Bottom Panel Replacement: step 8, image 2 of 2
    • Press the pin holding in the door inwards, allowing the door to come free.

  9. Ninja Foodi SP101 Bottom Panel Replacement: step 9, image 1 of 2 Ninja Foodi SP101 Bottom Panel Replacement: step 9, image 2 of 2
    • Remove the door completely by lifting the pin out of the other side.

Conclusion

To reassemble your device, follow these instructions in reverse order.

One other person completed this guide.

ben

Member since: 01/30/24

473 Reputation

3 Guides authored

0 Guide Comments

Add Comment

View Statistics:

Past 24 Hours: 1

Past 7 Days: 12

Past 30 Days: 56

All Time: 1,175