Free Shipping on Domestic Orders $75+

Nikon D70 DC/DC Board Replacement

What you need

    1. Nikon D70 DC/DC Board Replacement, Battery: step 1, image 1 of 1
      • Use your finger tip to pull the battery release tab toward the center of the D70.

      • Open the battery door and rotate it away from the bottom cover.

      Ask FixBot

      Add Comment

    2. Nikon D70 DC/DC Board Replacement: step 2, image 1 of 1
      • Pull the battery out of the D70.

      • It may be necessary to wiggle the battery while pulling to free it from its pocket in the case.

      Ask FixBot

      Add Comment

    1. Nikon D70 DC/DC Board Replacement, Bottom Cover: step 3, image 1 of 1
      • Remove the following eight screws securing the bottom cover to the D70:

      • Six 5.8 mm Phillips screws

      • One 10.7 mm Phillips screws

      • One 8.2 mm Phillips screws

      Ask FixBot

      Add Comment

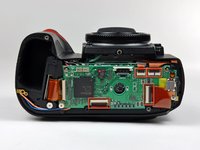
    2. Nikon D70 DC/DC Board Replacement: step 4, image 1 of 2 Nikon D70 DC/DC Board Replacement: step 4, image 2 of 2
      • Carefully pull the bottom cover to separate it from the body of the D70.

      • Remove the bottom cover from the D70.

      Ask FixBot

      Add Comment

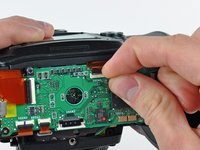
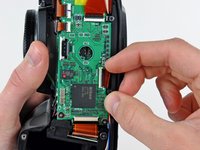
    1. Nikon D70 DC/DC Board Replacement, Memory Compression Board: step 5, image 1 of 3 Nikon D70 DC/DC Board Replacement, Memory Compression Board: step 5, image 2 of 3 Nikon D70 DC/DC Board Replacement, Memory Compression Board: step 5, image 3 of 3
      • Remove the four ZIF ribbon cables highlighted in red by using the following procedure:

      • Use your fingernail to flip up the ZIF cable retaining flap on each socket.

      • Be sure you are prying up the retaining flap, not the socket.

      • Pull the ribbon cable straight out of its socket.

      Ask FixBot

      Add Comment

    2. Nikon D70 DC/DC Board Replacement: step 6, image 1 of 1
      • Carefully peel back the piece of tape covering the Compact Flash ribbon cable socket.

      • It is not necessary to completely remove this piece of tape.

      Ask FixBot

      Add Comment

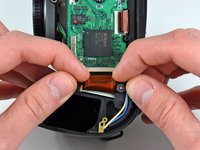
    3. Nikon D70 DC/DC Board Replacement: step 7, image 1 of 3 Nikon D70 DC/DC Board Replacement: step 7, image 2 of 3 Nikon D70 DC/DC Board Replacement: step 7, image 3 of 3
      Tool used on this step:
      Tweezers
      $4.99
      Buy
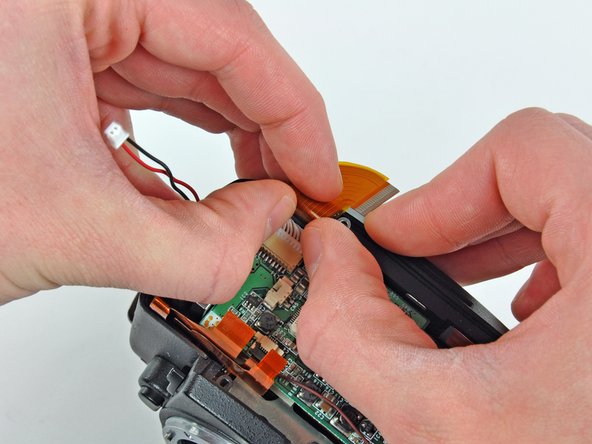
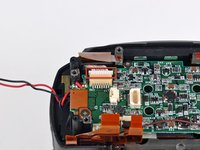
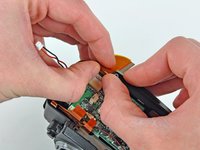
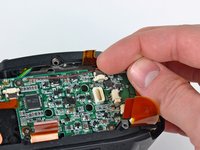
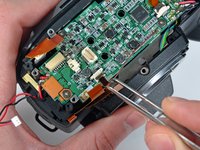
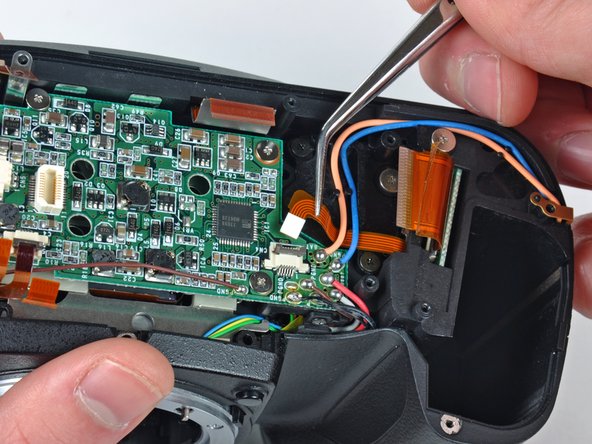
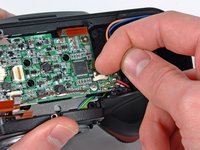
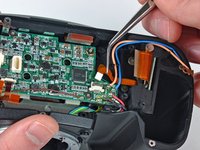
      • Use your fingernails to carefully pull the ZIF cable lock away from its socket.

      • Do not try to completely remove the ZIF cable lock. It will move about 1 mm and stop.

      • Use a pair of tweezers to pull the Compact Flash ribbon cable out of its socket.

      Ask FixBot

      Add Comment

    4. Nikon D70 DC/DC Board Replacement: step 8, image 1 of 1
      • Be sure not to lose the small iron core around the DC-In ribbon cable.

      Ask FixBot

      Add Comment

    5. Nikon D70 DC/DC Board Replacement: step 9, image 1 of 1
      • Remove the four 4.3 mm Phillips screws securing the memory compression board to the D70.

      Ask FixBot

      Add Comment

    6. Nikon D70 DC/DC Board Replacement: step 10, image 1 of 1
      • Use a pair of tweezers to pull the USB connector bracket away from the edge of the memory compression board.

      Ask FixBot

      Add Comment

    7. Nikon D70 DC/DC Board Replacement: step 11, image 1 of 2 Nikon D70 DC/DC Board Replacement: step 11, image 2 of 2
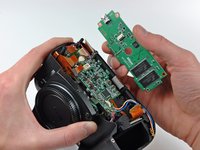
      • Grab the memory compression board by its edges at the position shown in the first picture.

      • Pull the memory compression board straight up off the DC/DC board to avoid damaging the connector on the underside of the memory compression board.

      Ask FixBot

      Add Comment

    1. Nikon D70 DC/DC Board Replacement, DC/DC Board: step 12, image 1 of 1
      • Disconnect the DC-In board connector from the DC/DC board by pulling its connector away from the center of the board.

      Ask FixBot

      Add Comment

    2. Nikon D70 DC/DC Board Replacement: step 13, image 1 of 2 Nikon D70 DC/DC Board Replacement: step 13, image 2 of 2
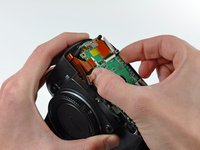
      • Use your thumbnails to push the CCD connector out of its socket.

      Ask FixBot

      Add Comment

    3. Nikon D70 DC/DC Board Replacement: step 14, image 1 of 2 Nikon D70 DC/DC Board Replacement: step 14, image 2 of 2
      Tool used on this step:
      Tweezers
      $4.99
      Buy
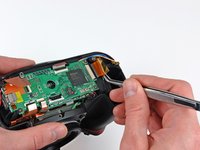
      • Use your fingernail to carefully flip up the ZIF cable retaining flap for the ribbon cable socket near the front cover.

      • Be sure you are prying up on the movable cable retaining flap, not the socket itself.

      • Use a pair of tweezers to carefully pull the ribbon cable out of its socket.

      Ask FixBot

      Add Comment

    4. Nikon D70 DC/DC Board Replacement: step 15, image 1 of 2 Nikon D70 DC/DC Board Replacement: step 15, image 2 of 2
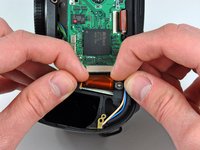
      • Use your fingernail to flip up the ZIF cable retaining flap on the socket near the battery opening.

      • Be sure you are prying up on the movable cable retaining flap, not the socket itself.

      • Use a pair of tweezers to pull the ribbon cable out of its socket.

      Ask FixBot

      Add Comment

    5. Nikon D70 DC/DC Board Replacement: step 16, image 1 of 1
      • Carefully de-solder the eight leads boxed in red.

      • Do not heat up the board excessively while de-soldering. There are many heat sensitive components mounted to the DC/DC board.

      • There are two black leads that look very similar. The thinner of the two connects closer to the center of the board.

      Ask FixBot

      Add Comment

    6. Nikon D70 DC/DC Board Replacement: step 17, image 1 of 1
      • De-solder the positive and negative DC-In leads (boxed in red) from the DC/DC board.

      • Do not heat up the board excessively while de-soldering the leads.

      Ask FixBot

      Add Comment

    7. Nikon D70 DC/DC Board Replacement: step 18, image 1 of 1
      • Remove the four 4.2 mm Phillips screws securing the DC/DC board to the D70.

      Ask FixBot

      Add Comment

    8. Nikon D70 DC/DC Board Replacement: step 19, image 1 of 1
      • Remove the DC/DC board from the D70, minding any cables that may get caught.

      Ask FixBot

      Add Comment

Conclusion

To reassemble your device, follow these instructions in reverse order.

Cancel: I did not complete this guide.

9 other people completed this guide.

0 Guide Comments

Add Comment

View Statistics:

Past 24 Hours: 2

Past 7 Days: 5

Past 30 Days: 33

All Time: 14,784