This translation was generated by a machine and has not been reviewed by a person yet. Speak this language? Review it.

Nikon D5500 Rear Cover Replacement

mask1979 and 3 other contributors
Last updated on Sep 2, 2026
Views: 463
View statistics:
- Past 24 Hours:
- 2
- Past 7 Days:
- 21
- Past 30 Days:
- 93
- All Time:
- 463
Comments: 0
No one has left comments on this guide. Will you be first?
Go to guide commentsCompleted: 0 1
No one has marked this guide "completed." Will you be the first?
1 person has marked this guide "completed." It's you — great job!
Favorites: 0 1
No one has favorited (and subscribed to) this guide. Will you be the first?
1 person has favorited (and subscribed to) this guide — and that's you!
Featured Guide
This guide has been found to be exceptionally cool by the iFixit staff.
Community-Contributed Guide
An awesome member of our community made this guide. It was not created by iFixit staff.
Introduction
Go to step 1 ↓In this guide, I will show you step by step how to replace the rear cover of your Nikon D5500. (This refers to the back of the camera where the screen and controls are located.)
What you need
Tools


-
-
-
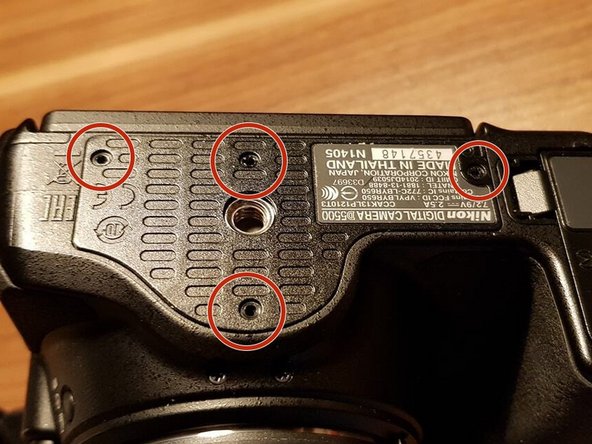
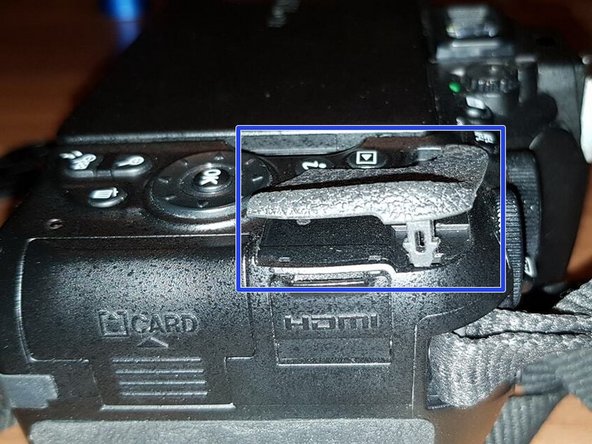
Open the SD card and battery compartment. Remove all screws marked in the image around this area.
 Ask FixBot
-
-
-
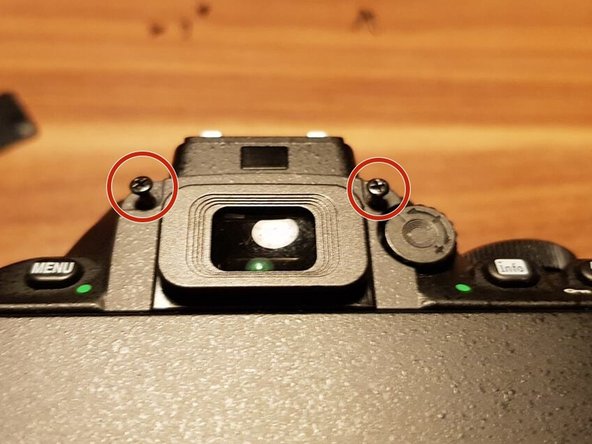
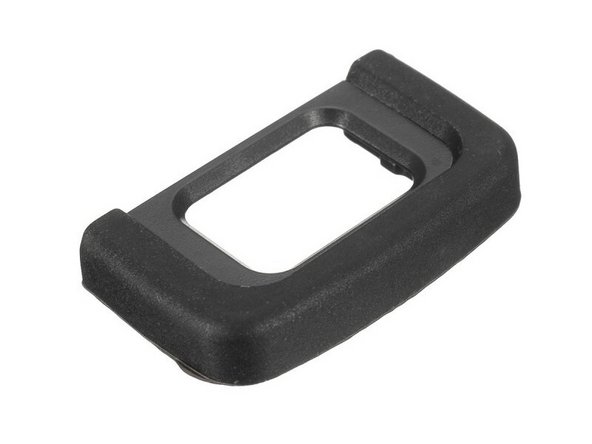
Remove the eyecup and then the small screws (approx. 3 mm) as marked in the image.
-
-
-
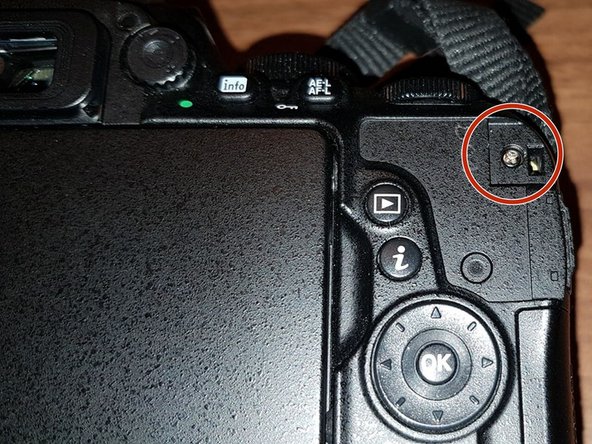
Carefully peel off the rubber thumb grip—there is another screw underneath it (see the red circle in image 3). Remove this screw.
-
-
-
Remove the additional screws marked in the red circle.
-
-
-
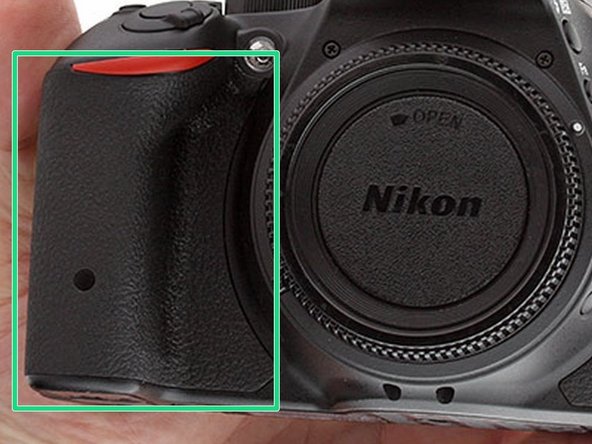
Remove the rubber handle on the front case (green square). Beneath it are two more screws (see markings), which you must also remove.
-
-
-
-
Carefully pry up the rear cover – it should release relatively easily.
-
-
-
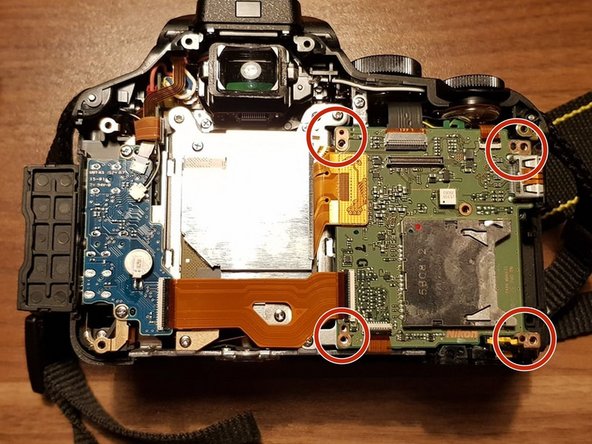
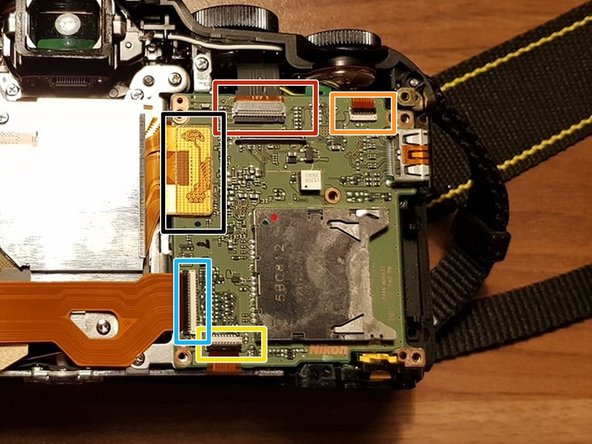
Remove the screws in the area of the red markings to remove the motherboard.
-
In image 2, additional connectors are marked (red, orange, yellow, blue, and black squares). Carefully disconnect these so that you can remove the motherboard completely and replace it if necessary.
-
-







Follow these steps in reverse order to reassemble the camera.

