Free Shipping on Domestic Orders $75+

Nikon Coolpix S4100 LCD Screen Replacement

What you need

  1. Nikon Coolpix S4100 LCD Screen Replacement, External Casing: step 1, image 1 of 3 Nikon Coolpix S4100 LCD Screen Replacement, External Casing: step 1, image 2 of 3 Nikon Coolpix S4100 LCD Screen Replacement, External Casing: step 1, image 3 of 3
    • Using a Philips #000 head screwdriver, remove the 8 screws (3.30 mm) visible on the external part of the camera.

    • There are 2 on each side, and 4 on the bottom.

    Ask FixBot
  2. Nikon Coolpix S4100 LCD Screen Replacement: step 2, image 1 of 1
    • Remove the black casing on the back of the camera that runs around the LCD screen.

    Ask FixBot
  3. Nikon Coolpix S4100 LCD Screen Replacement: step 3, image 1 of 1
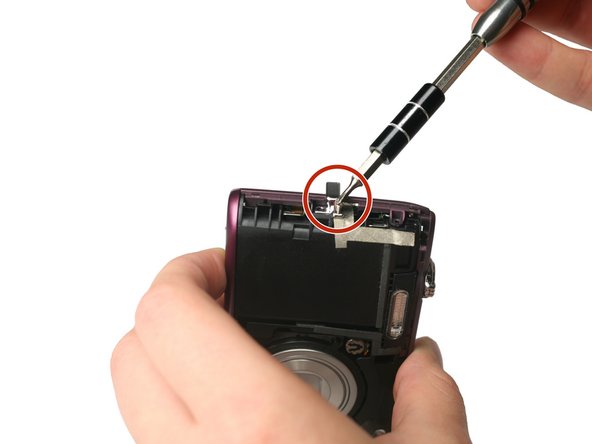
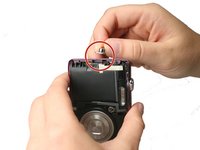
    • Using the Philips #000 head screwdriver, remove the 1.90 mm internal screw located just above the lanyard mount.

    Ask FixBot
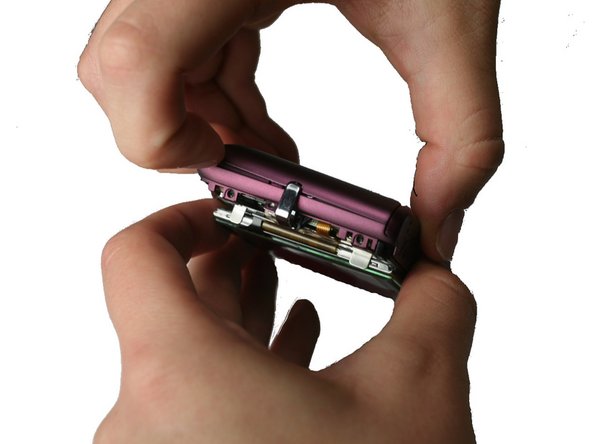
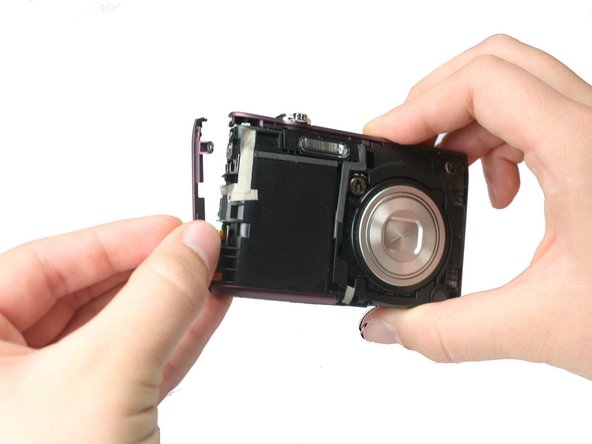
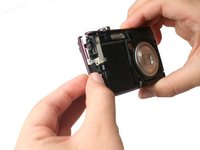
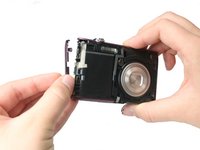
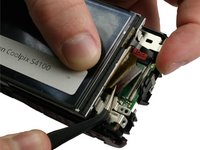
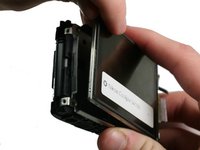
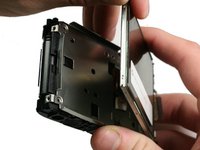
  4. Nikon Coolpix S4100 LCD Screen Replacement: step 4, image 1 of 3 Nikon Coolpix S4100 LCD Screen Replacement: step 4, image 2 of 3 Nikon Coolpix S4100 LCD Screen Replacement: step 4, image 3 of 3
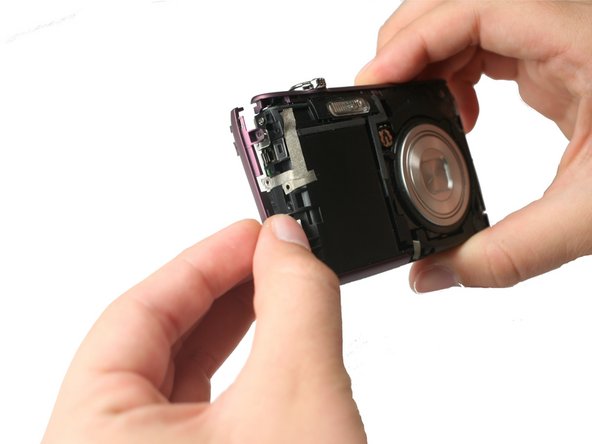
    • Pry off the front shell casing.

    • If you find this difficult, use a prying tool to help gently remove the casing.

    Ask FixBot
  5. Nikon Coolpix S4100 LCD Screen Replacement: step 5, image 1 of 1
    • Using the Philips #000 head screwdriver, remove the 3.30 mm screw located on the side of the camera near the lanyard mount.

    Ask FixBot
  6. Nikon Coolpix S4100 LCD Screen Replacement: step 6, image 1 of 2 Nikon Coolpix S4100 LCD Screen Replacement: step 6, image 2 of 2
    • Using the Philips #000 head screwdriver, remove 2 additional 3.30 mm screws holding the lanyard mount in place.

    Ask FixBot
  7. Nikon Coolpix S4100 LCD Screen Replacement: step 7, image 1 of 3 Nikon Coolpix S4100 LCD Screen Replacement: step 7, image 2 of 3 Nikon Coolpix S4100 LCD Screen Replacement: step 7, image 3 of 3
    • Remove the lanyard mount and accompanying side shell casing off of the camera.

    Ask FixBot
  8. Nikon Coolpix S4100 LCD Screen Replacement: step 8, image 1 of 1
    • Using the Philips #000 head screwdriver, remove the 3.30 mm screw securing the top shell casing.

    Ask FixBot
  9. Nikon Coolpix S4100 LCD Screen Replacement: step 9, image 1 of 1
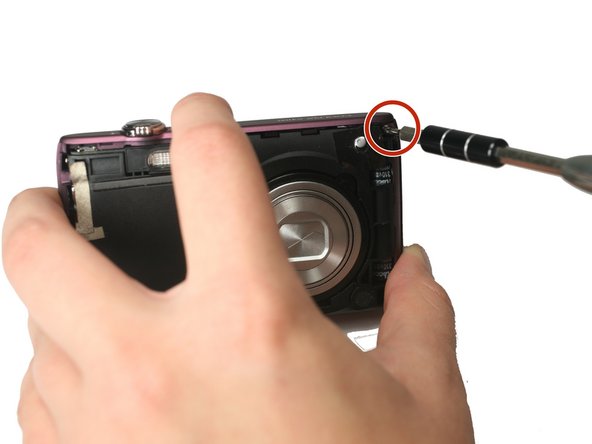
    • Using the Philips #000 head screwdriver, remove the 3.40 mm screw located on the front of the camera in the upper corner by the LED light.

    Ask FixBot
  10. Nikon Coolpix S4100 LCD Screen Replacement: step 10, image 1 of 1
    • Remove the remaining side shell casing.

    Ask FixBot
  11. Nikon Coolpix S4100 LCD Screen Replacement: step 11, image 1 of 1
    • Remove the top shell casing.

    Ask FixBot
  12. Nikon Coolpix S4100 LCD Screen Replacement, Functional Button Plate: step 12, image 1 of 1
    • Using the Philips #000 head screwdriver, remove the 3.40 mm screw located near the functional buttons.

    Ask FixBot
  13. Nikon Coolpix S4100 LCD Screen Replacement: step 13, image 1 of 1
    Tool used on this step:
    Tweezers
    $4.99
    Buy
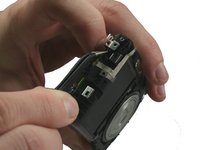
    • Using precision tweezers, remove the ribbon cable that runs from the functional buttons plate to the under side of the motherboard.

    Ask FixBot
  14. Nikon Coolpix S4100 LCD Screen Replacement: step 14, image 1 of 1
    • Using precision tweezers, lift up the bottom of the functional buttons plate and remove the metal plate.

    Ask FixBot
  15. Nikon Coolpix S4100 LCD Screen Replacement, LCD Screen: step 15, image 1 of 2 Nikon Coolpix S4100 LCD Screen Replacement, LCD Screen: step 15, image 2 of 2
    Tool used on this step:
    Tweezers
    $4.99
    Buy
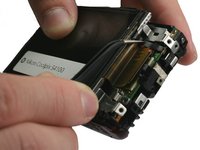
    • Using precision tweezers, gently remove the ribbon cable running from LCD to the bottom side of the motherboard.

    Ask FixBot
  16. Nikon Coolpix S4100 LCD Screen Replacement: step 16, image 1 of 2 Nikon Coolpix S4100 LCD Screen Replacement: step 16, image 2 of 2
    • Using precision tweezers, gently lift up on the black strip of the ZIF Connector securing the cable from the LCD to the motherboard.

    • Then, gently remove the wire by pulling the base of the ribbon cable towards the LCD screen.

    • Do not poke or destroy the cable itself. Be careful to only grab the black fold in the tweezers.

    • The black strip will fold back to reveal the cable, but remain attached to the motherboard.

    Ask FixBot
  17. Nikon Coolpix S4100 LCD Screen Replacement: step 17, image 1 of 2 Nikon Coolpix S4100 LCD Screen Replacement: step 17, image 2 of 2
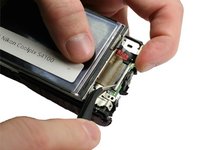
    • Remove the LCD screen from the metal mount.

    Ask FixBot
Conclusion

To reassemble your device, follow these instructions in reverse order.

Matthew Willis

Member since: 09/22/15

598 Reputation

4 Guides authored

Team

Baylor, Team 4-2, Williams Fall 2015 Member of Baylor, Team 4-2, Williams Fall 2015

BU-WILLIAMS-F15S4G2

4 Members

8 Guides authored

1 Guide Comment

Quick question would this be similar to replacing the screen for the Nikon Coolpix S4300? I couldn't find anything to fix that specific camera.

Malakai Ashenafi - Reply Share

Add Comment

View Statistics:

Past 24 Hours: 3

Past 7 Days: 12

Past 30 Days: 80

All Time: 1,574