Free Shipping on Domestic Orders $75+

Nikon Coolpix S4100 External Casing Replacement

What you need

  1. Nikon Coolpix S4100 External Casing Replacement, External Casing: step 1, image 1 of 3 Nikon Coolpix S4100 External Casing Replacement, External Casing: step 1, image 2 of 3 Nikon Coolpix S4100 External Casing Replacement, External Casing: step 1, image 3 of 3
    • Using a Philips #000 head screwdriver, remove the 8 screws (3.30 mm) visible on the external part of the camera.

    • There are 2 on each side, and 4 on the bottom.

    Ask FixBot

    Add Comment

  2. Nikon Coolpix S4100 External Casing Replacement: step 2, image 1 of 1
    • Remove the black casing on the back of the camera that runs around the LCD screen.

    Ask FixBot

    Add Comment

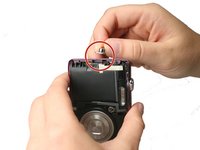
  3. Nikon Coolpix S4100 External Casing Replacement: step 3, image 1 of 1
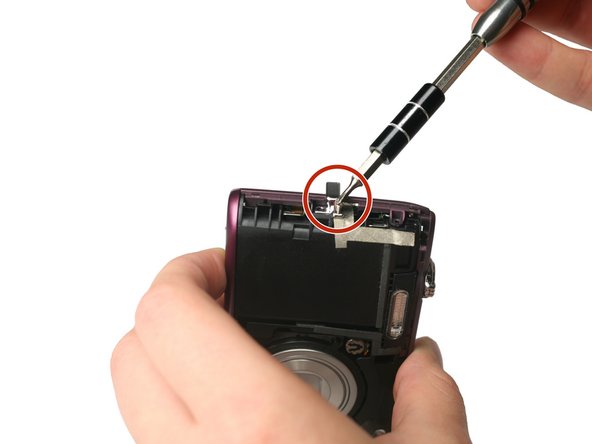
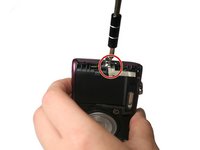
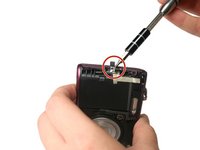
    • Using the Philips #000 head screwdriver, remove the 1.90 mm internal screw located just above the lanyard mount.

    Ask FixBot

    Add Comment

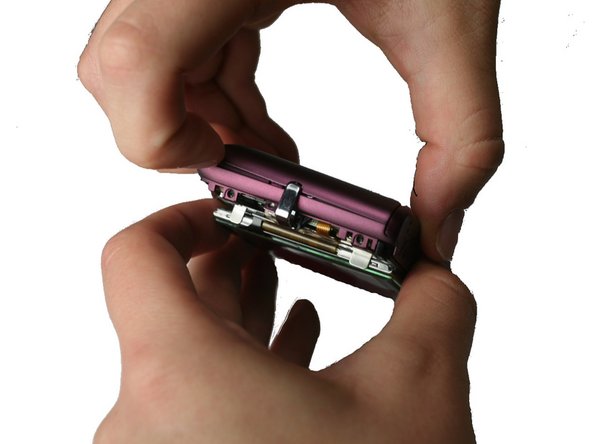
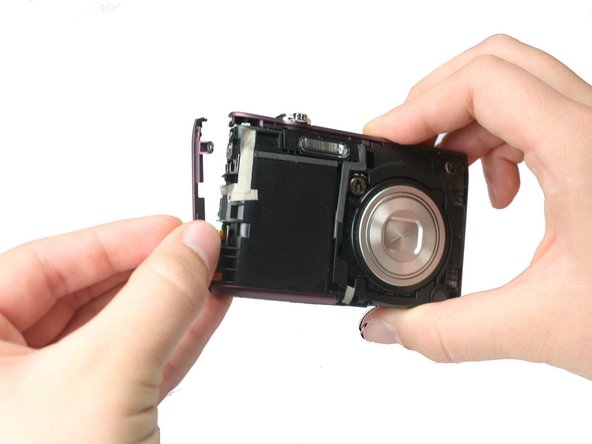
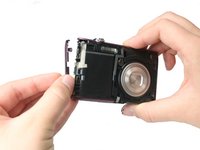
  4. Nikon Coolpix S4100 External Casing Replacement: step 4, image 1 of 3 Nikon Coolpix S4100 External Casing Replacement: step 4, image 2 of 3 Nikon Coolpix S4100 External Casing Replacement: step 4, image 3 of 3
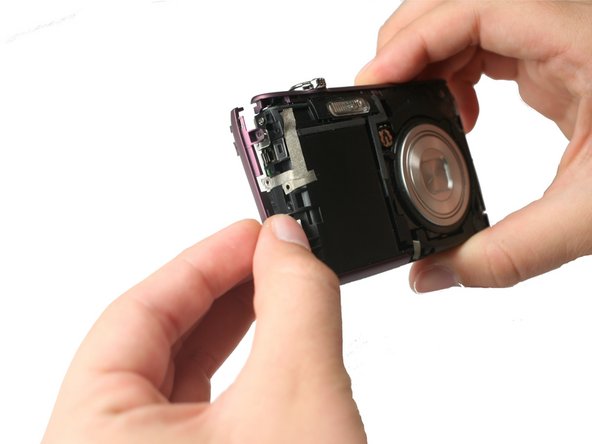
    • Pry off the front shell casing.

    • If you find this difficult, use a prying tool to help gently remove the casing.

    Ask FixBot

    Add Comment

  5. Nikon Coolpix S4100 External Casing Replacement: step 5, image 1 of 1
    • Using the Philips #000 head screwdriver, remove the 3.30 mm screw located on the side of the camera near the lanyard mount.

    Ask FixBot

    Add Comment

  6. Nikon Coolpix S4100 External Casing Replacement: step 6, image 1 of 2 Nikon Coolpix S4100 External Casing Replacement: step 6, image 2 of 2
    • Using the Philips #000 head screwdriver, remove 2 additional 3.30 mm screws holding the lanyard mount in place.

    Ask FixBot

    Add Comment

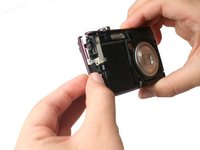
  7. Nikon Coolpix S4100 External Casing Replacement: step 7, image 1 of 3 Nikon Coolpix S4100 External Casing Replacement: step 7, image 2 of 3 Nikon Coolpix S4100 External Casing Replacement: step 7, image 3 of 3
    • Remove the lanyard mount and accompanying side shell casing off of the camera.

    Ask FixBot

    Add Comment

  8. Nikon Coolpix S4100 External Casing Replacement: step 8, image 1 of 1
    • Using the Philips #000 head screwdriver, remove the 3.30 mm screw securing the top shell casing.

    Ask FixBot

    Add Comment

  9. Nikon Coolpix S4100 External Casing Replacement: step 9, image 1 of 1
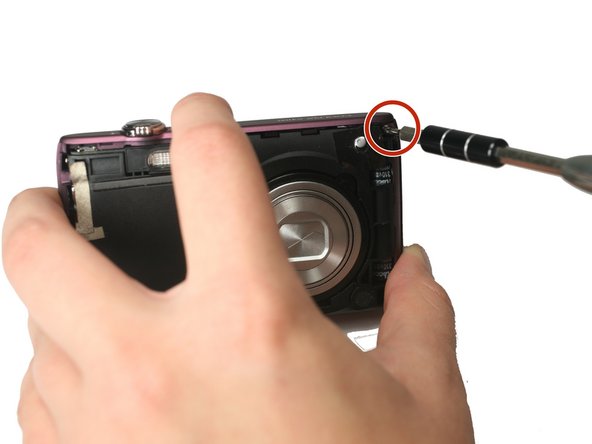
    • Using the Philips #000 head screwdriver, remove the 3.40 mm screw located on the front of the camera in the upper corner by the LED light.

    Ask FixBot

    Add Comment

  10. Nikon Coolpix S4100 External Casing Replacement: step 10, image 1 of 1
    • Remove the remaining side shell casing.

    Ask FixBot

    Add Comment

  11. Nikon Coolpix S4100 External Casing Replacement: step 11, image 1 of 1
    • Remove the top shell casing.

    Ask FixBot

    Add Comment

Conclusion

To reassemble your device, follow these instructions in reverse order.

Cancel: I did not complete this guide.

2 other people completed this guide.

Matthew Willis

Member since: 09/22/15

598 Reputation

4 Guides authored

Team

Baylor, Team 4-2, Williams Fall 2015 Member of Baylor, Team 4-2, Williams Fall 2015

BU-WILLIAMS-F15S4G2

4 Members

8 Guides authored

0 Guide Comments

Add Comment

View Statistics:

Past 24 Hours: 0

Past 7 Days: 2

Past 30 Days: 43

All Time: 1,441