
Nikon Coolpix P510 Lens Casing Replacement

Brian Hulsey and 4 other contributors
Last updated on Jul 7, 2025
Views: 4.1K
View statistics:
- Past 24 Hours:
- 5
- Past 7 Days:
- 22
- Past 30 Days:
- 98
- All Time:
- 4,072
Comments: 3
3 comments on steps.
Completed: 3 4
3 people have marked this guide "completed." Will you be next?
4 people have marked this guide "completed." Including you — great job!
Favorites: 1 2
1 person has favorited (and subscribed to) this guide. Will you be next?
2 people have favorited (and subscribed to) this guide — including you!
Better Introduction
Improve this guide by completing or revising its introduction.
Missing Details
Some of this guide's details are missing. Help users by adding tools, difficulty, or time.
Introduction
Go to step 1 ↓This guide uses the lens assembly guide to get the camera apart. Once you have finished with the lens assembly, getting to the casing is fairly easy.
What you need
Tools


-
-
-
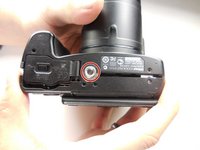
Flip the camera upside down and remove six 3mm PH00 Philips screws with a Philips screwdriver.
-
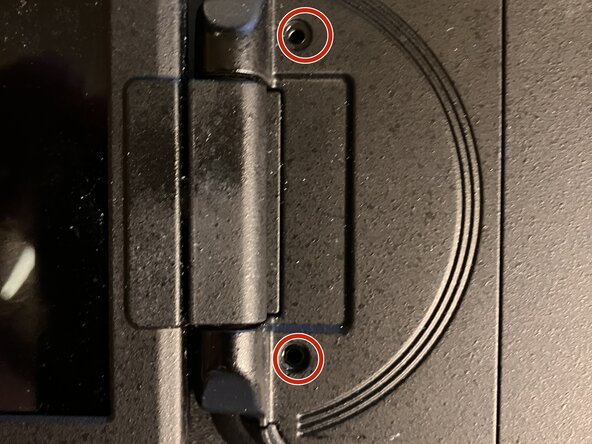
On the thumb grip, remove the one 4mm PH00 Philips screw.
 Ask FixBot
-
-
-
With the camera upside down, remove the three 3mm PH00 Philips screws on the left side.
-
-
-
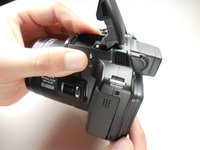
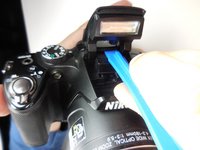
Open the flash and use a plastic opening tool to pop the tab under it as shown.
-
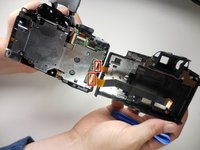
Now pull the casing apart.
-
The tripod attachment may fall out on its own, or you will need to pull it out.
-
-
-
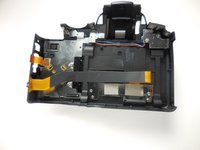
Unplug the two ribbon cables to completely detach the back, by securely opening the latch
-
-
-
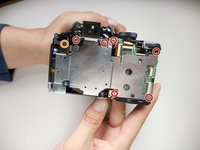
With the back separated, you need to remove six 3mm PH000 Philips screws with a Philips screwdriver.
-
Remove one 5mm PH00 Philips screw
-
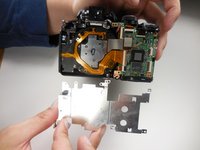
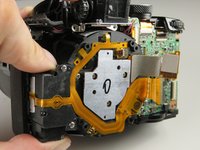
With all the screws out, the metal plate should simply lift off.
-
-
-
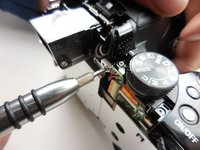
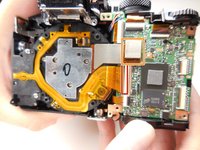
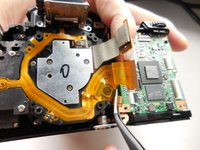
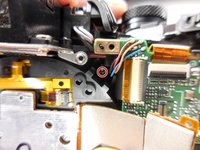
With the metal plate off, unplug this ribbon cable from the motherboard.
-
To remove the flat-topped connector, you simply lift it up to unplug it.
-
-
-
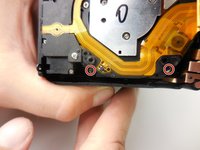
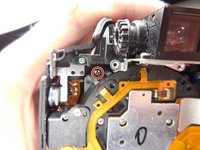
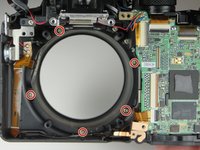
To get the lens assembly out, you need to remove four 6mm PH00 Philips screws
-
-
-
-
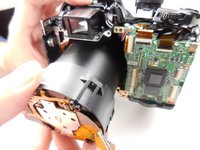
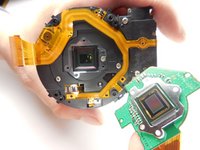
With the support screws out, you can simply slide the assembly out of the casing.
-
-
-
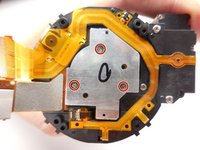
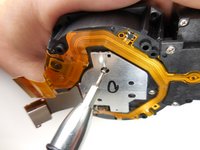
With the assembly out we need to take of this last piece by removing the three 3mm PH000 Philips screws.
-
-
-


















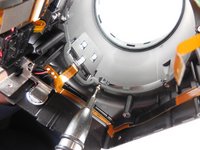

To reassemble your device or to attach a new lense, follow these instructions in reverse order. Take your e-waste to an R2 or e-Stewards certified recycler.
Cancel: I did not complete this guide.
3 other people completed this guide.

Team

Colorado Springs, Team 2-2, Panko Spring 2015 Member of Colorado Springs, Team 2-2, Panko Spring 2015
UCCS-PANKO-S15S2G2
3 Members
72 Guides authored
