
Nikon Coolpix P510 LCD Replacement

Brian Hulsey and 4 other contributors
Last updated on Jan 18, 2016
Views: 7.4K
View statistics:
- Past 24 Hours:
- 5
- Past 7 Days:
- 26
- Past 30 Days:
- 132
- All Time:
- 7,362
Comments: 4
2 comments on steps, 2 guide comments.
Go to guide commentsCompleted: 6 7
6 people have marked this guide "completed." Will you be next?
7 people have marked this guide "completed." Including you — great job!
Favorites: 0 1
No one has favorited (and subscribed to) this guide. Will you be the first?
1 person has favorited (and subscribed to) this guide — and that's you!
Introduction
Go to step 1 ↓If you are having issues with your LCD, this guide will help you replace it with a minimal effort. This part is easy to get to, and easy to replace. Other than a screwdriver and a plastic opening tool, nothing else is needed to accomplish this.
What you need
Tools


-
-
-
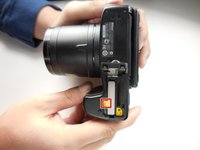
Flip the camera over and push the tab on the battery cover to open the battery compartment.
 Ask FixBot
-
-
-
Push the little yellow tab to allow the battery to slide out.
-
With the tab pushed out, pull the battery out.
-
-
-
-
-
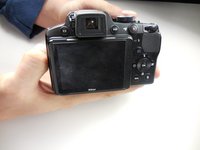
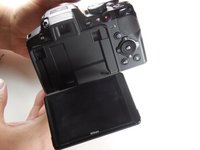
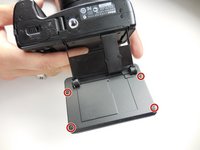
Extend the LCD screen out and turn the camera upside down to get access to the screws on the bottom.
-
-
-
Use a plastic opening tool to trace around the screen to pop the front and back section apart.
-
-
-
-
-
-
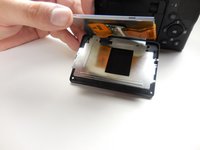
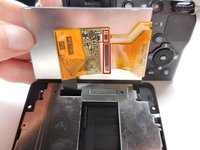
Unplug the ribbon cables on the side of the chip under the LCD by simple pulling lightly on them.
-
-
-
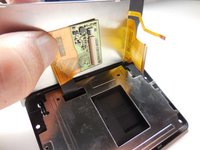
The chip has an adhesive on it to keep it attached to the LCD, and you will need to use a plastic opening tool to get it off.
-






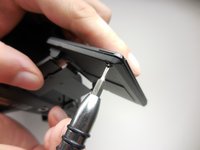


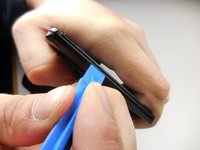
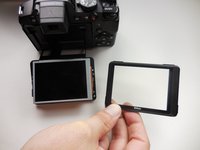


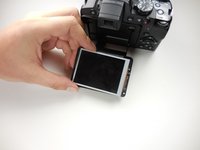



To reassemble your device, follow these instructions in reverse order.
Cancel: I did not complete this guide.
6 other people completed this guide.

Team

Colorado Springs, Team 2-2, Panko Spring 2015 Member of Colorado Springs, Team 2-2, Panko Spring 2015
UCCS-PANKO-S15S2G2
3 Members
72 Guides authored
2 Guide Comments
Esse LSD tem outro fita preta que conecta pode estar ruim
Porque a minha não sei se ela é LCD ou esse negócio preto que conecta que tá ruim
